Designing micro greens grower

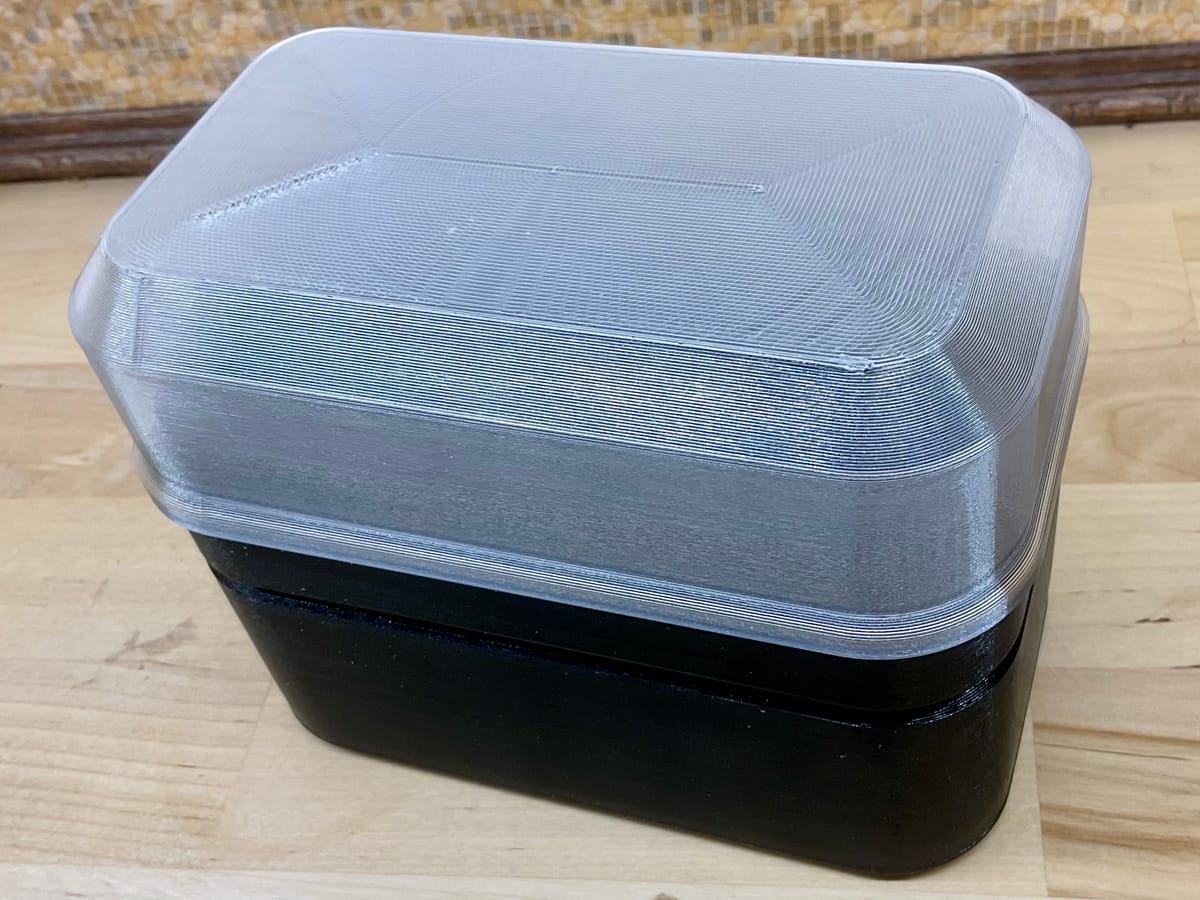
We have been growing microgreens for many years now and eat them every day. It was time to start a final design using all the experience we gained. I am including all the design files in this post but this isn’t particularly easy to print, but with a little effort and trials it will be a great addition for anyone striving for self sufficiency.

Click the file browser to download all files or pick the ones you want
The main body of the grower is the tank. This is a hydroponic grower and it follows the Kratky setup, where you fill it with water (no nutrients are needed for micro greens) only once and that will do it until harvest. Of course this means it must be watertight, which most 3D prints are not, it requires specific techniques.
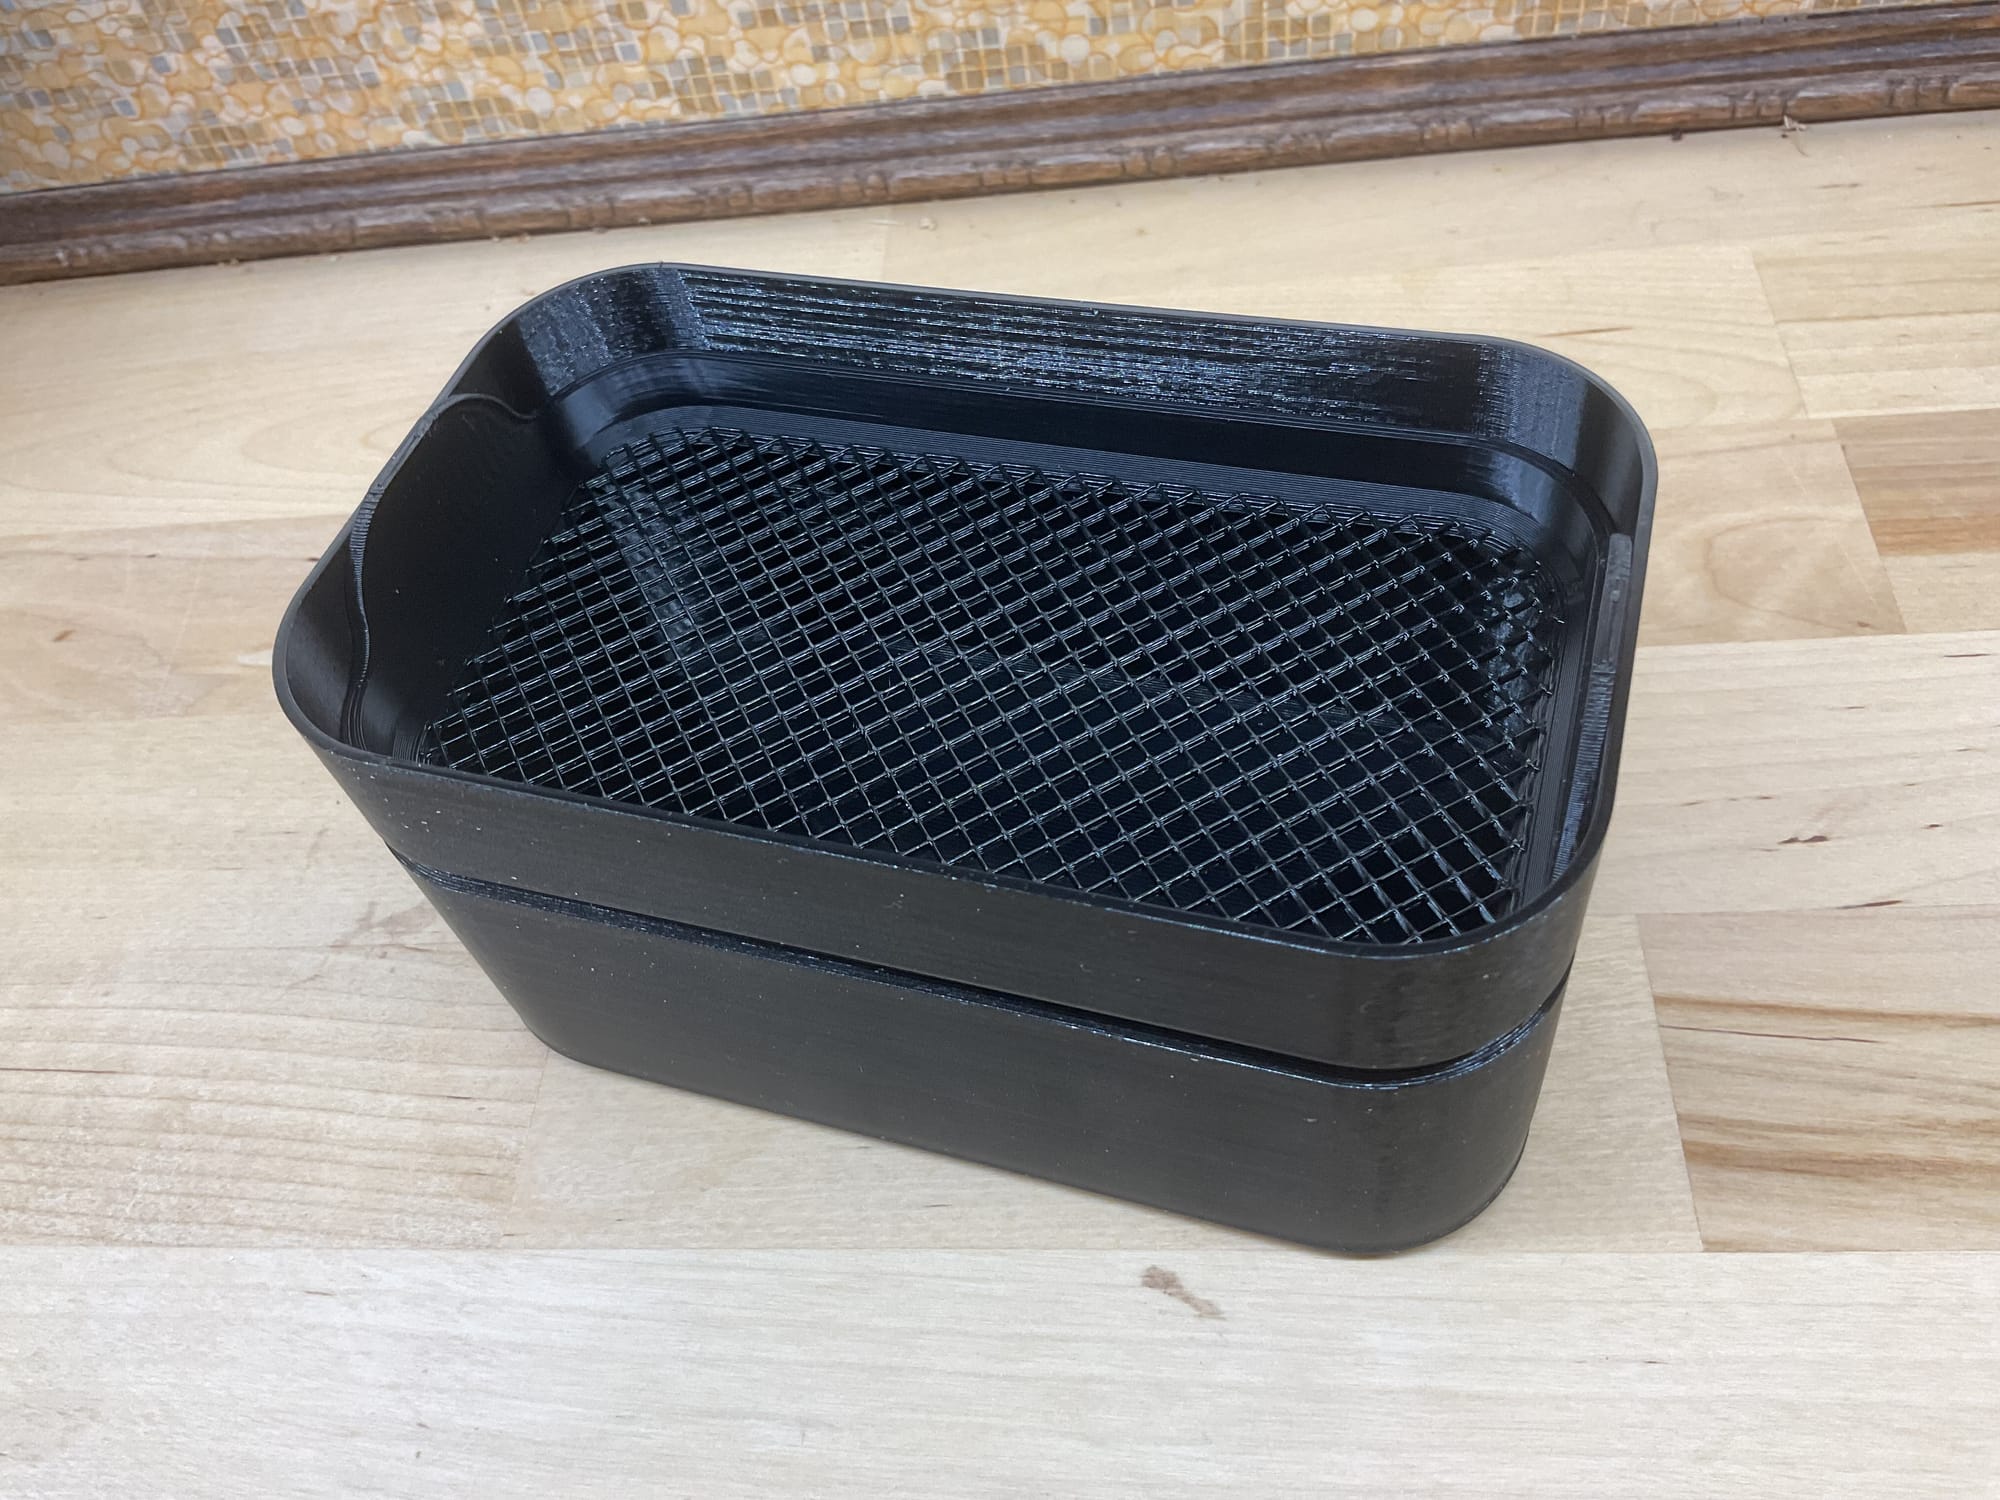
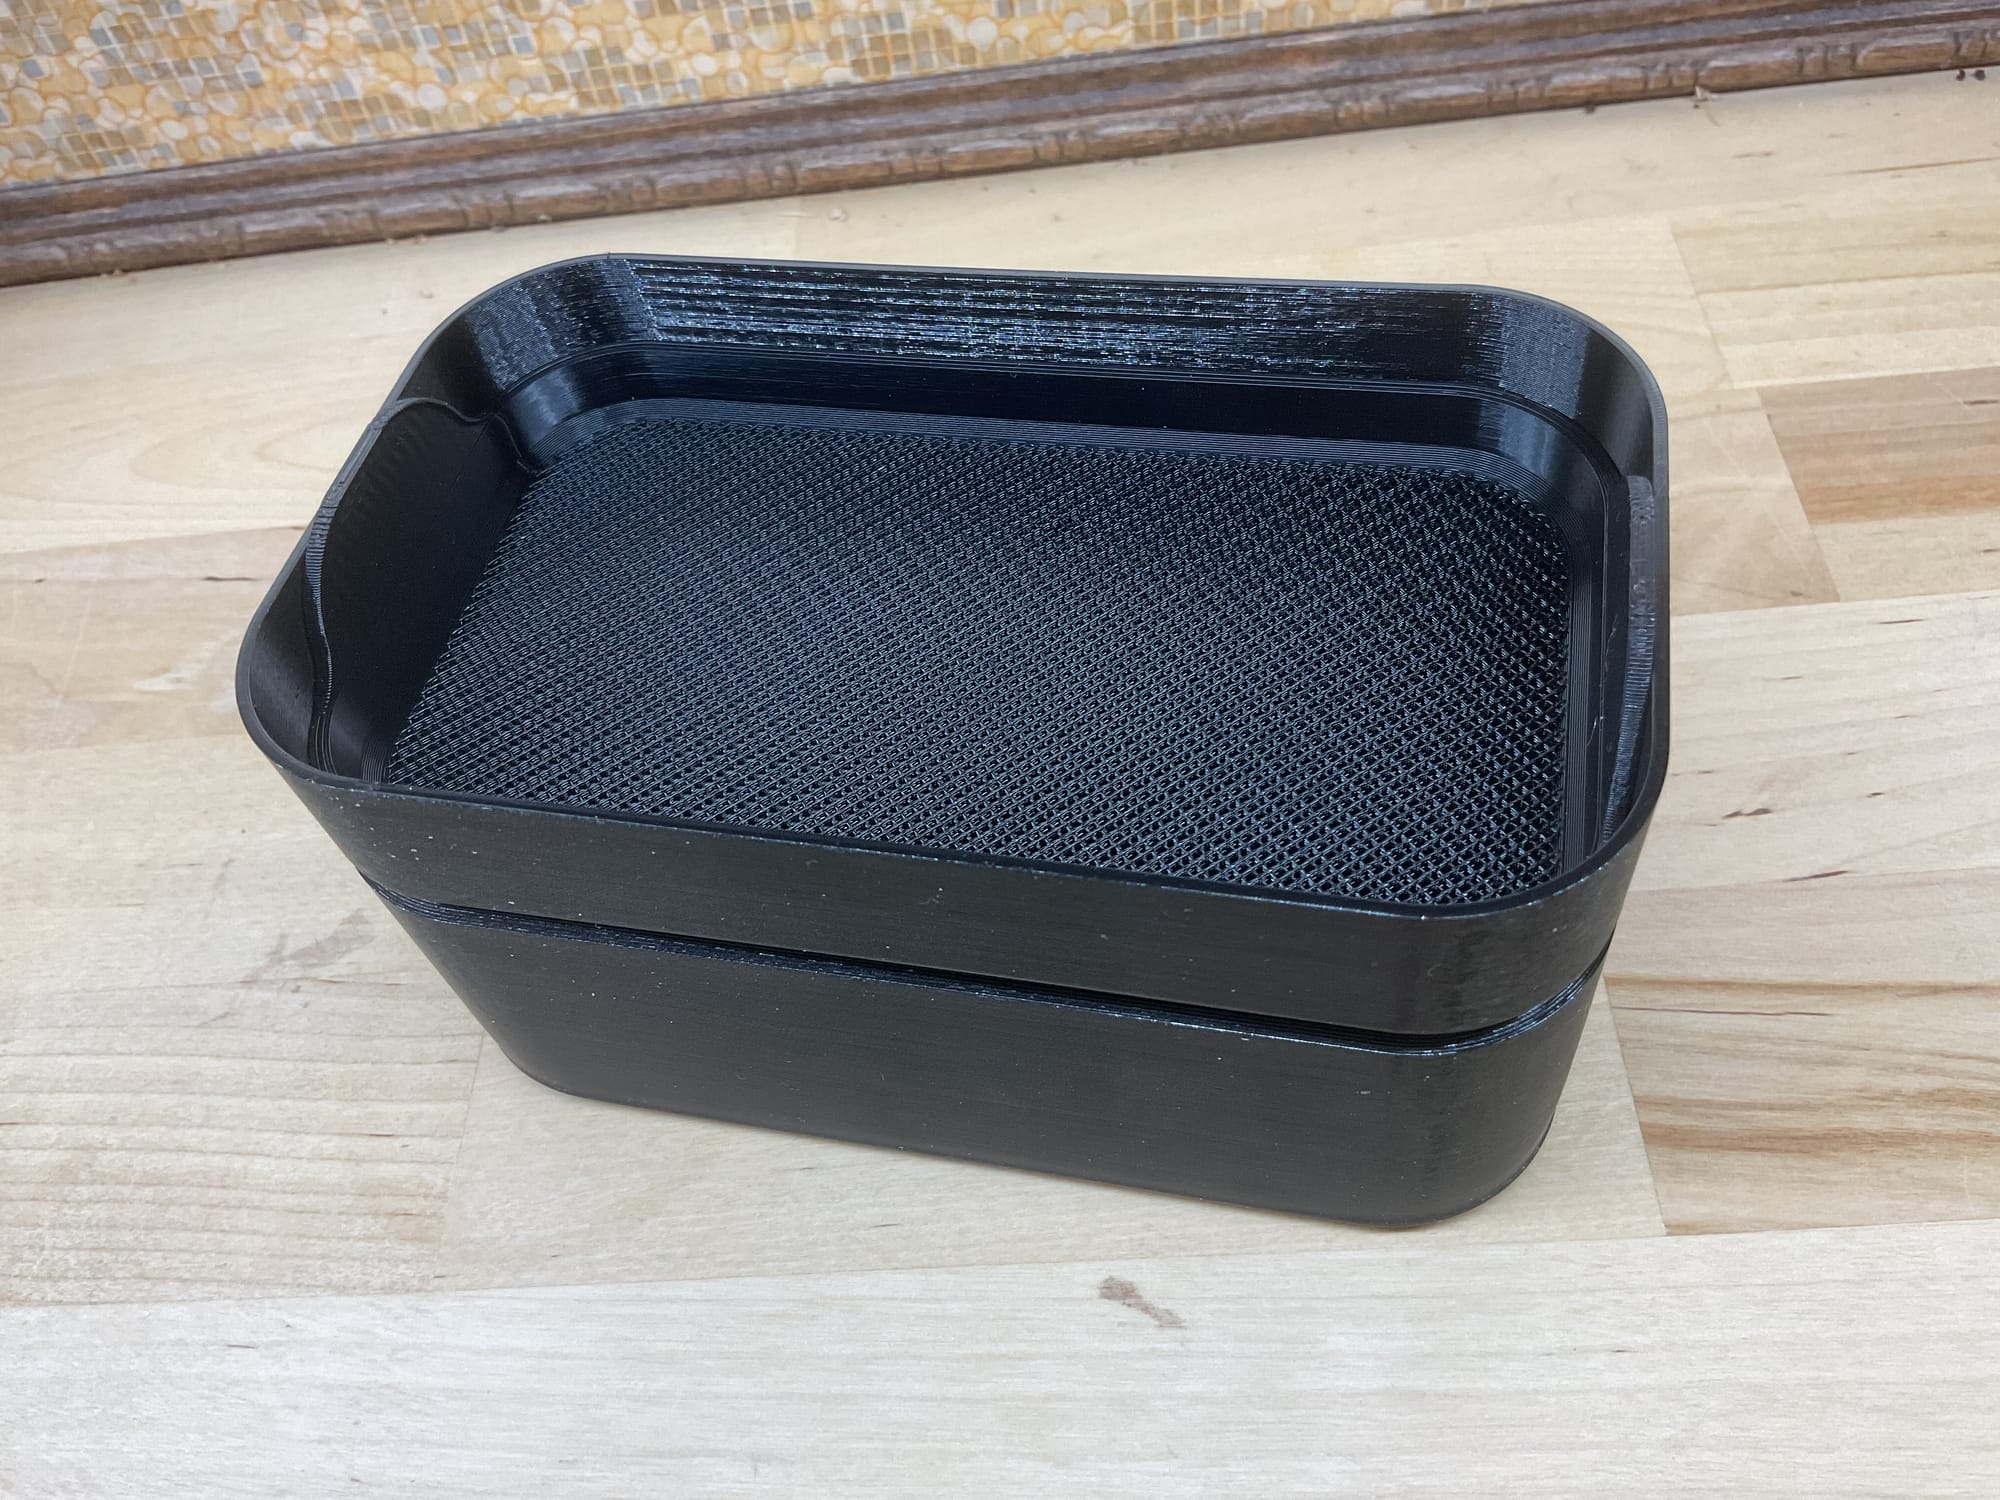
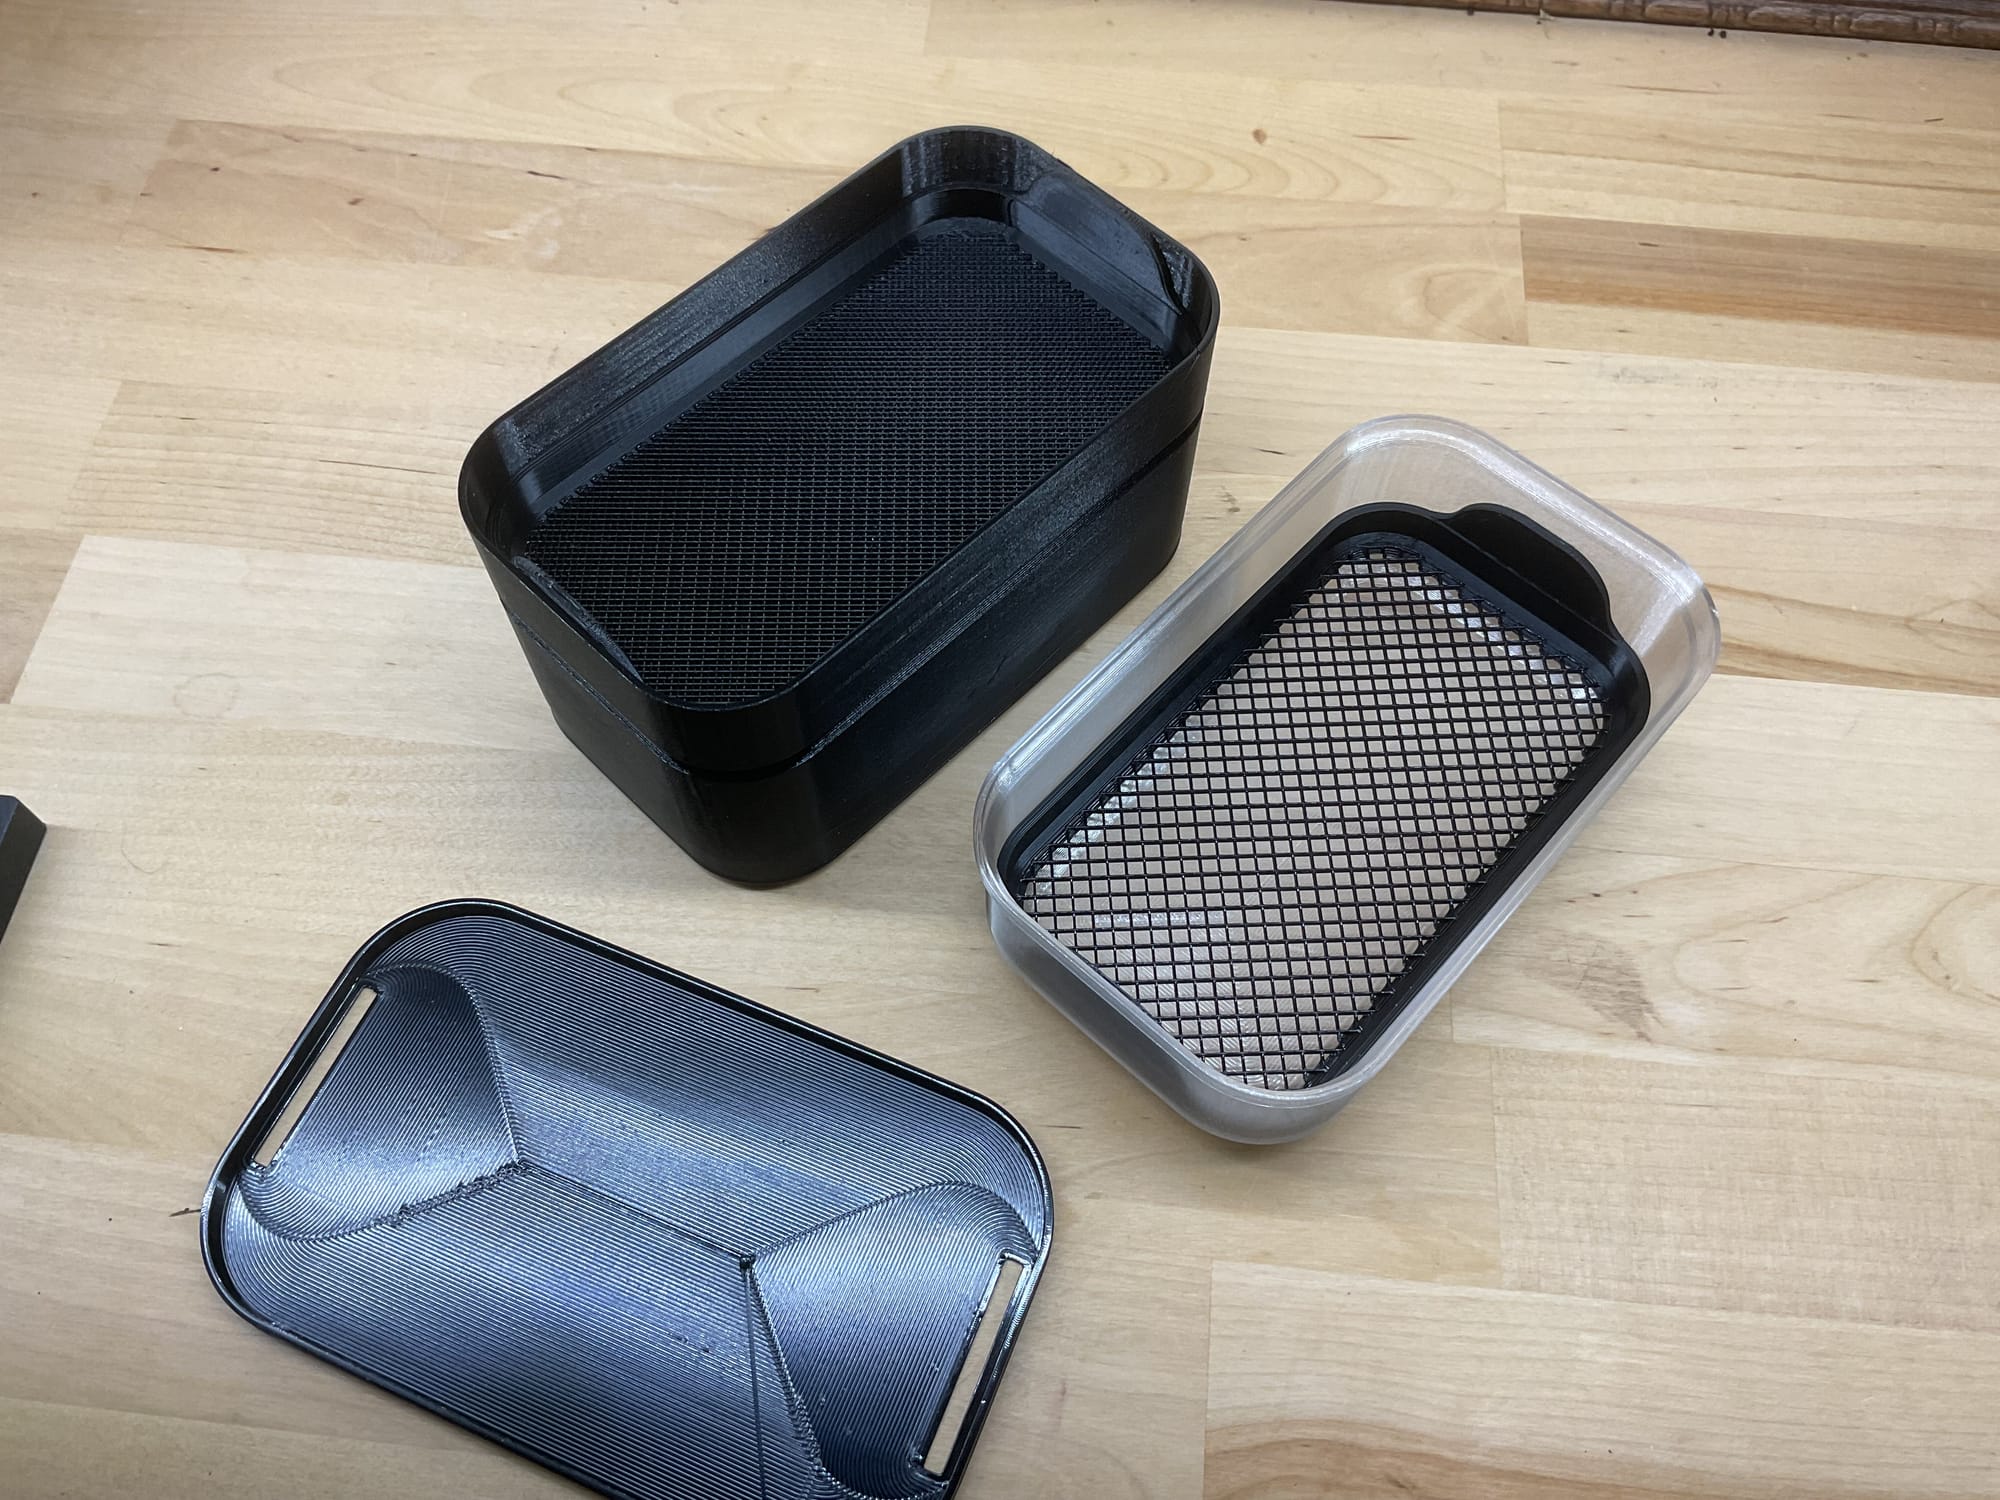
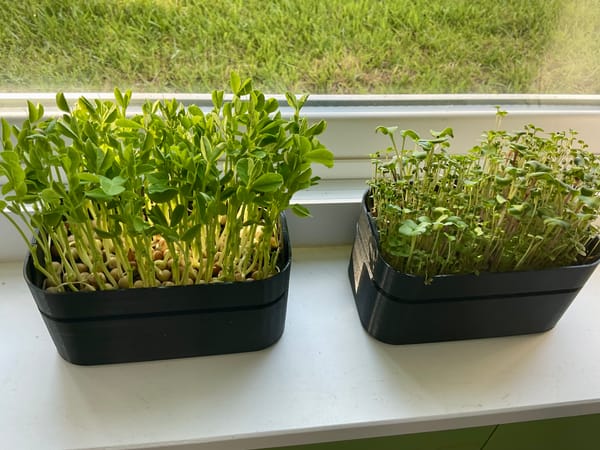
Course medium left for spotted pea micro greens and fine medium right for tiny seeds
The second most important part is the grow media. Seeds evolved to germinate and grow out to plants in soil, so we must provide something to take that role. Every commercially available grower uses a media that you buy and replace after every harvest. Some have resorted to using cotton balls etc. but we experimented until we could 3D print a medium that can be reused over and over again, even with tiny seeds.
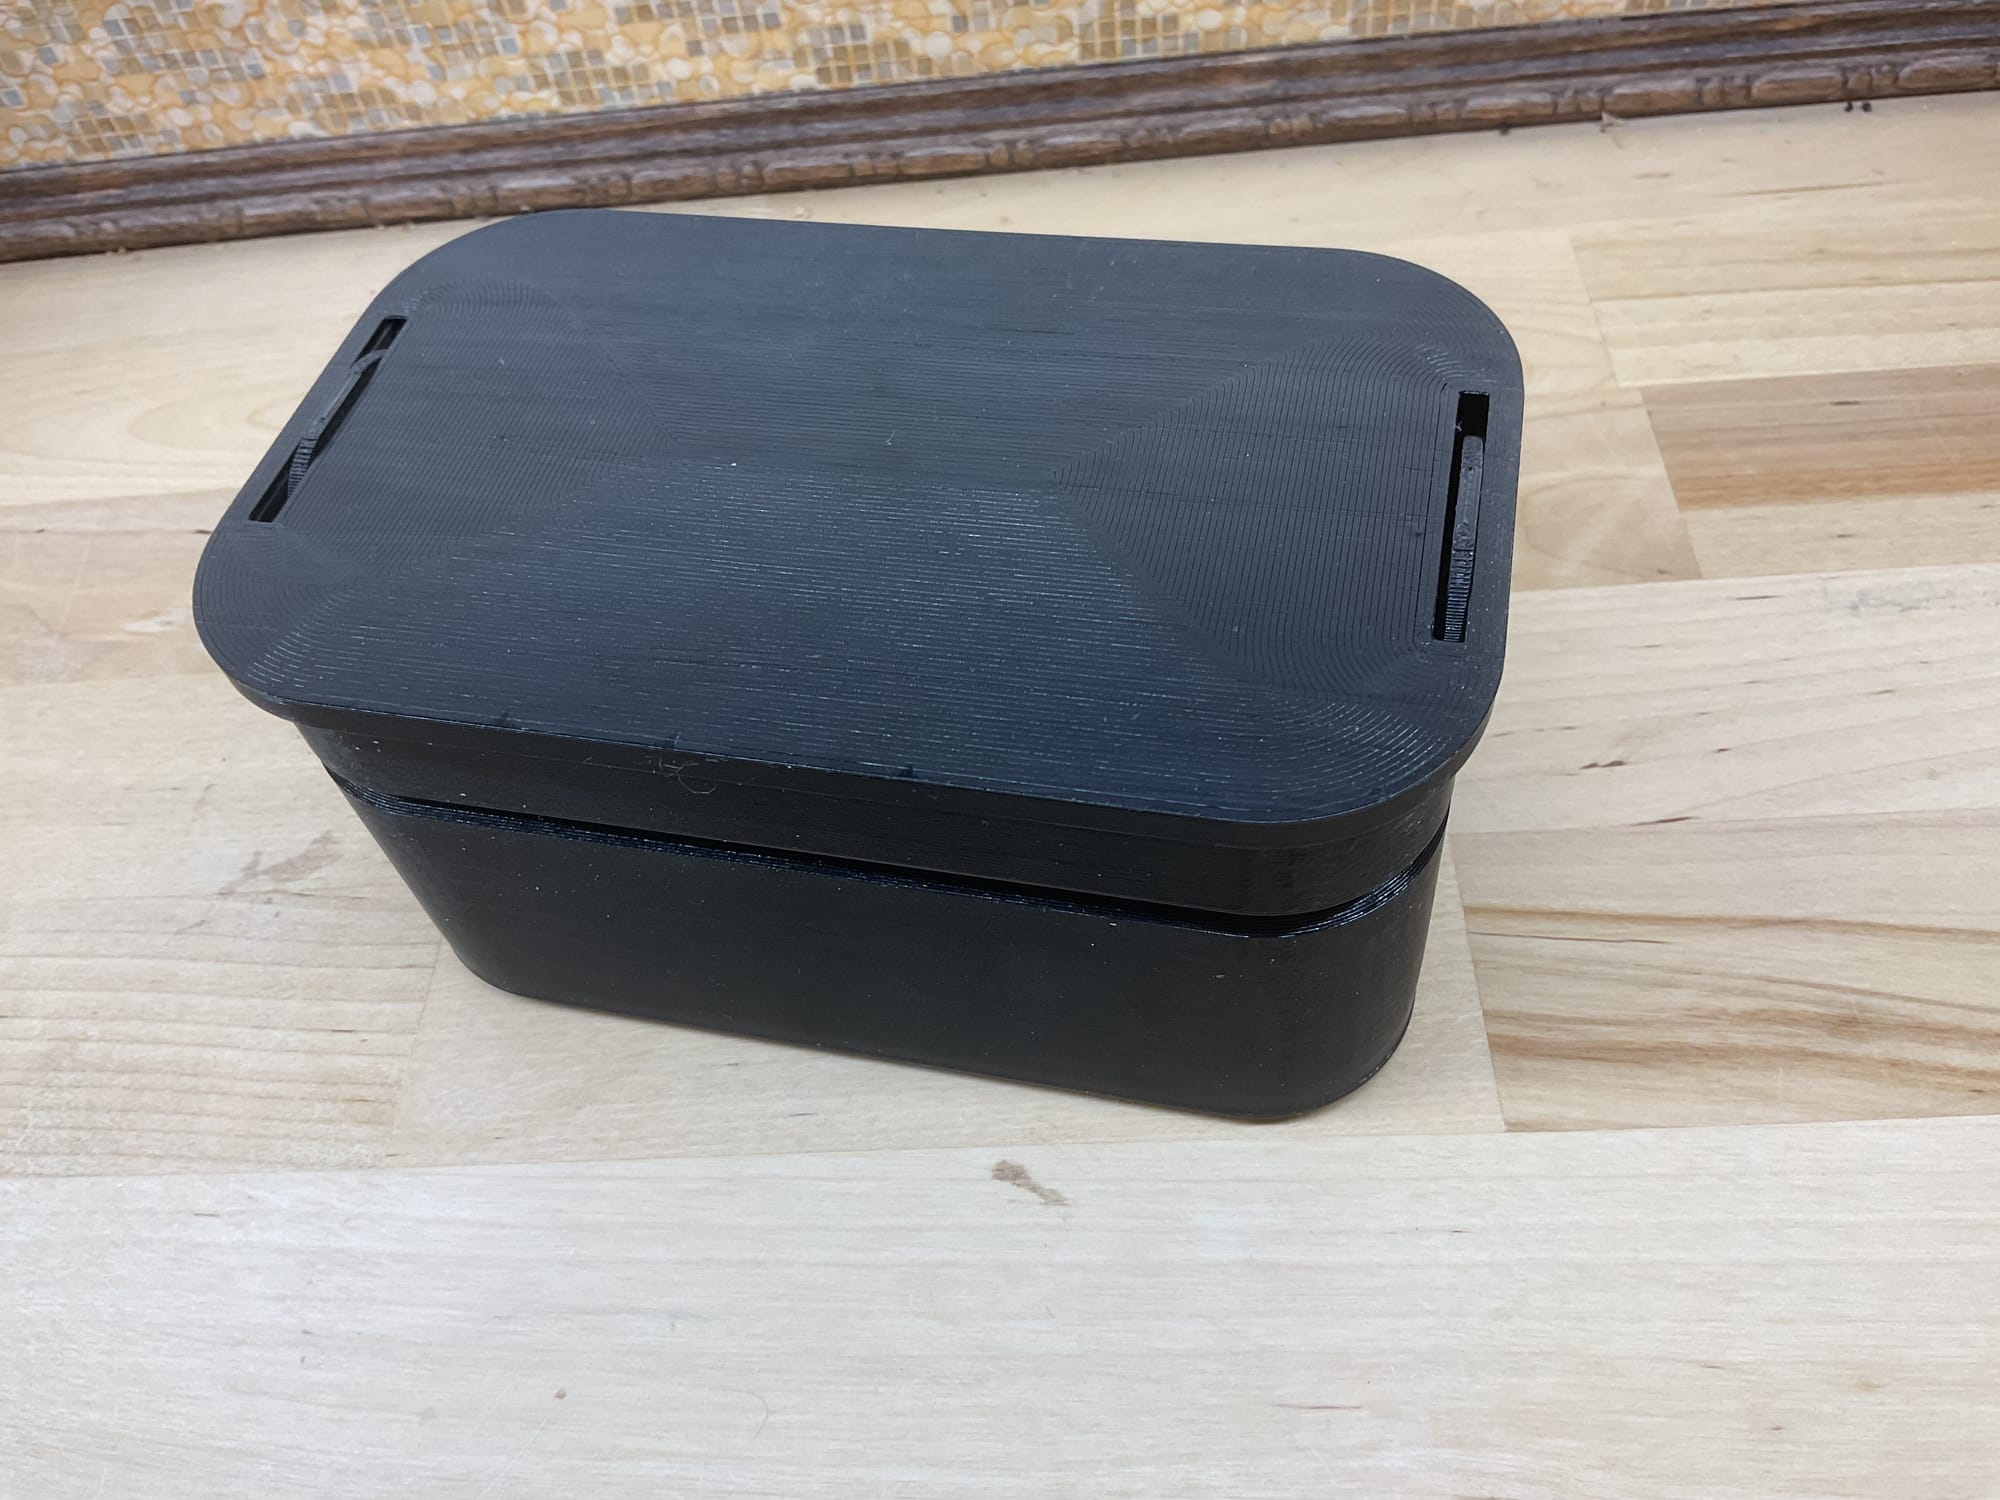
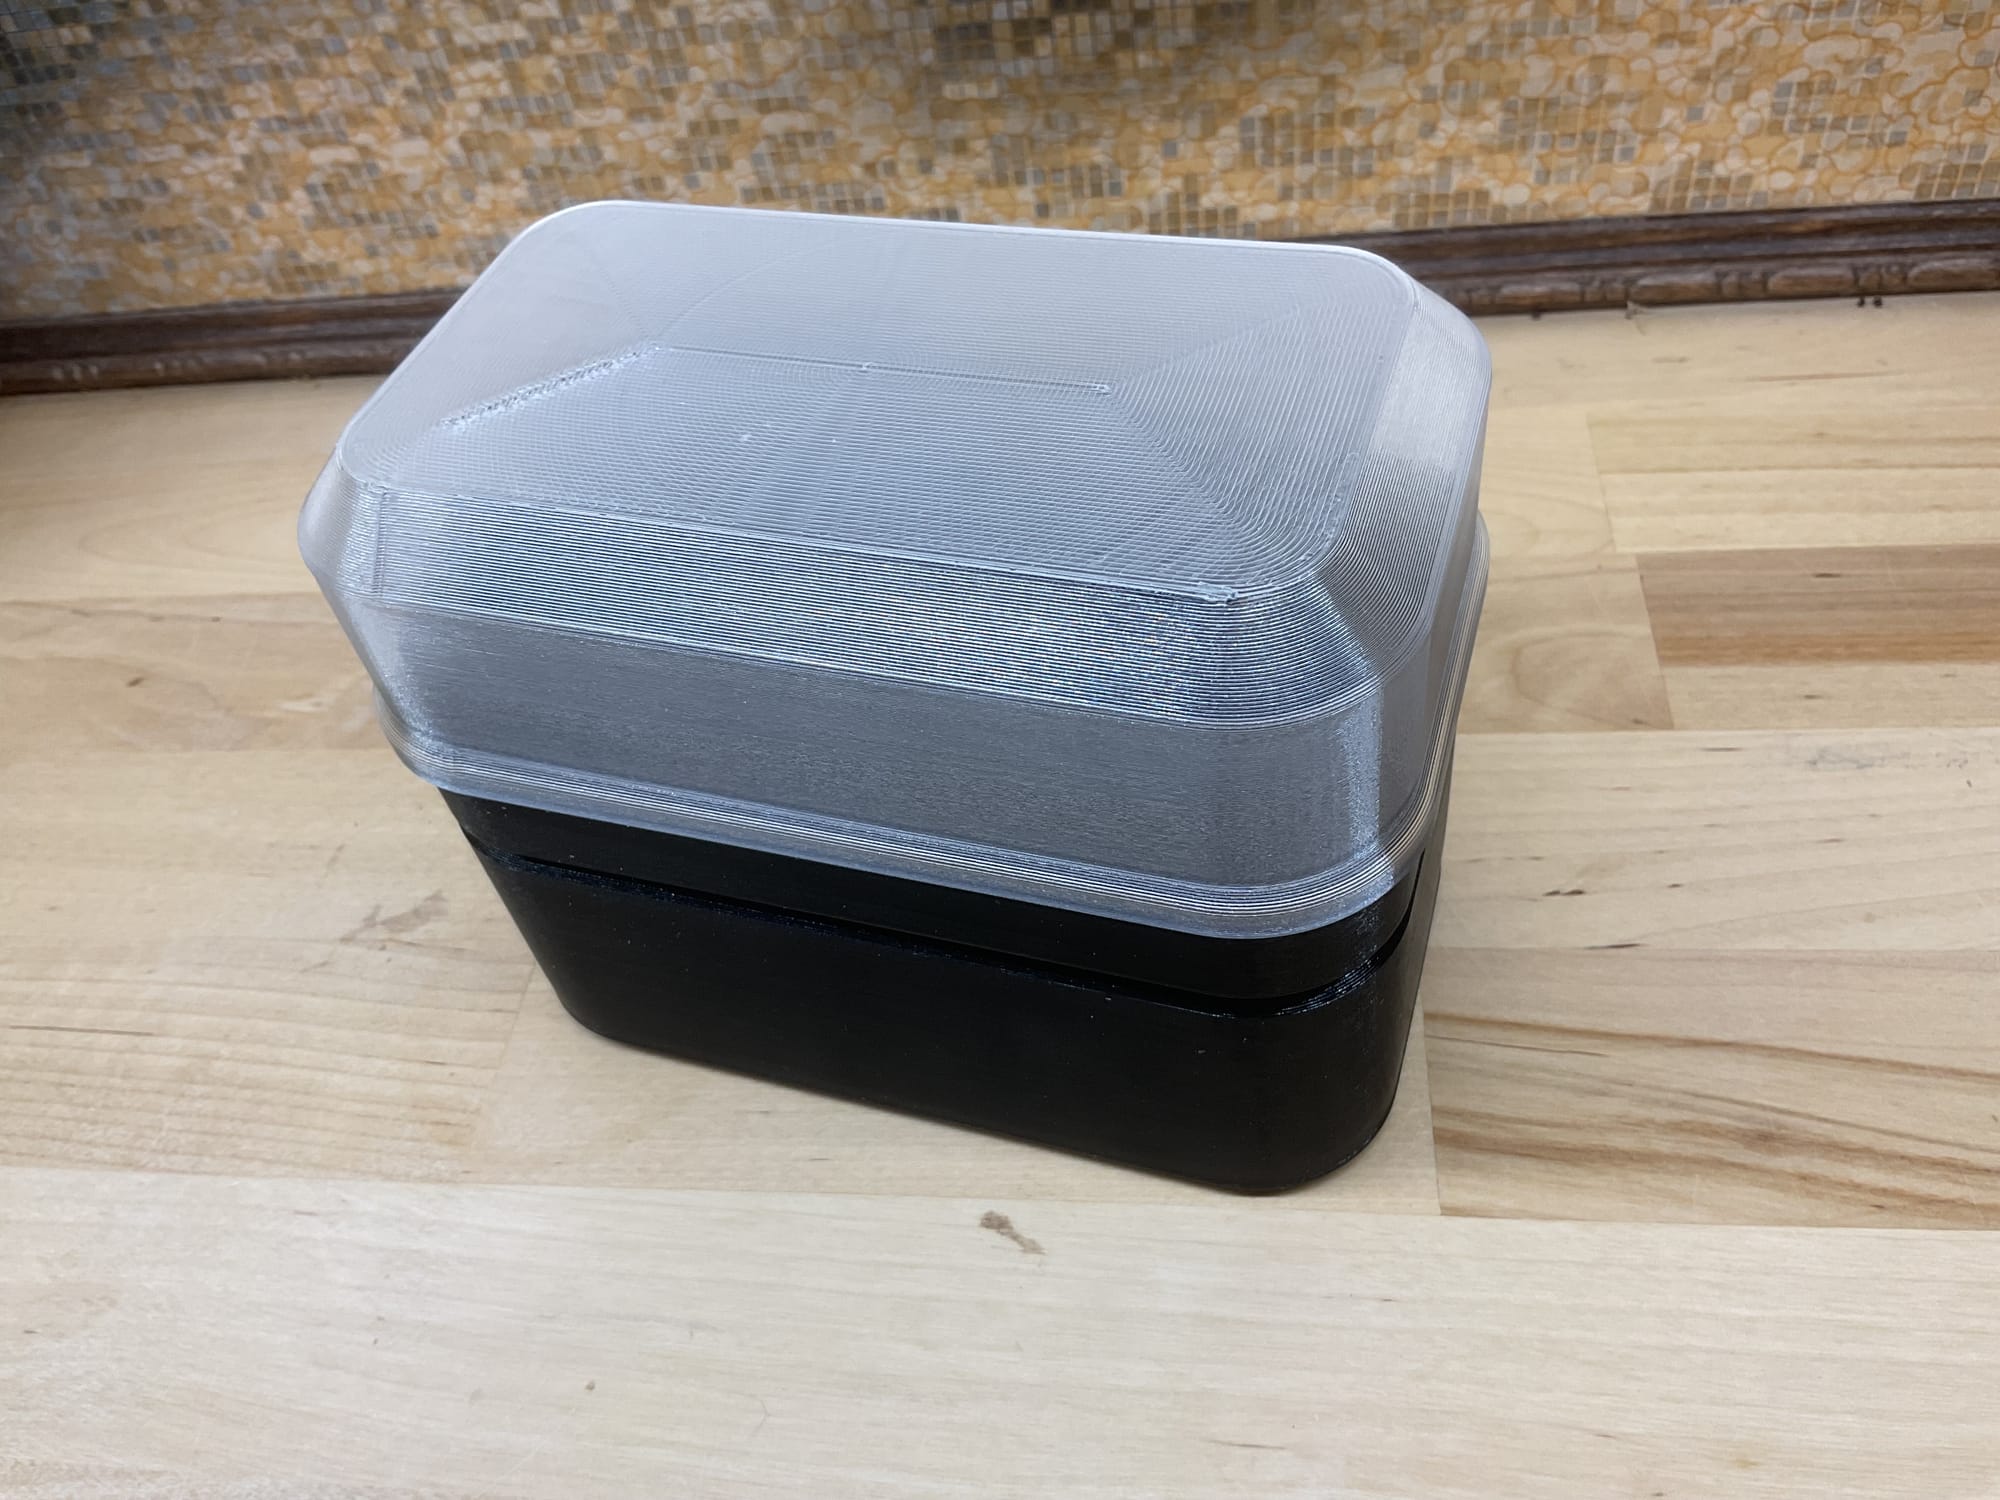
Blackout lid and humidity dome
Next part is what we call the blackout lid which blocks out the light just like for a seed buried in soil. This isn just a factor for germinating; the seedling will also grow upwards as it tries to find light above the soil and become stronger as it needs to punch through. Also the lid keeps the humidity high. We keep this lid on until the seedlings start pushing it up.
Then we get the humidity dome. We are still experimenting with this, trying it without any openings. We keep this dome on for 1-2 days after the seedlings push the blackout lid up. It allows the light to go through while keeping the seedlings protected. Without the dome, growth takes a day extra.
The grower is printed using black and transparent PETG. I started using Bambulab PETG-HF but as they can’t keep that stocked, I switched to Elegoo Rapid PETG which is about the same. Here it is important that you tune your printer for this filament. The important factors are: flow rate, shrinkage, pressure advance and retraction. My X1 Carbon printer can auto-tune for flow and pressure advance automatically but I found manual tuning is better. You need to research these procedures as there’s complete methods and test prints available.
For the mesh inserts I use a 0.4mm nozzle as the fine mesh is very delicate. For the other parts I use a 0.8mm nozzle. This large nozzle is key to get strong, waterproof prints: I use 0.28mm layer height so squash it down but I use 1.6mm line width which is double the default and a slow 25mm/s speed. Not only does this really push the lines out and down, it also allows the spiral vase mode to make the print one continuous extrusion of filament without stops and starts.
The CAD design is focused around the printer setup and slicer settings. For example the walls are exactly 1.6mm thick. Also, the mesh is created from a sparse infill pattern where we delete the initial and top shell layers.
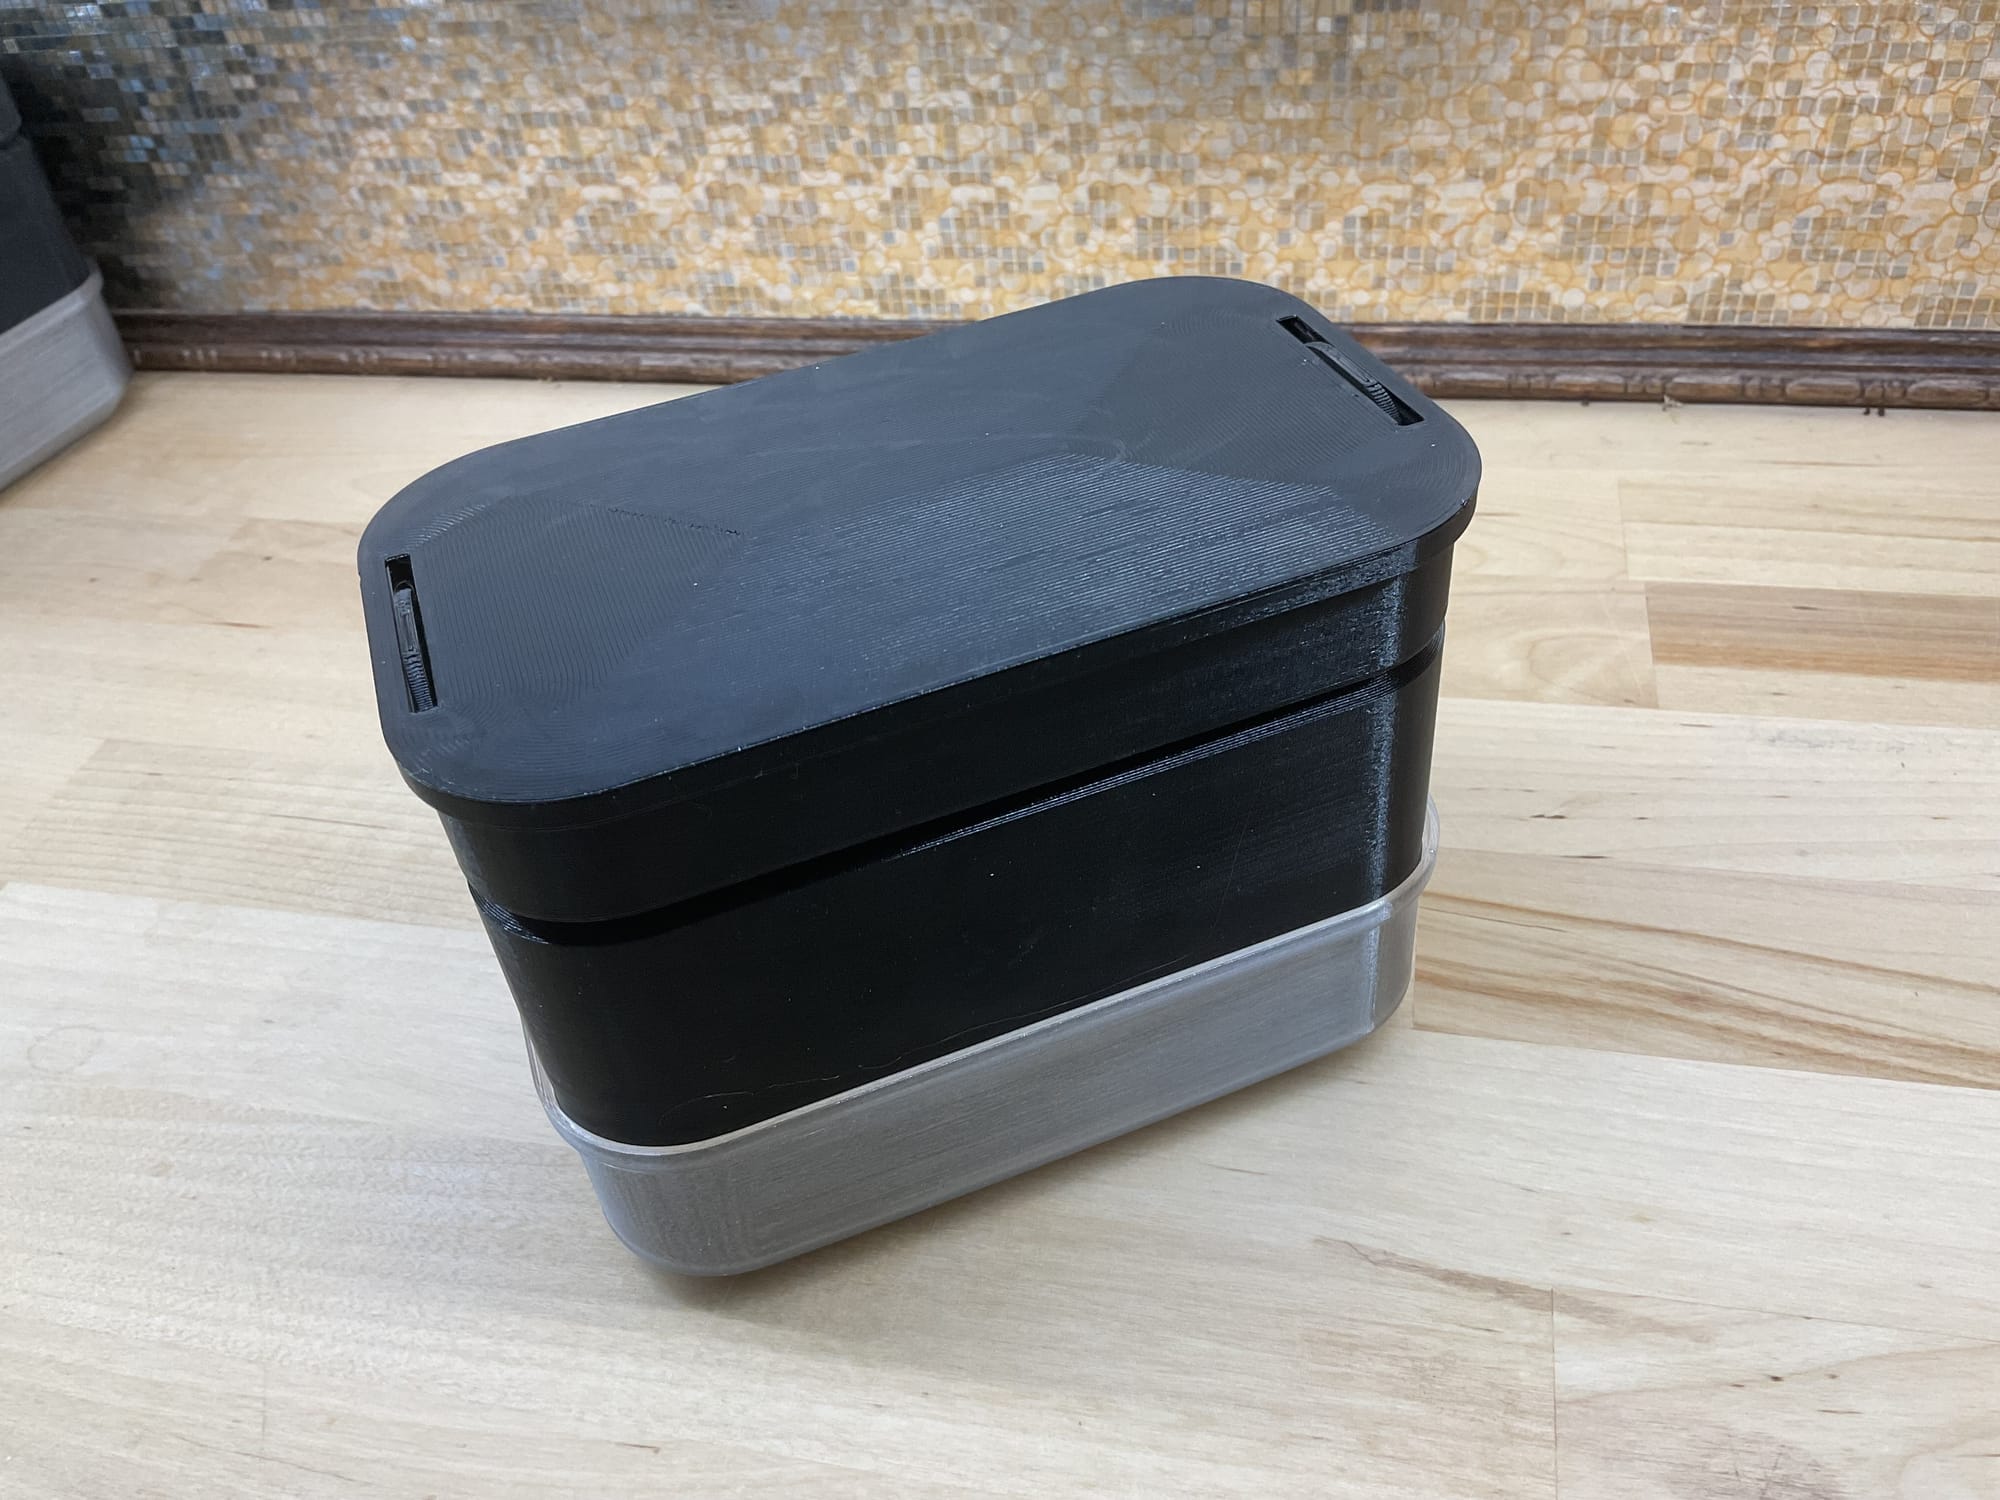
For storage, all the parts fit together like shown below.