Electric winch safety

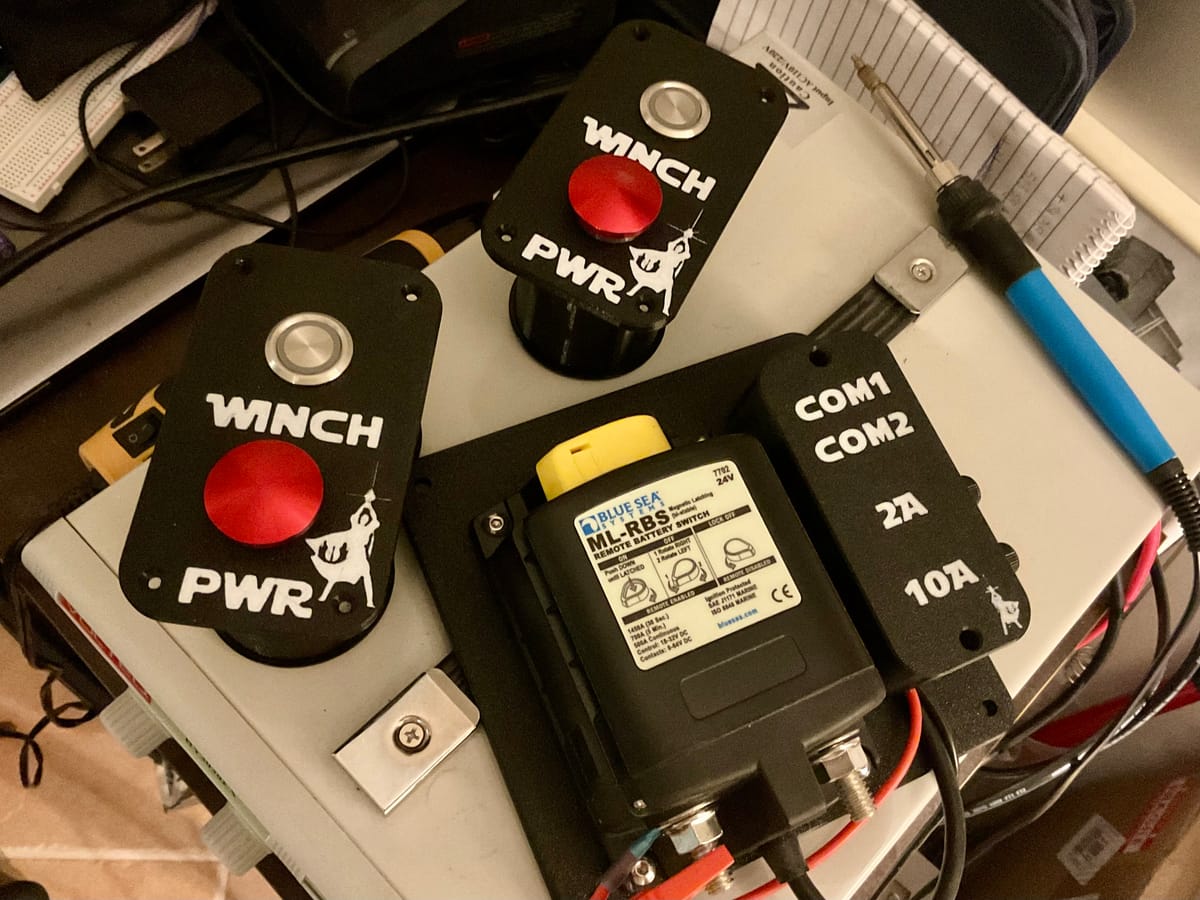
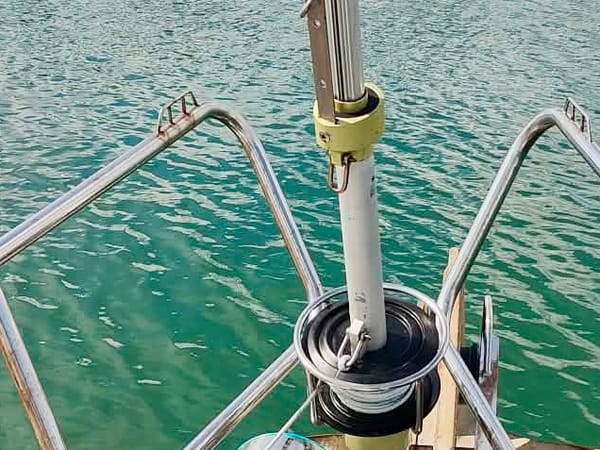
Over the years we have experienced multiple incidents around electric winches, including recently while removing our forestay with furler and the winch wouldn’t stop, which happened multiple times. We also had winches start turning by themselves. All those problems are caused by malfunctioning winch control switches, which is why I am working on an improved design that can be 3D printed so easily replaced.
We started with the air operated switches, which are just an air bulb with hose. When the sun is on that, the air can expand enough to activate the switch and also we have experienced that stop pressing it didn’t turn off the winch because of over pressure inside it. We then switched over to the type with micro switches inside the switch itself which eliminate those issues but we had frequent failures of those including the recent failures to turn off.
The security feature we added many years ago was for every electric winch an additional pull switch in series with the control switch and turn that additional switch off every time when done using the winch. We are now replacing that with this new power control setup.
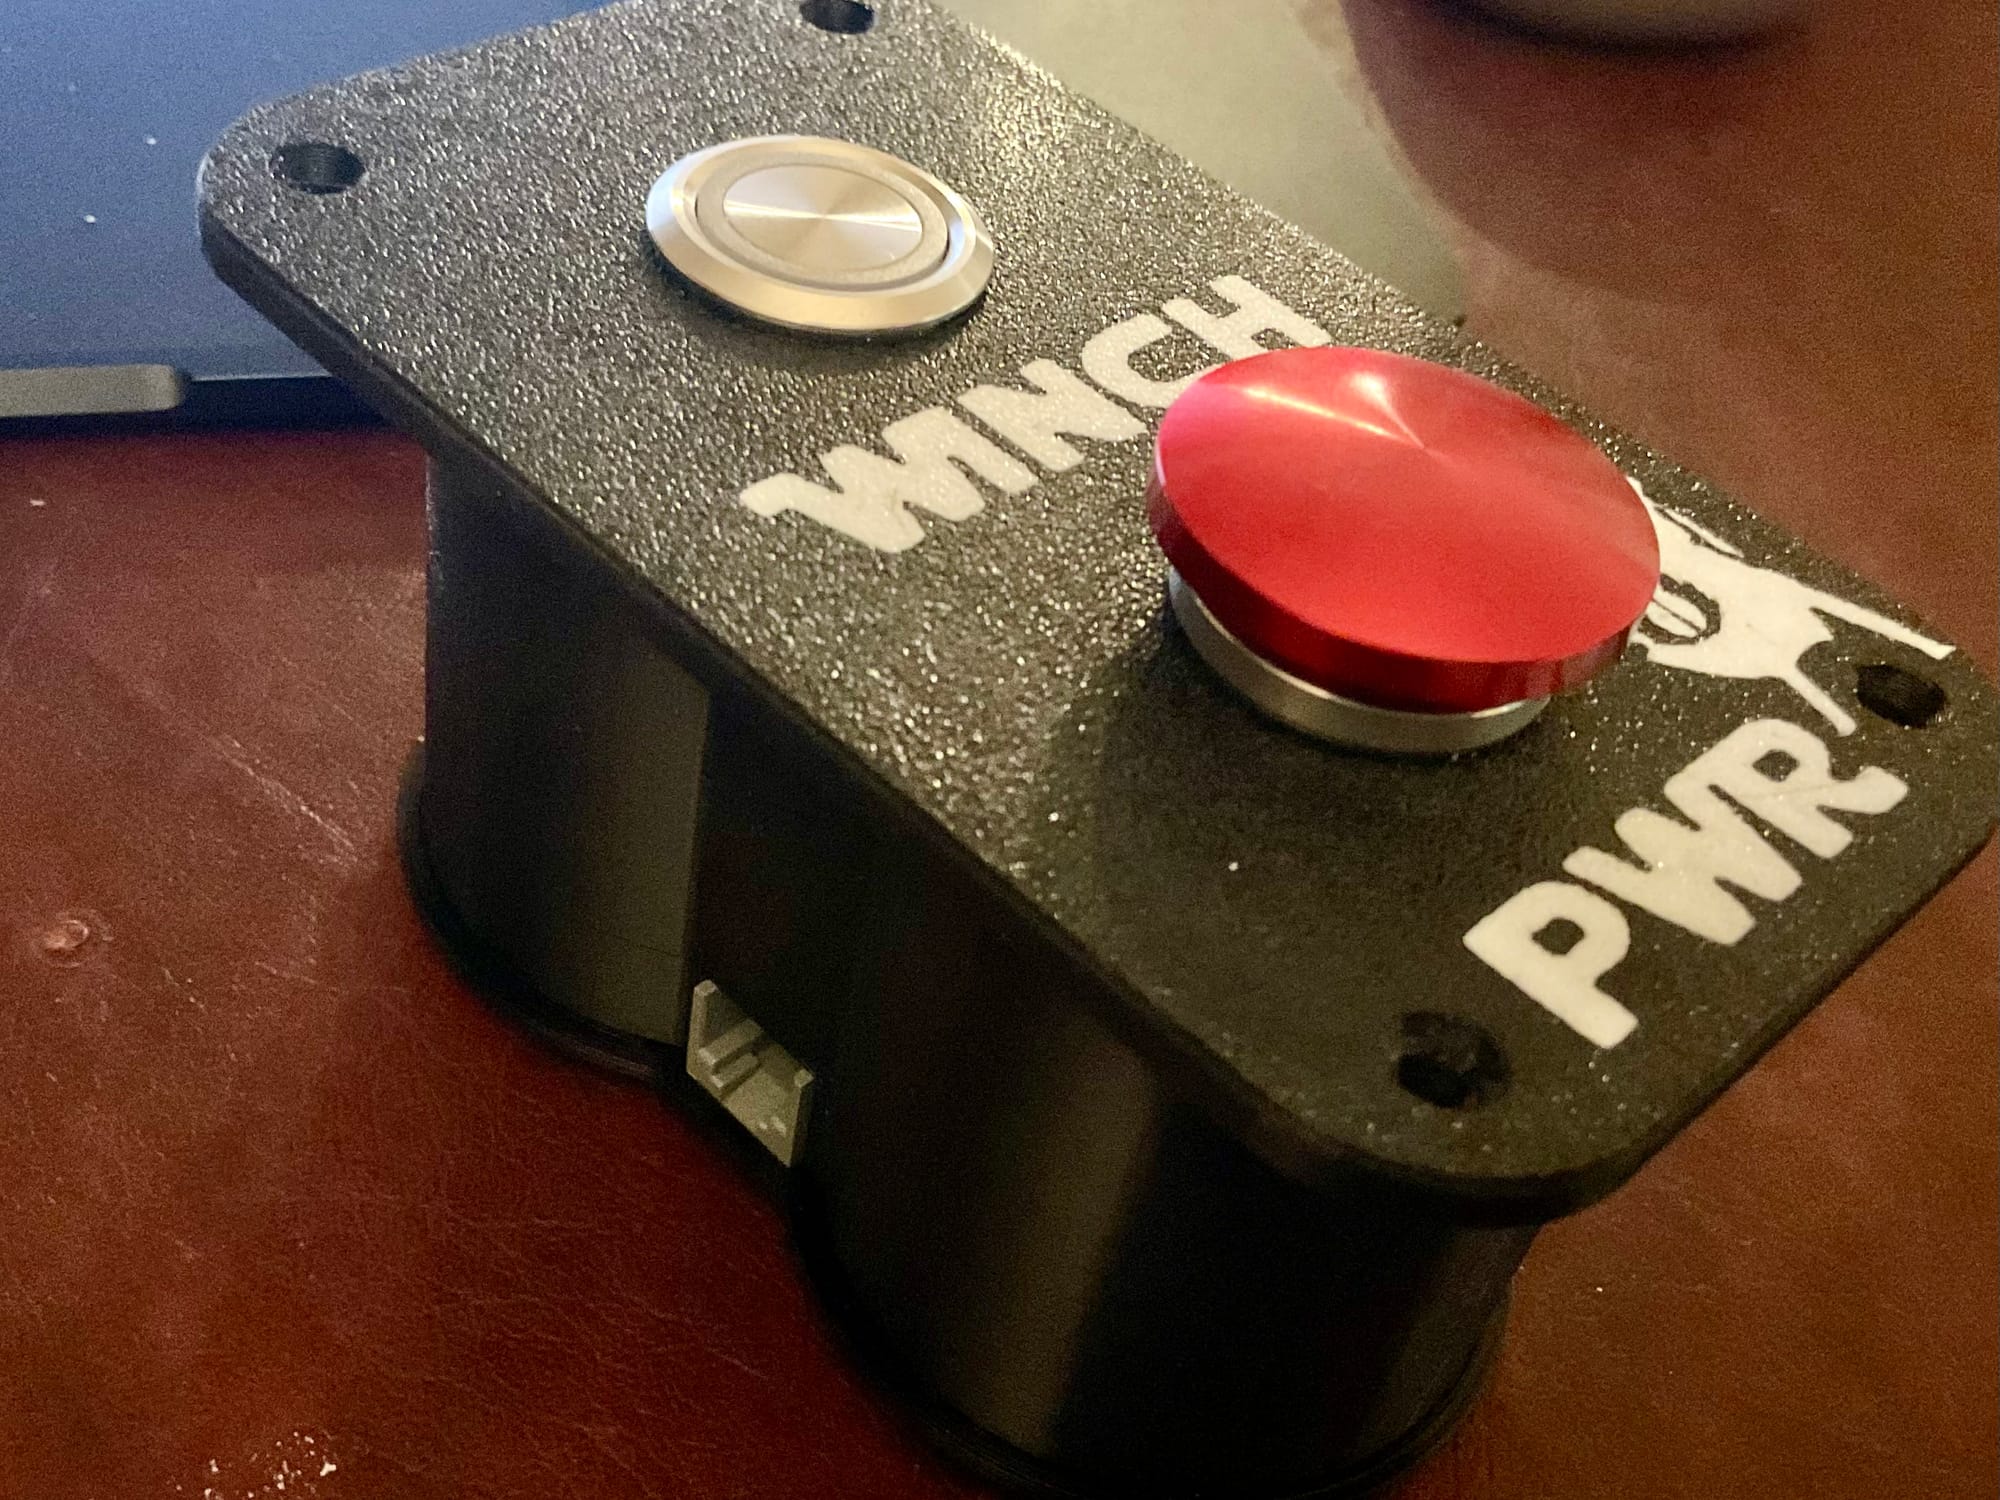
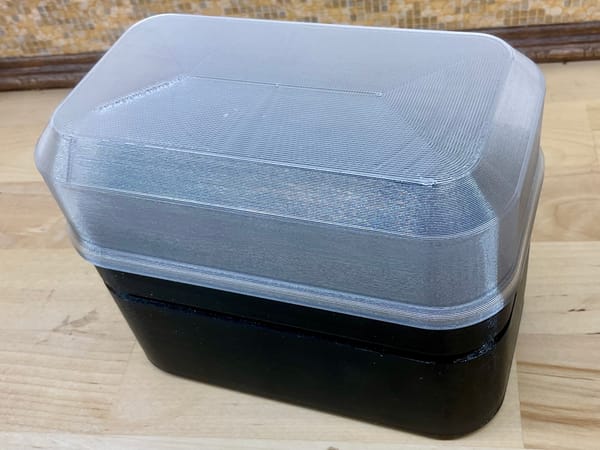
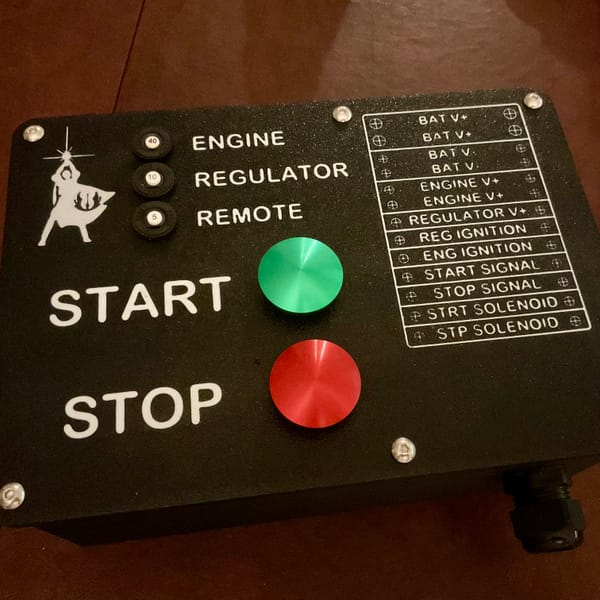
We have two control panels for this, near each primary winch. This is a polycarbonate housing with two momentary switches and two RJ-11 jacks. The “ON” switch also has a LED indicating if the power is on or off. The switches are different designs so that it’s easy to operate by feel without looking.
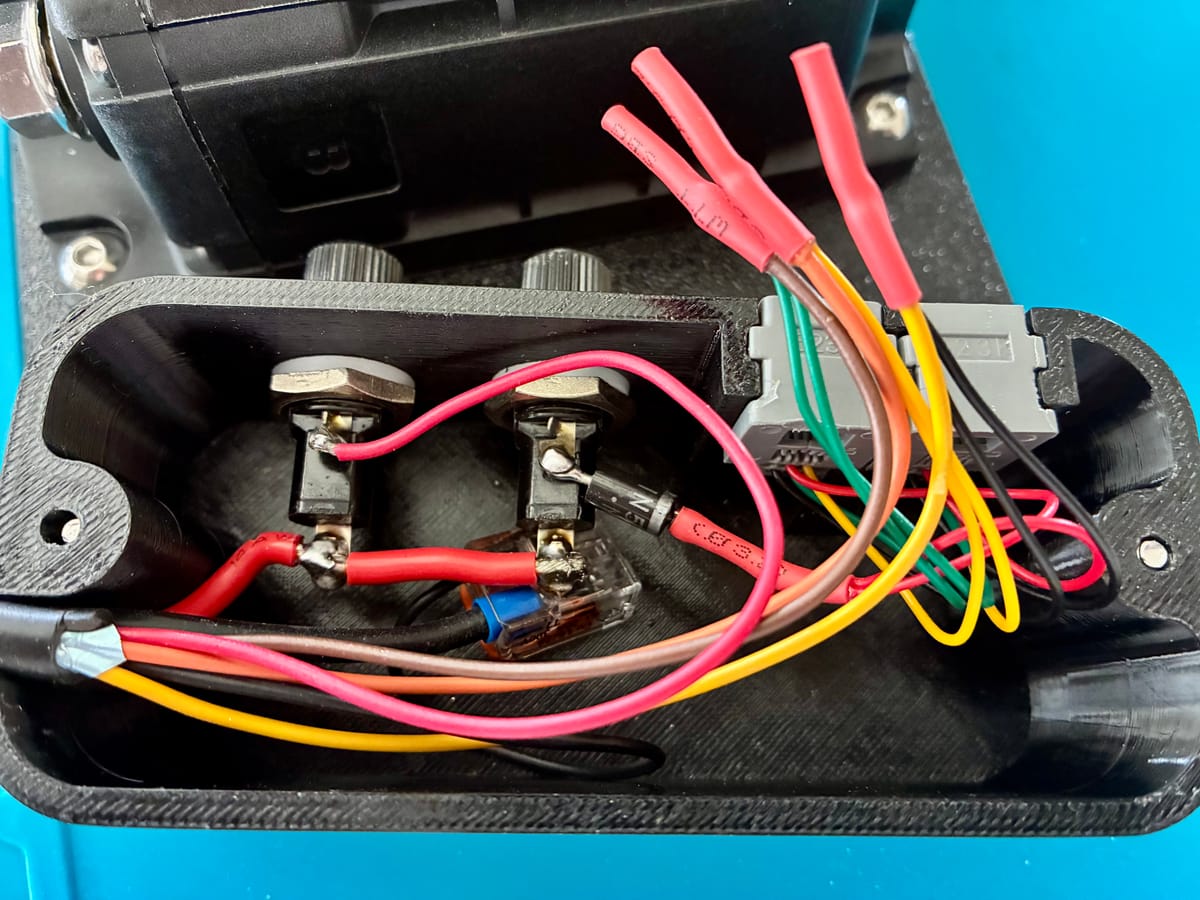
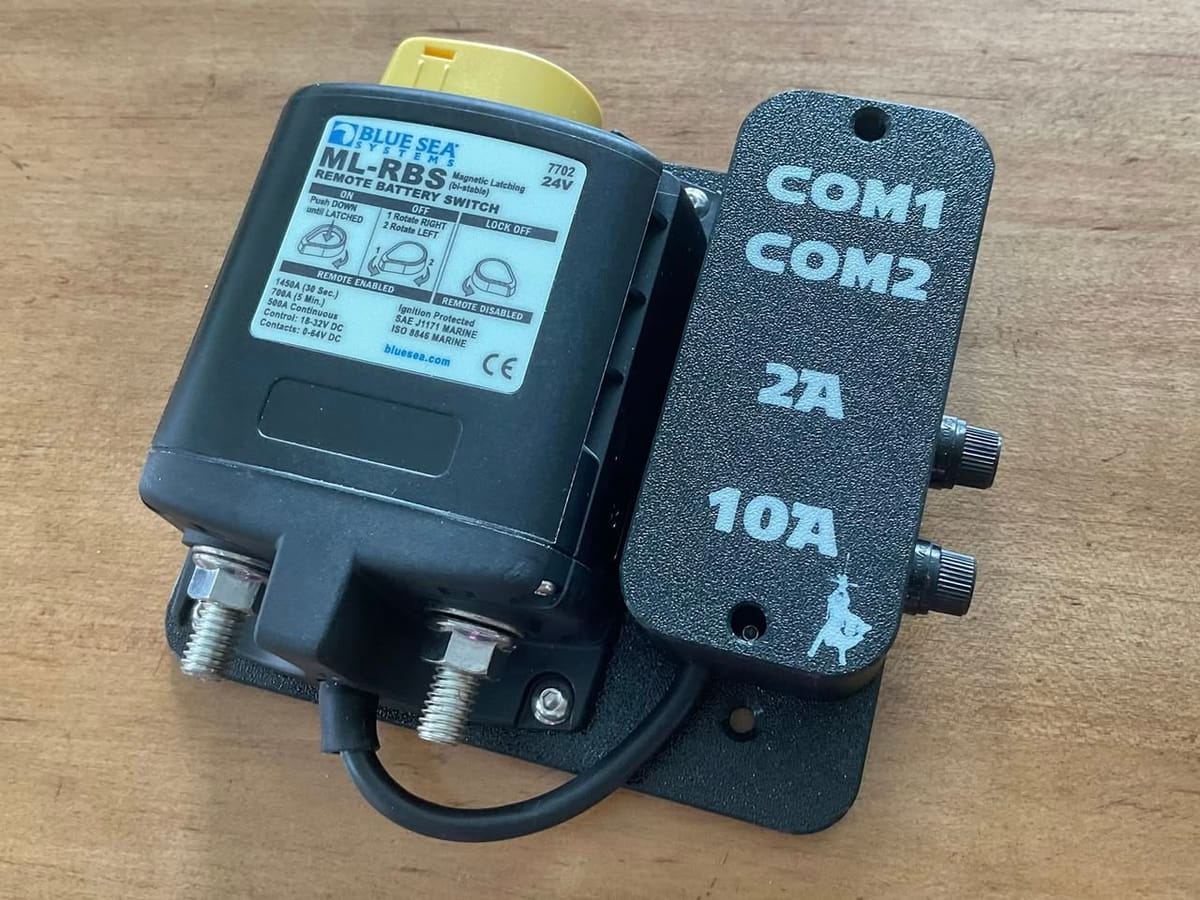
The panels work with the RBS cradles we designed and built earlier, where multiple RBS units and switches can be daisy chained using simple RJ-11 cables. For this system we start with the port side panel connecting to first a 24V RBS which powers the Lewmar 58 in the cockpit, then a 12V RBS which powers the two primary winches, then the starboard side panel, then all the way forward to another 12V RBS That powers the Lewmar 44 on deck at the main mast.
The LEDs of the on-switches are controlled by the LED status signal from the RBS units, so when you turn them on, the LEDs on both panels light up.
The cutout for installing the panels is mostly done with a hole saw. I printed a jig that accepts M14 drill bit guides for the center positions of the hole saw cuts as well as the fastener holes in the corners. I also printed positioning pins with M14 thread to keep everything aligned while drilling, I will write a future post about how to create such jigs, which make installation a breeze.

 Nick Vermeulen
 Nick Vermeulen