Using the micro greens grower

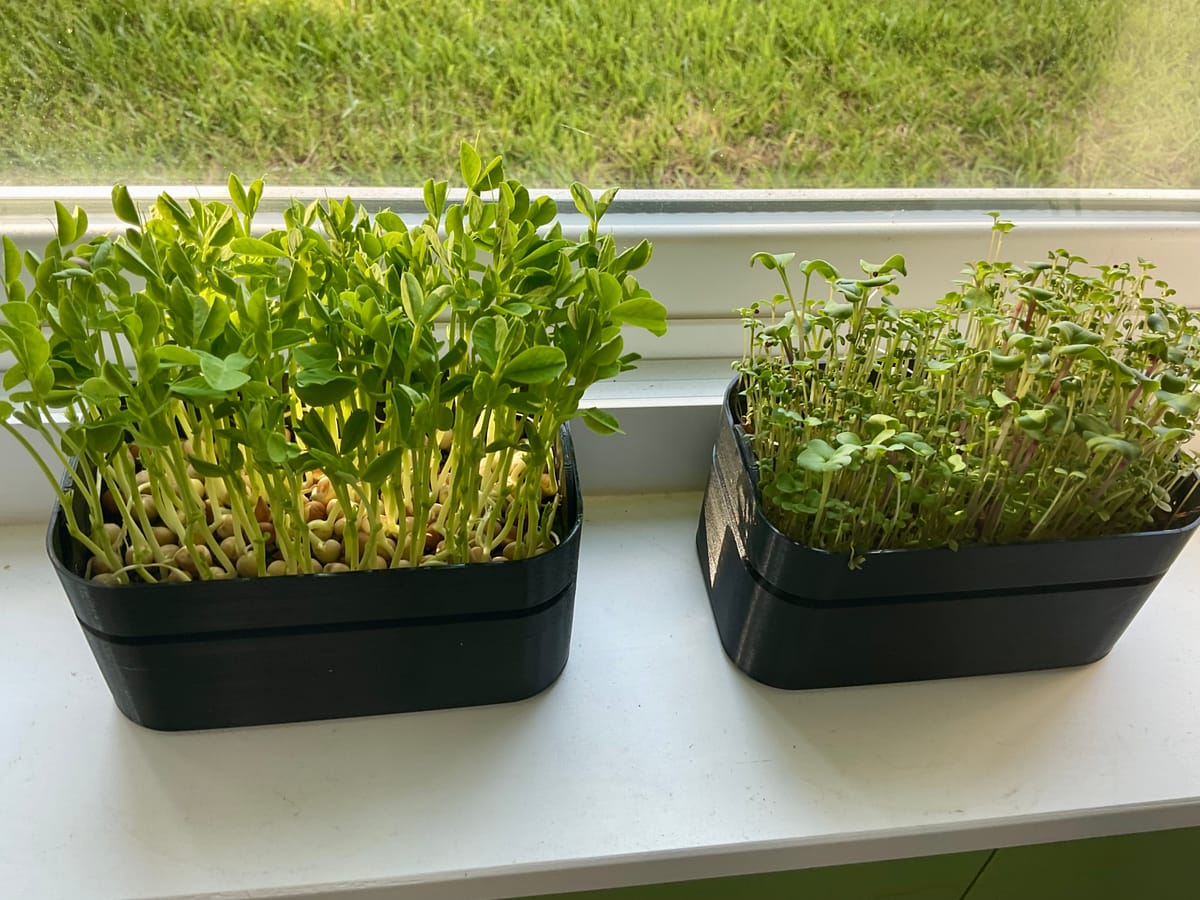
We have completed the first grow cycle and are happy to report that it works like expected. In this article the steps from sewing to harvest.
Tuesday one week ago we started both the spotted peas and the salad mix which consists of garden cress, reddish, mustard, turnip and arugula. The spotted peas started by soaking them in a Mason jar for 24 hours. After that the grower tank is filled with clean, filtered water, the course mesh inserted and the soaked peas are spread out.For the salad mix we immediately fill the tank, insert the fine media and sew the seeds onto the fine mesh media, then mist them with a plant mister.
Both growers get the blackout lid on and the next morning (Wednesday) we find them like in the pictures below:
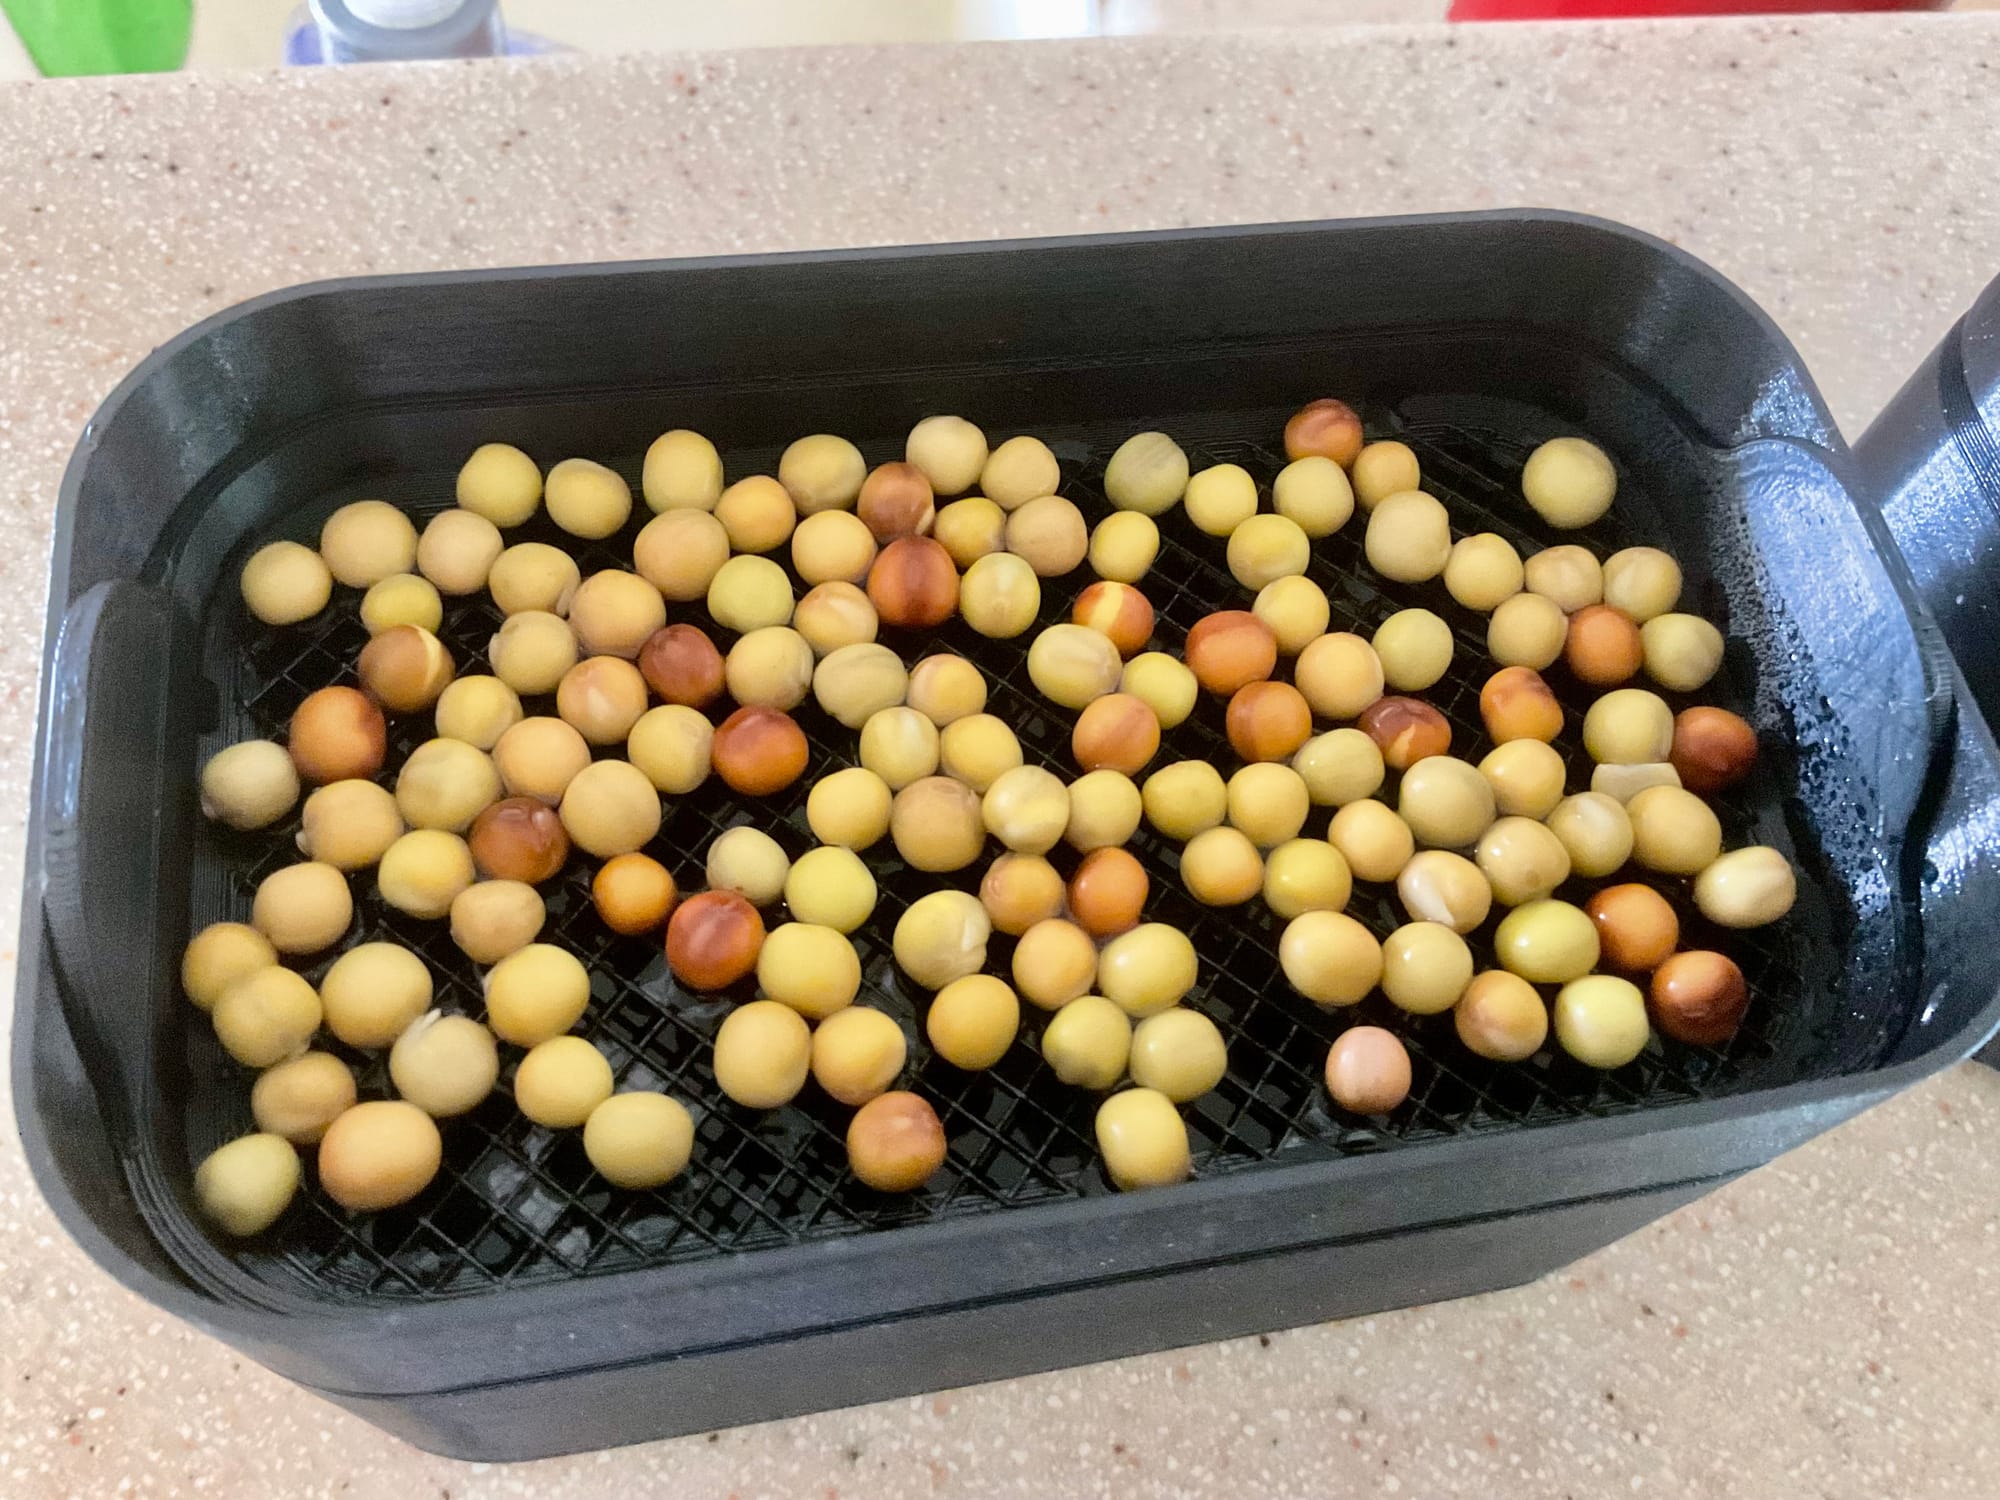
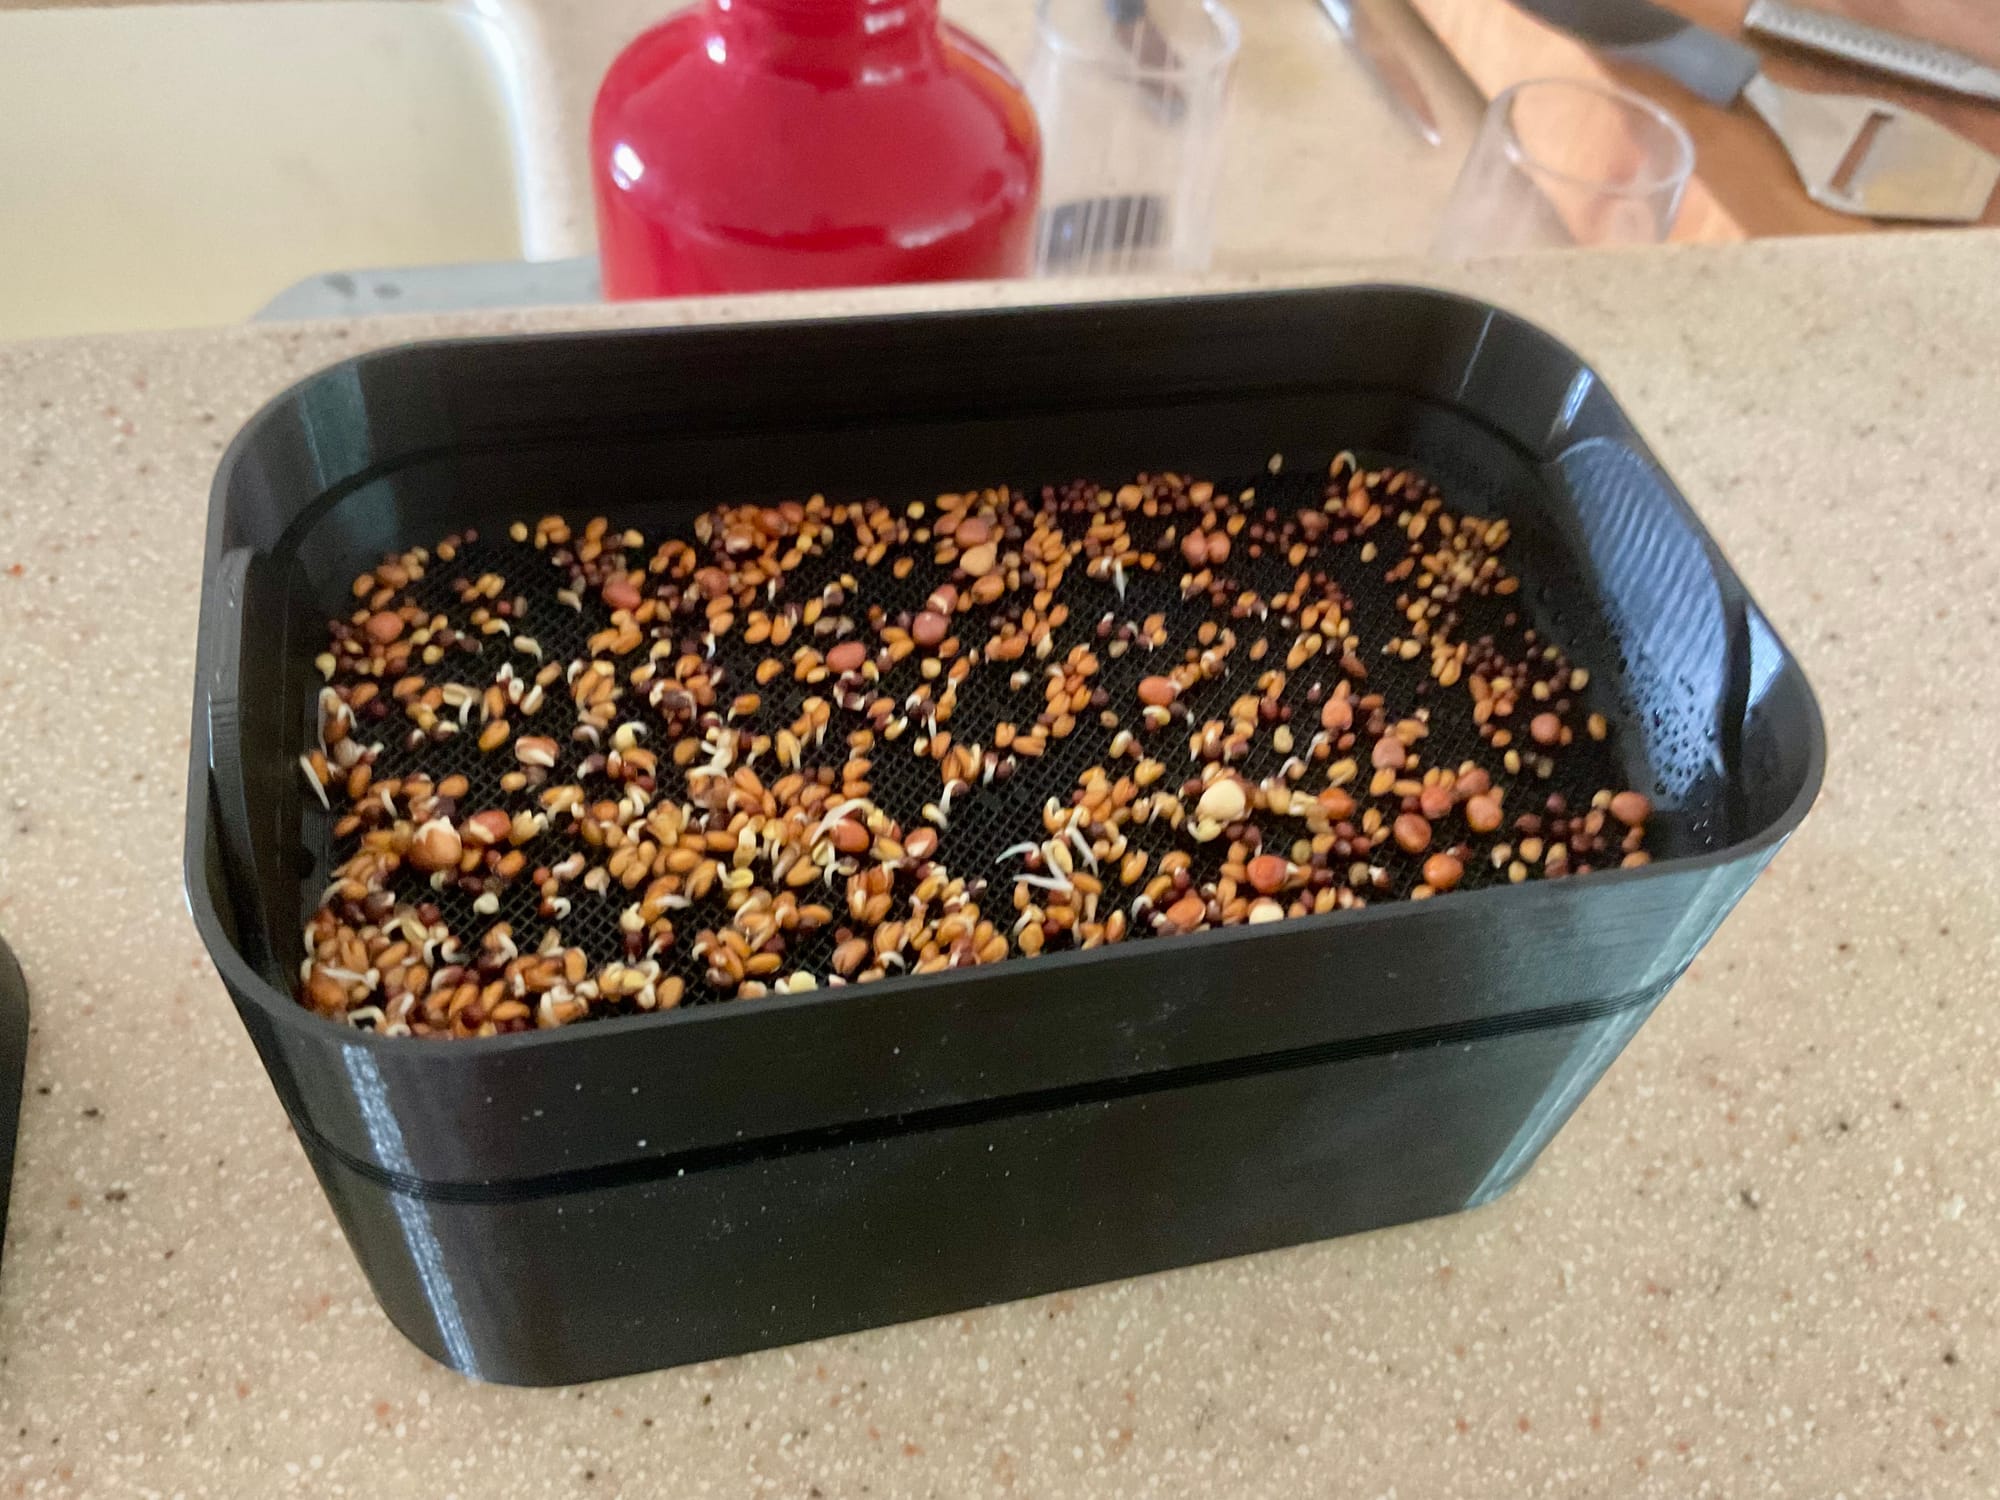
Signs of germination are there so all we do is spray them with the mister again and put the lid back on. On Thursday morning:
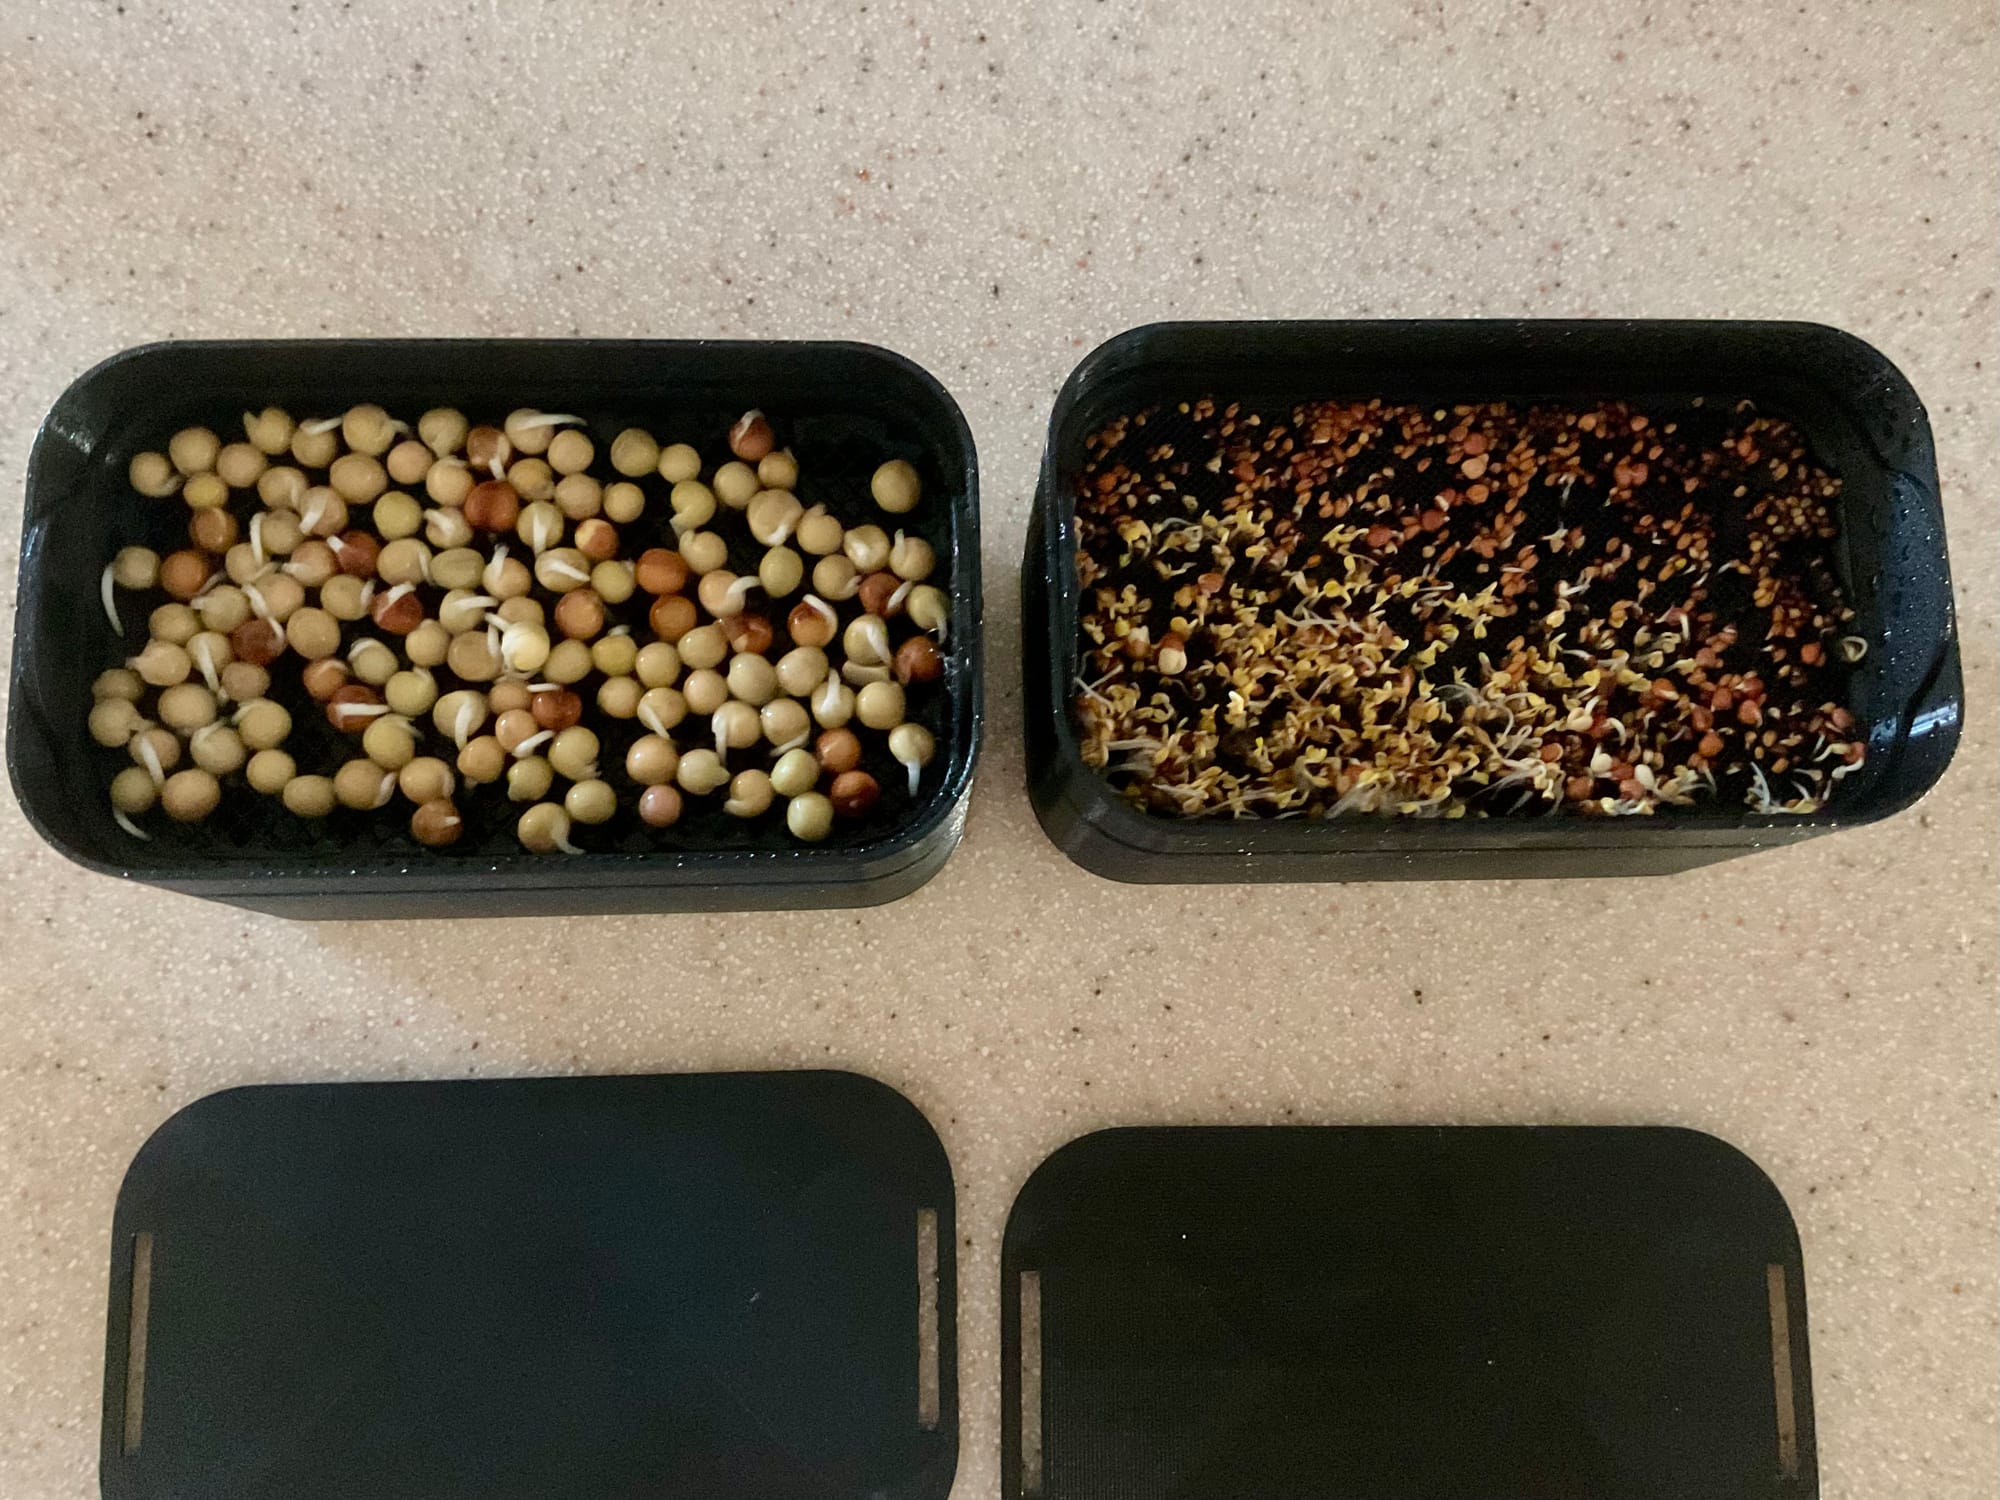
Of course I forgot to take pictures Friday as I was in a hurry to other projects, but growth had proceeded to the point that I put the humidity dome on the salad mix but kept the blackout lid on the peas. Then, on Saturday morning:
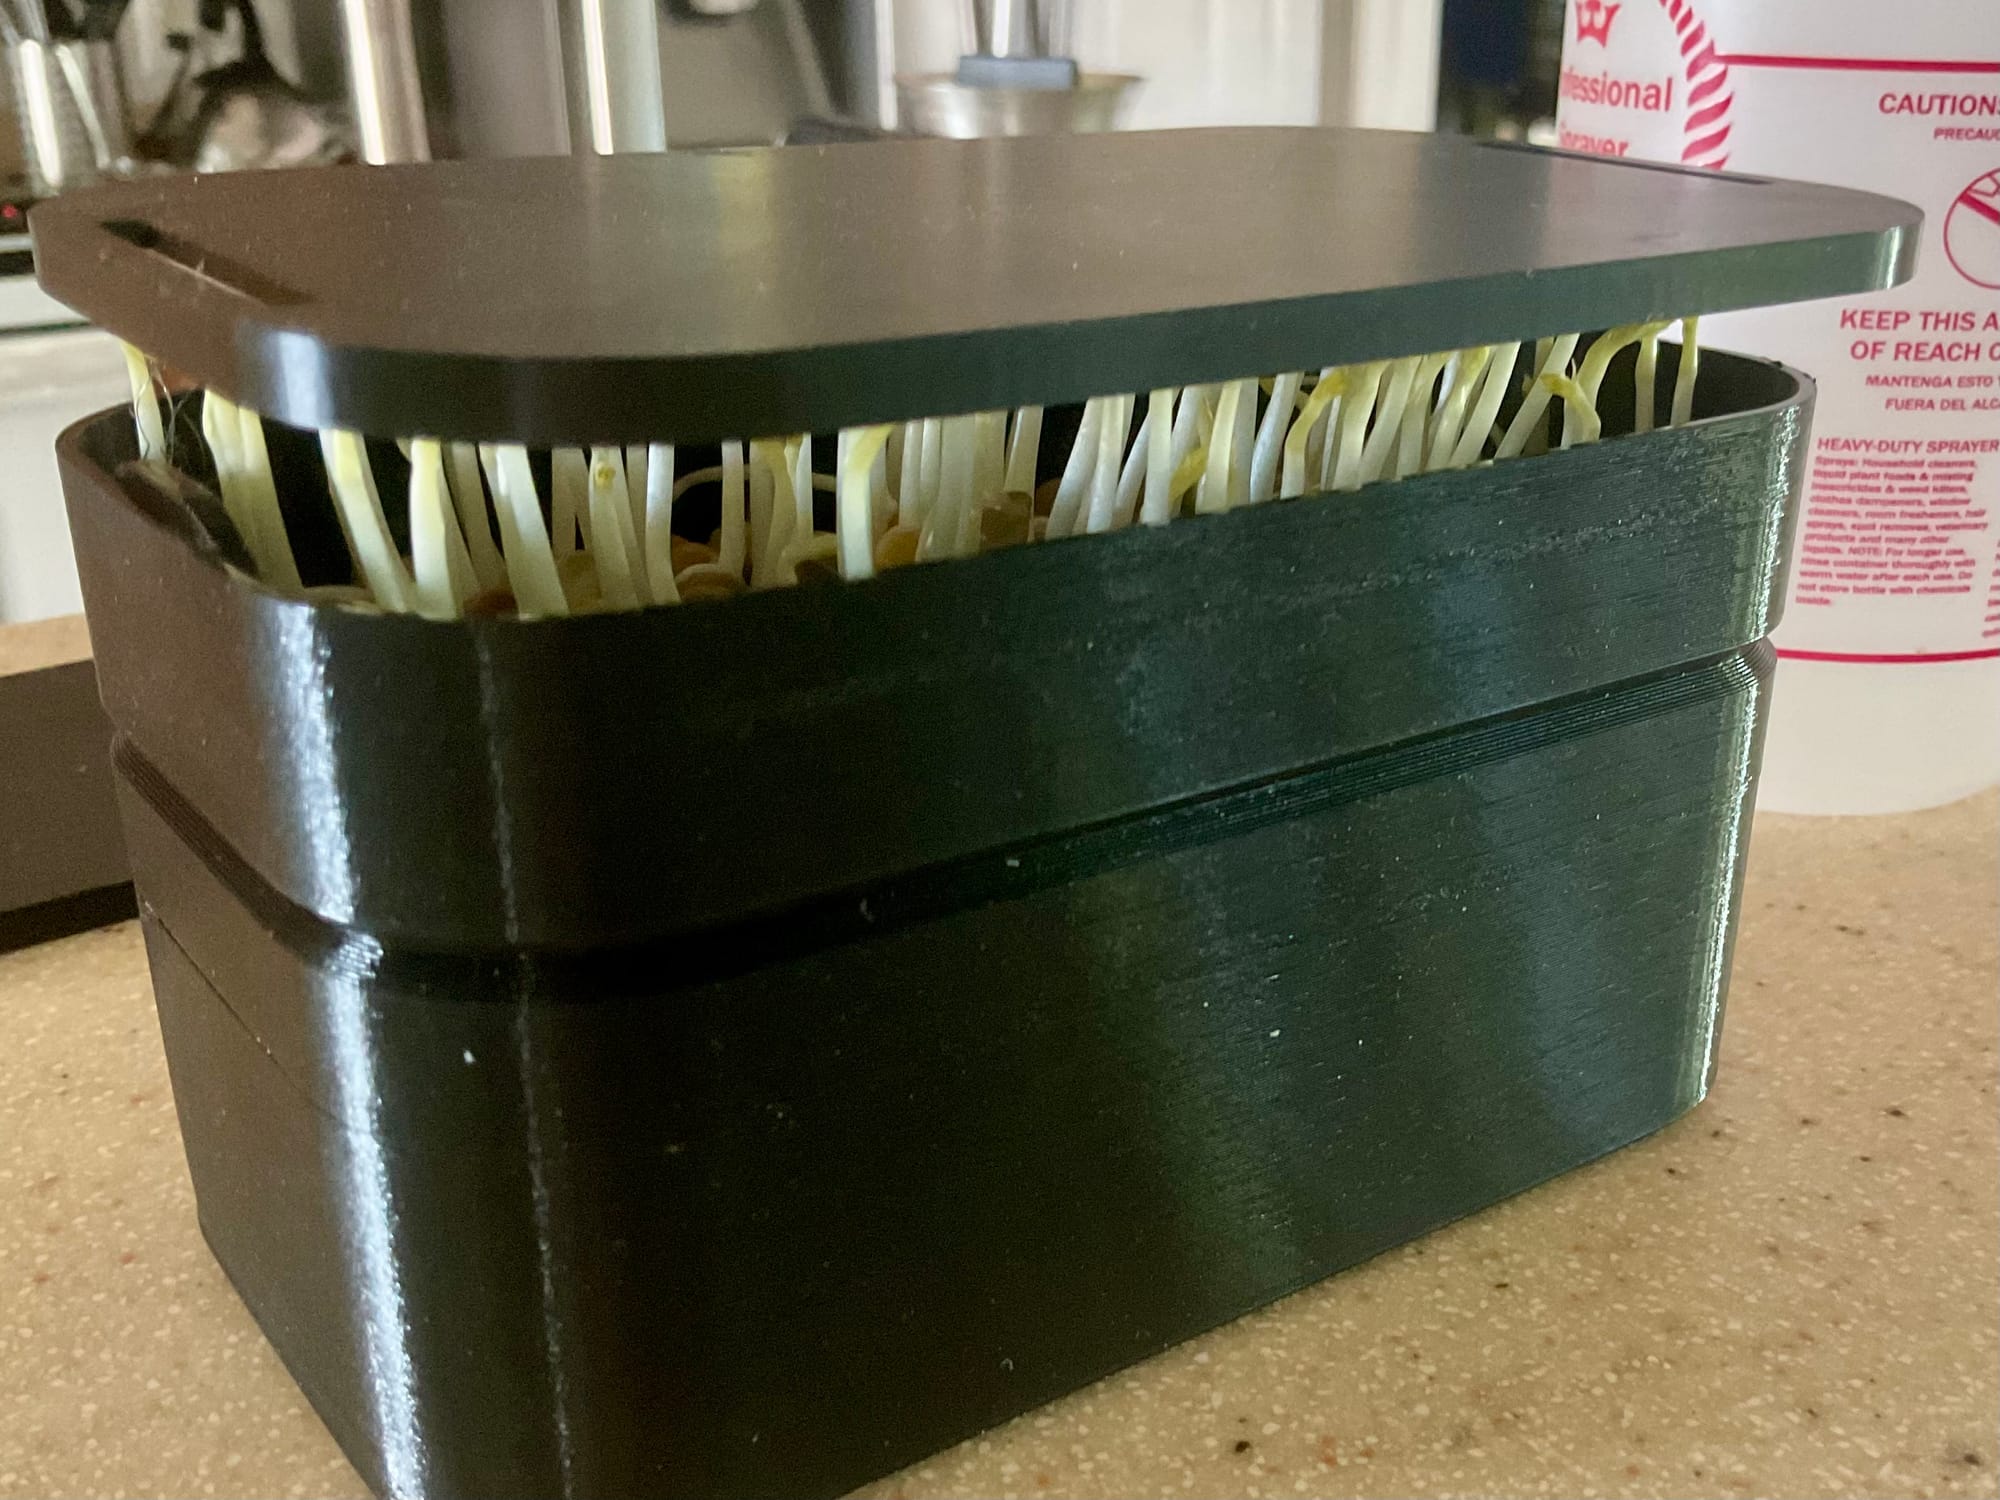
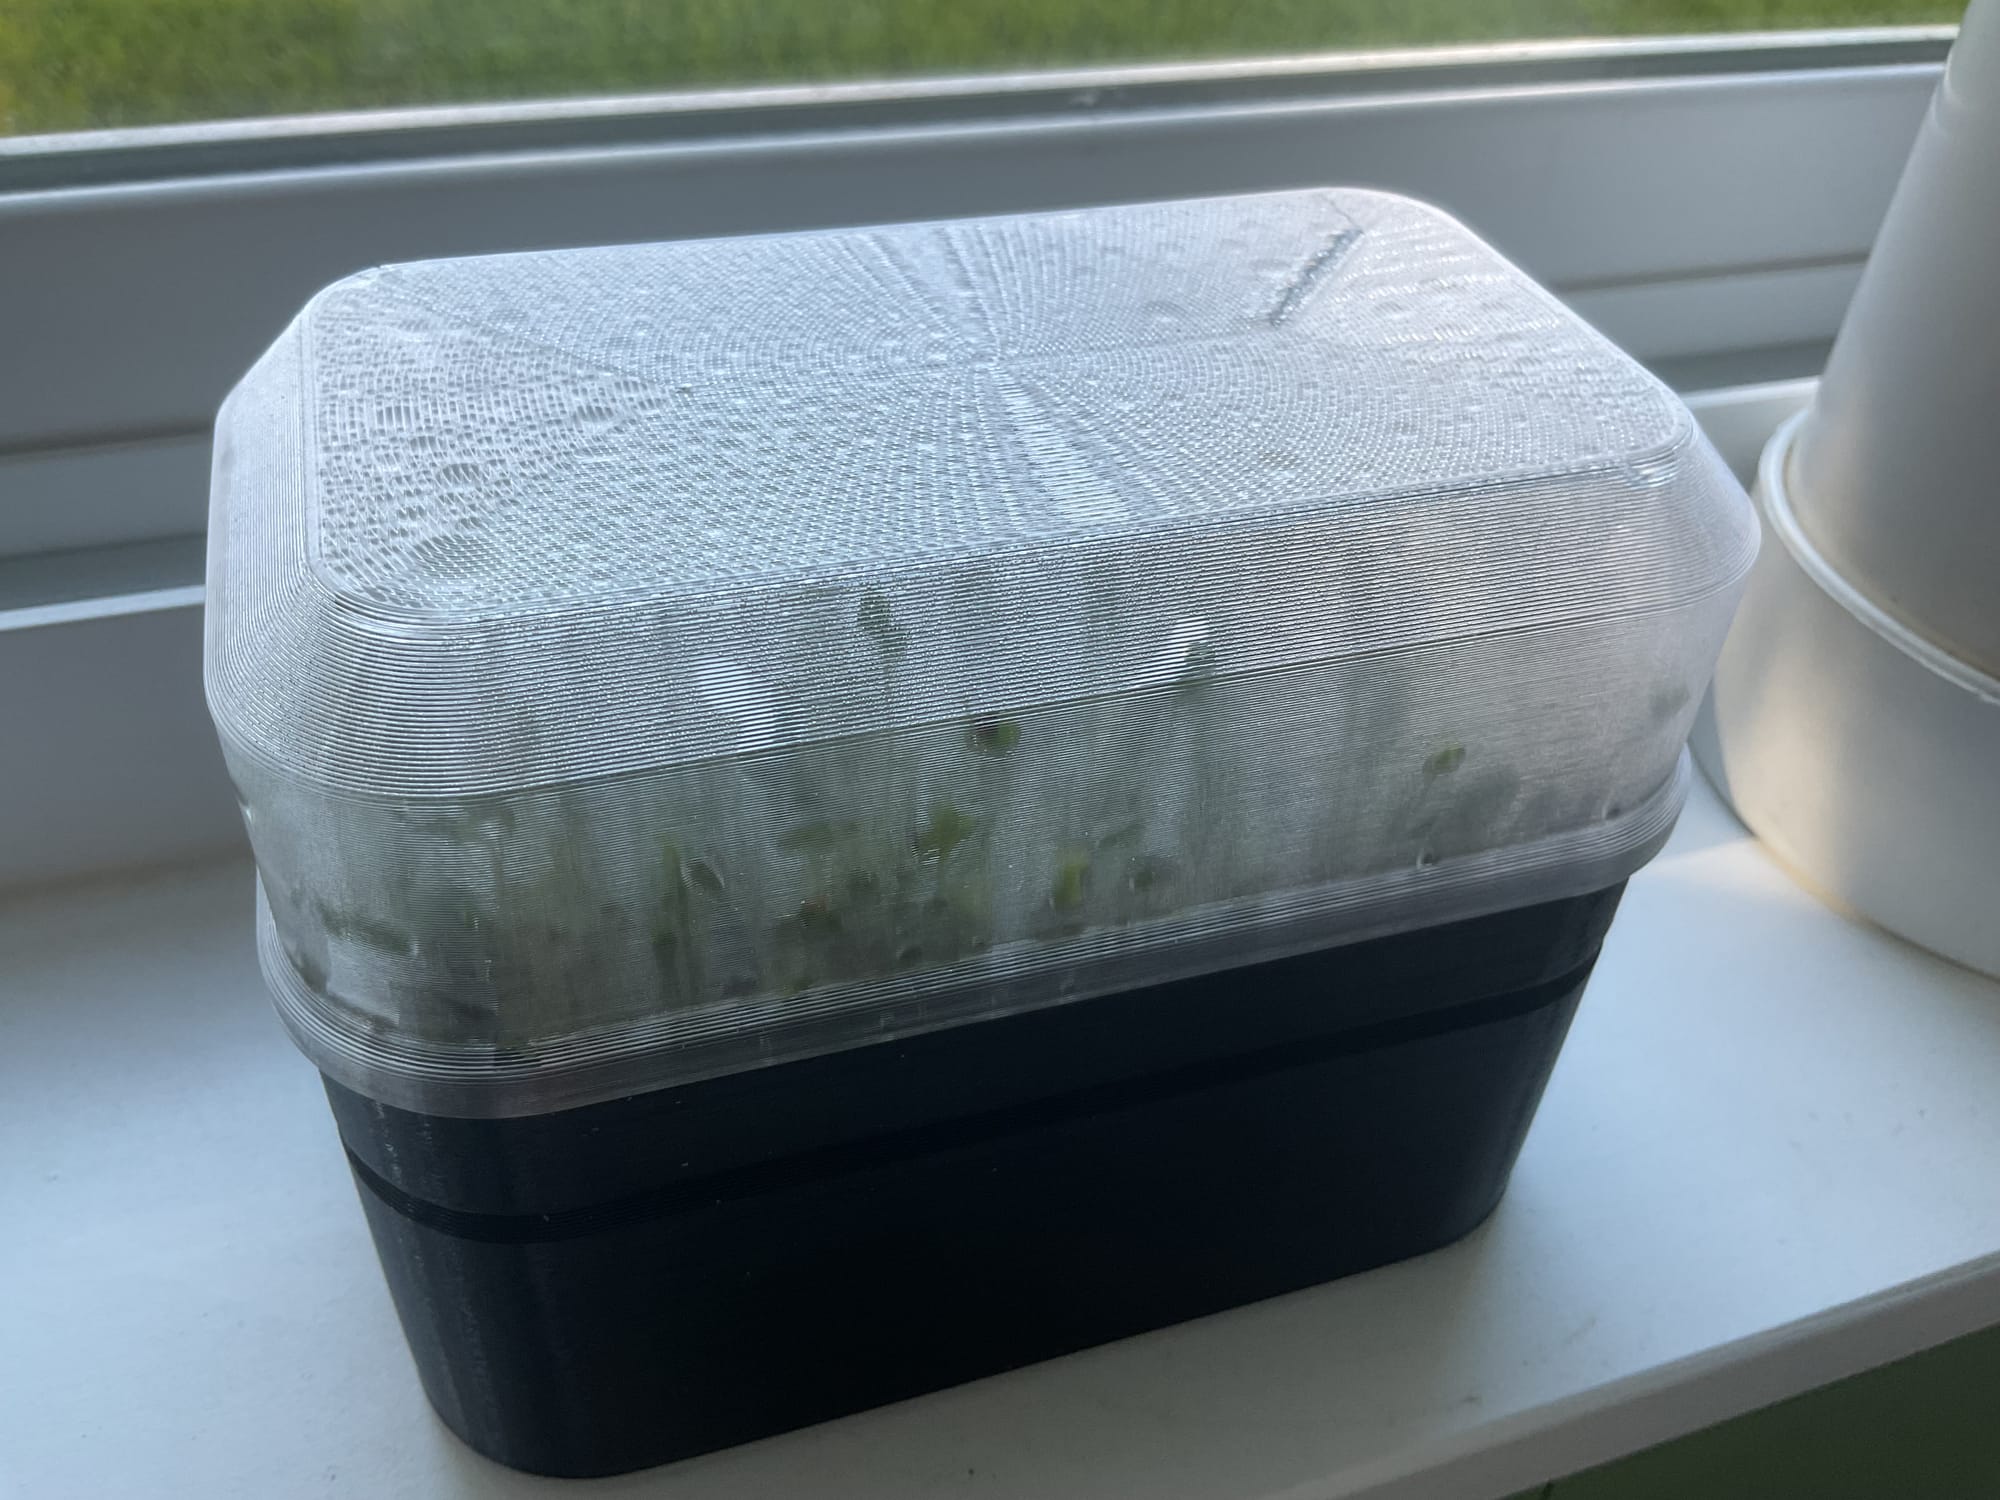
The peas lifted the lid so were ready for the humidity dome. The salad mix looked green and strong but very humid (I had sprayed too much) and I was afraid it was humid enough that mold could form so I removed the dome. I also moved both to the window sill to catch more natural light. During earlier testing we used grow lights but we found they aren’t needed. We stop misting them when we take the humidity dome off because by then they have developed their roots and can bottom feed.
Growth shifts gears and on Sunday, just 24 hours later:
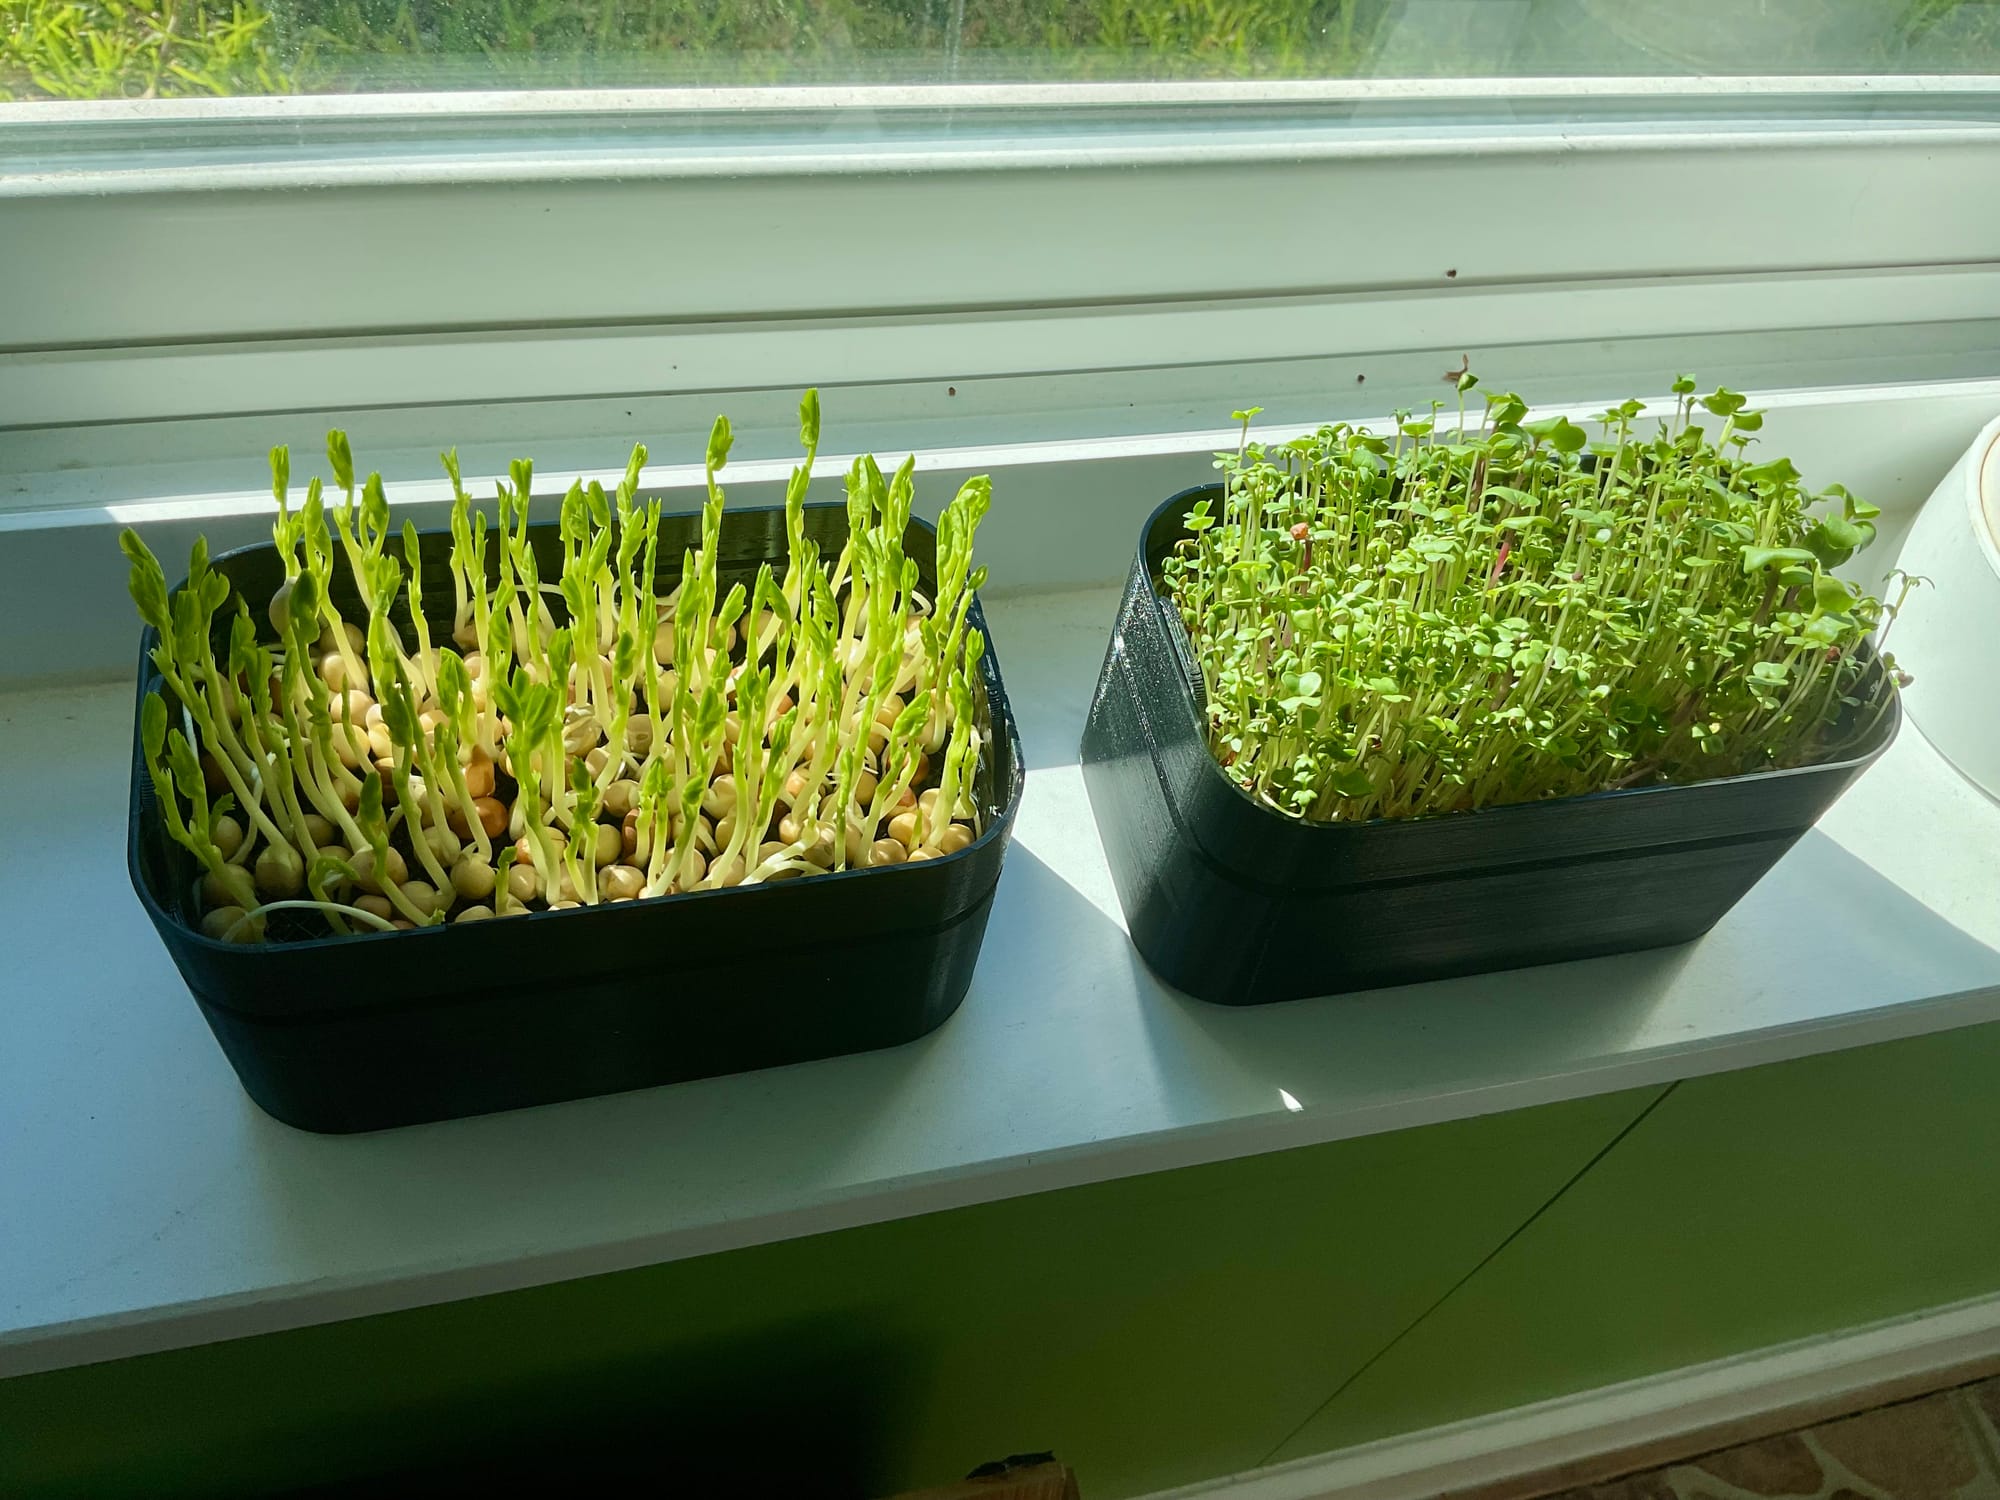
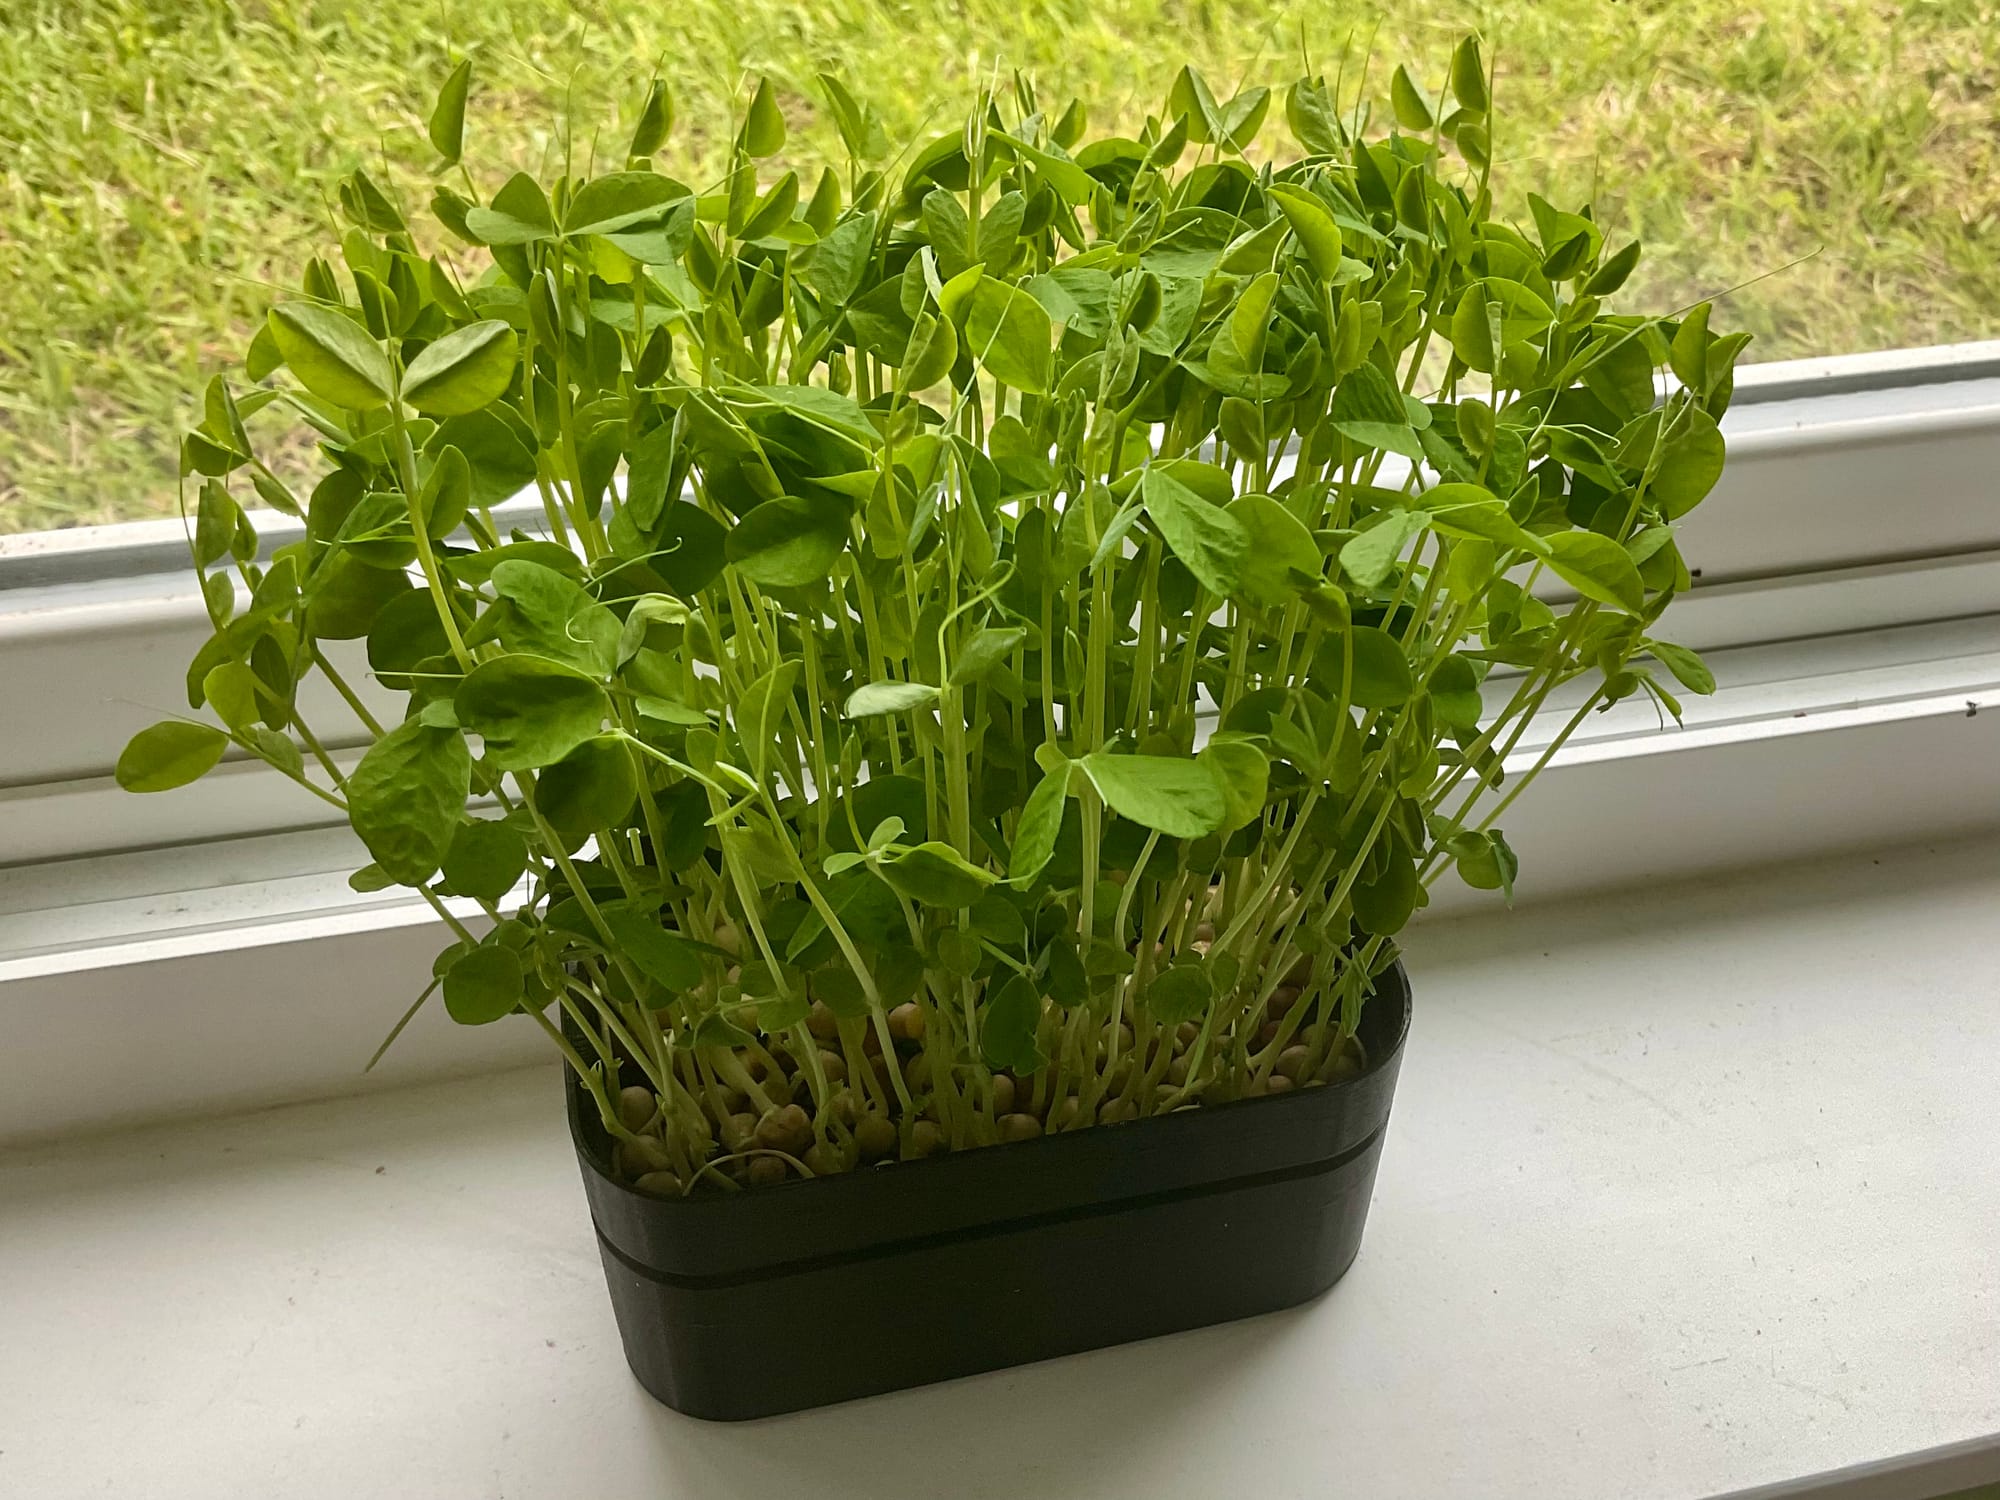
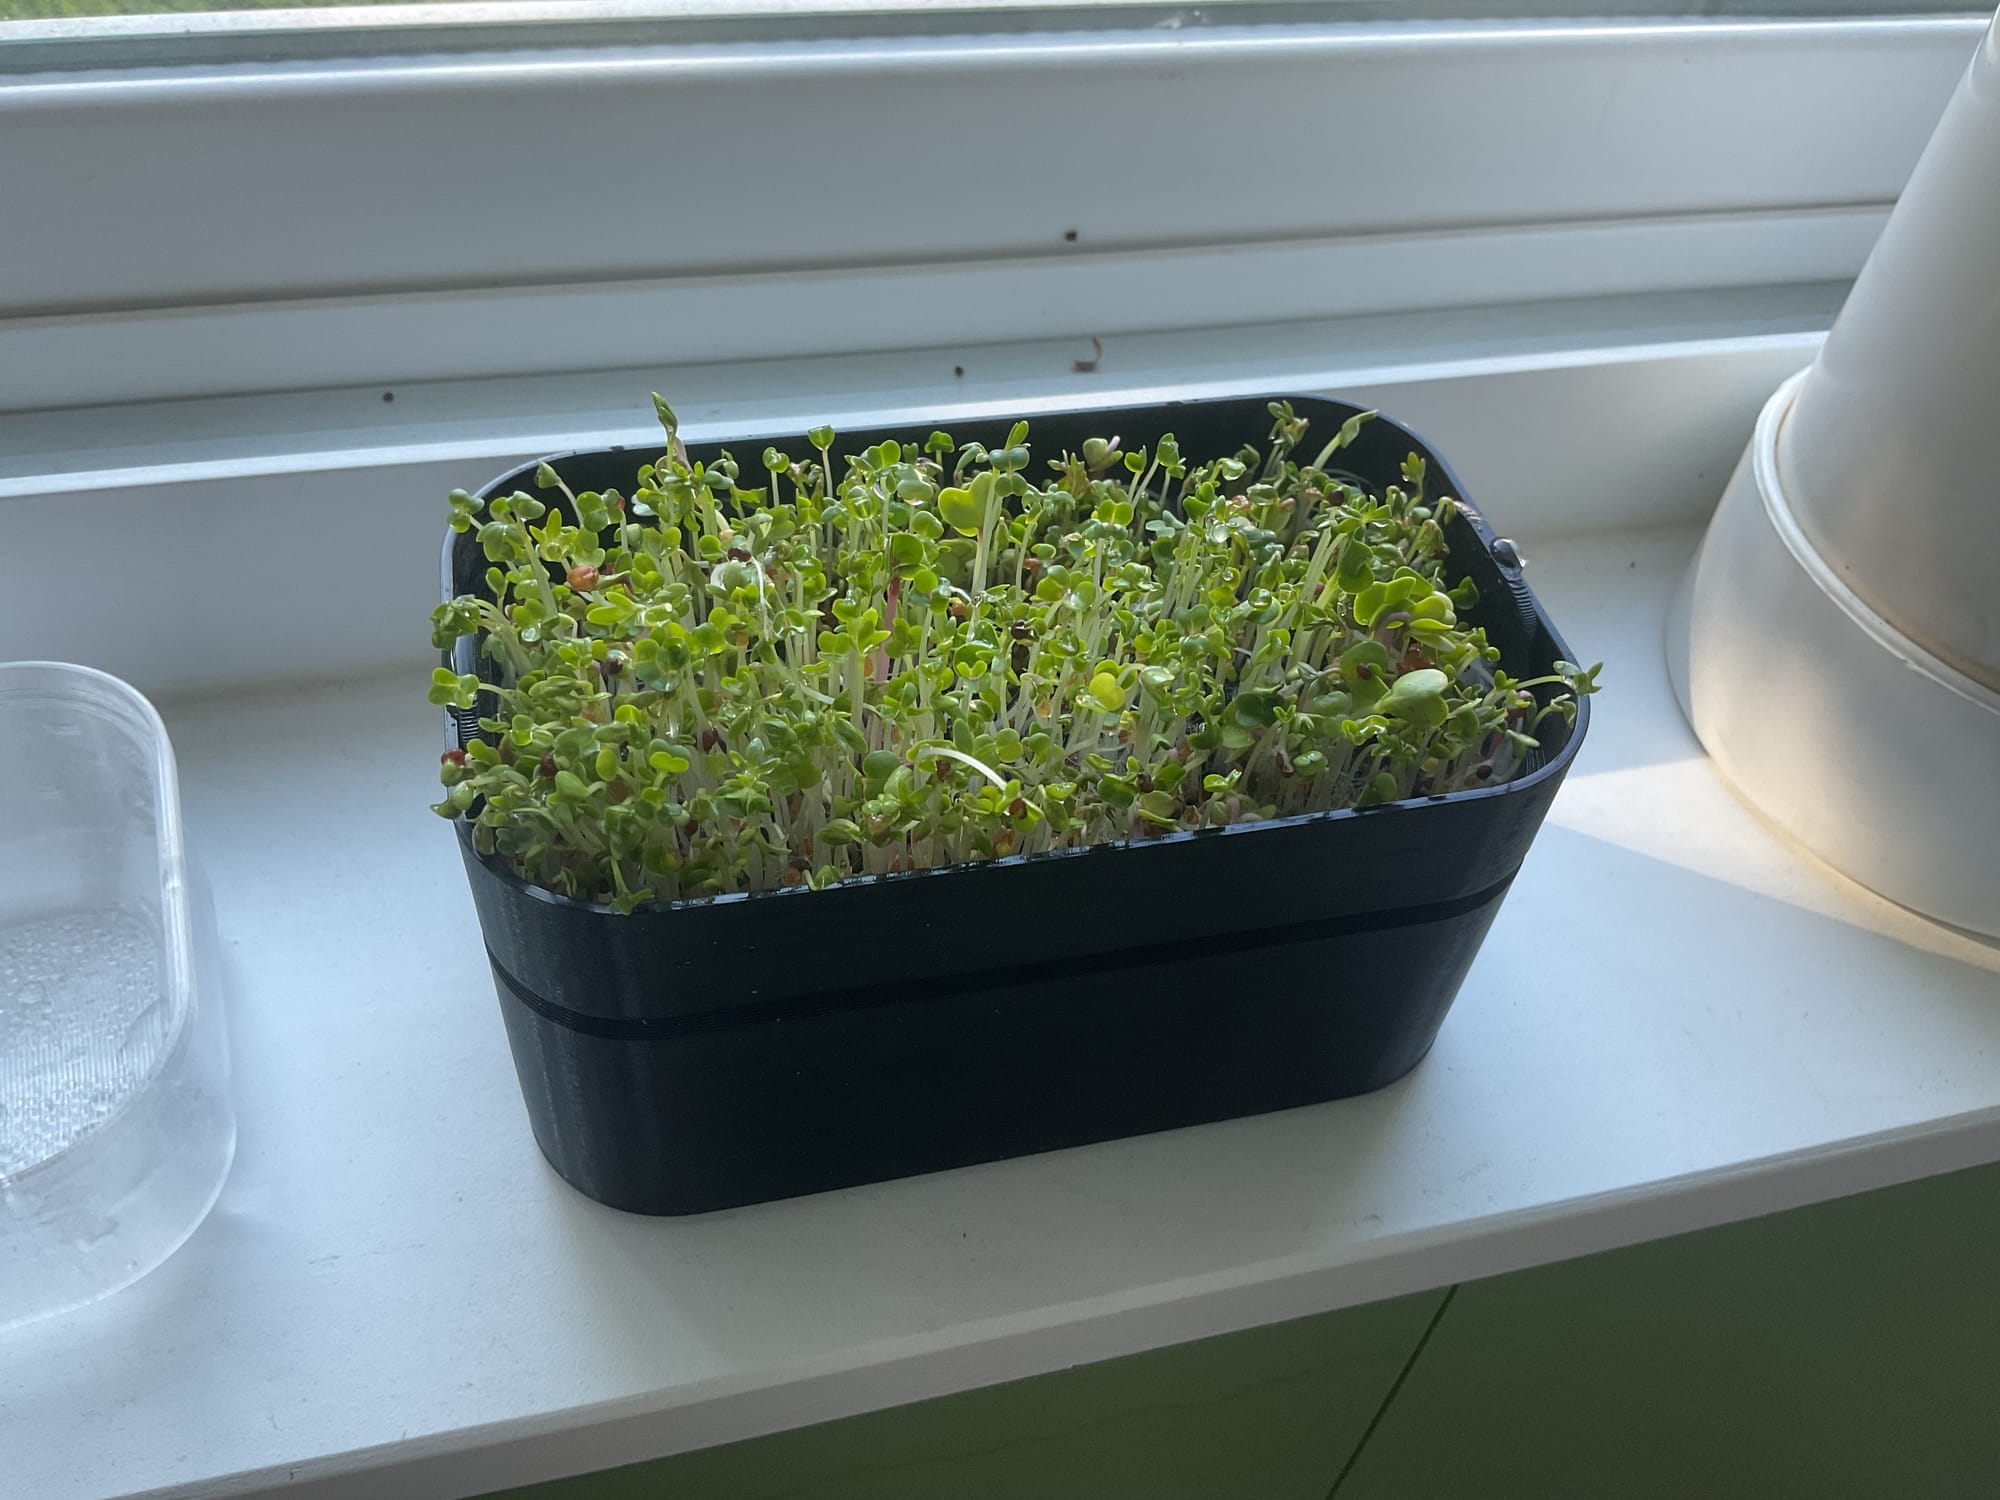
Harvest can start with the salad mix and the peas are about to open their leaves. The picture at the start of this article is Tuesday, two days after this.
From here there’s one more picture of Thursday, two days later. By then the salad mix has all been eaten and we can harvest the peas, 9 days after starting to soak them: