Joinery with Shaper Tools

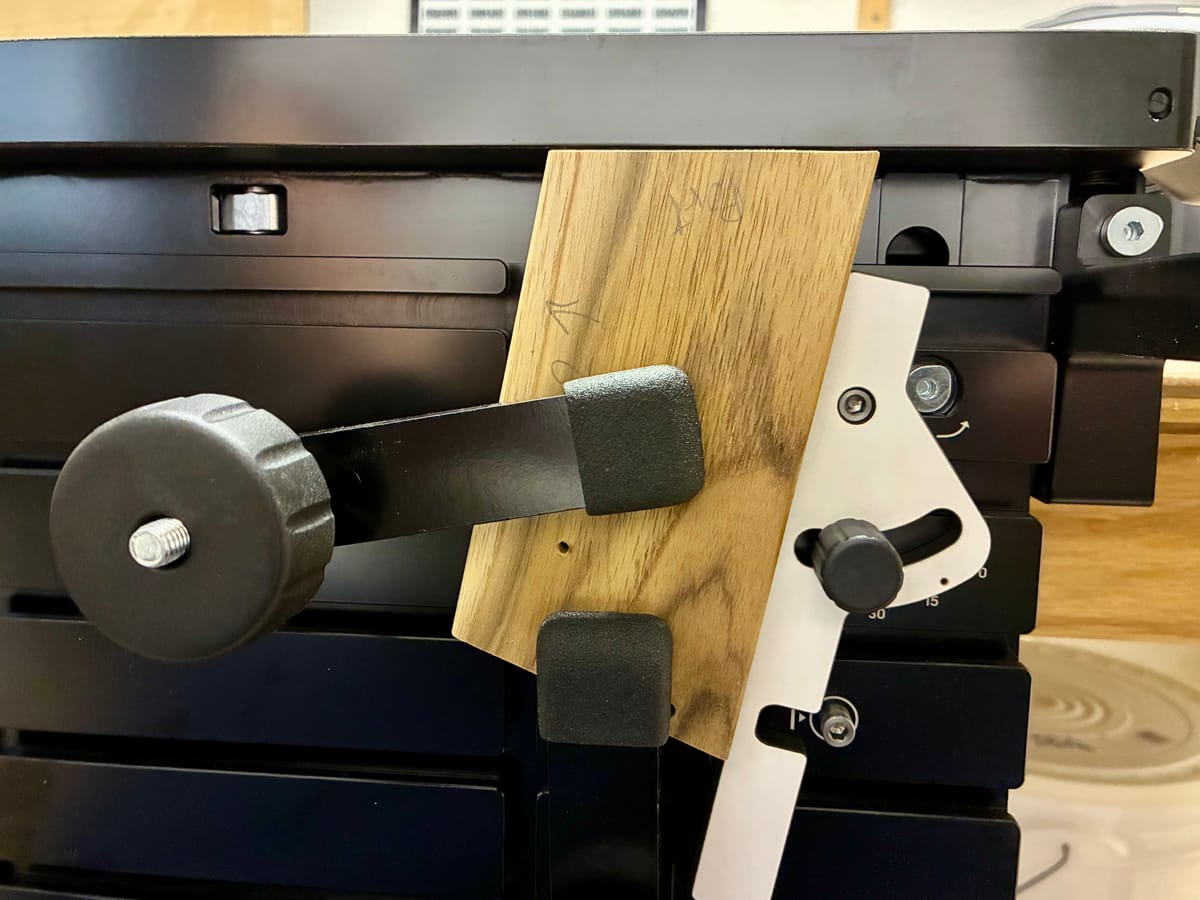
After cutting all 11 pieces (zero straight cuts), we have to make mortise and tenon joints, all of them angled. The picture above shows the work holding for cutting an angled tenon using the Shaper Workstation. There’s the vertical clamp face where I have attached the angled fence. On too is the support bar in its top reference position, that the angled end is pushed up against, defining the angle for the fence. This holds the part against three references: the top surface against the vertical clamp face, the end against the support bar and the long side against the fence. Now we can cut straight down.
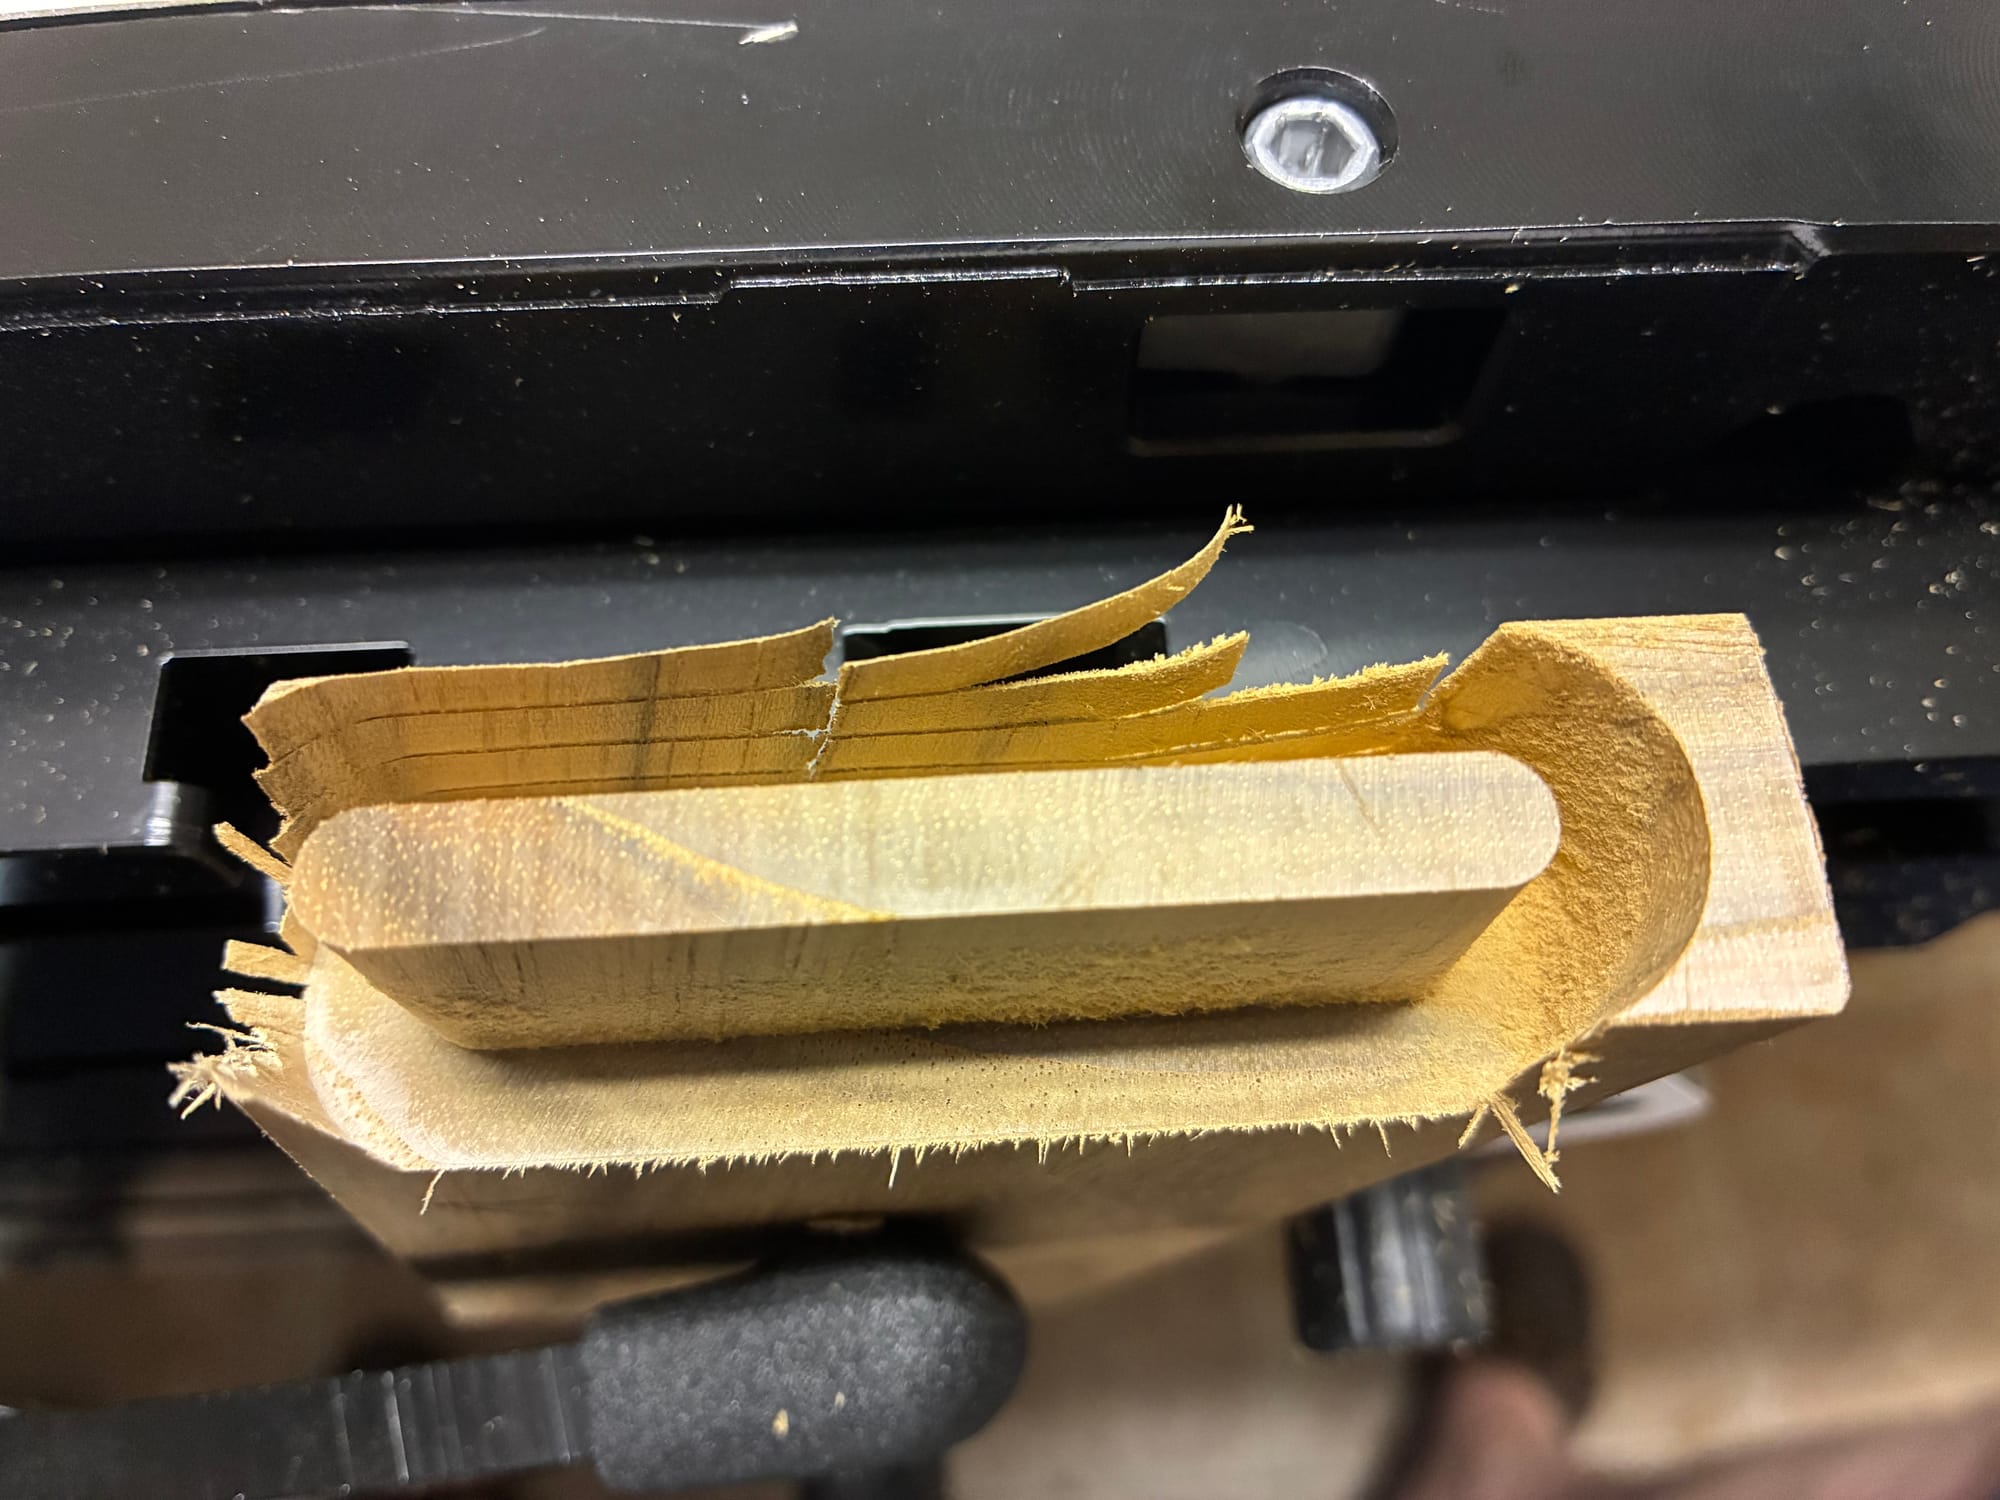
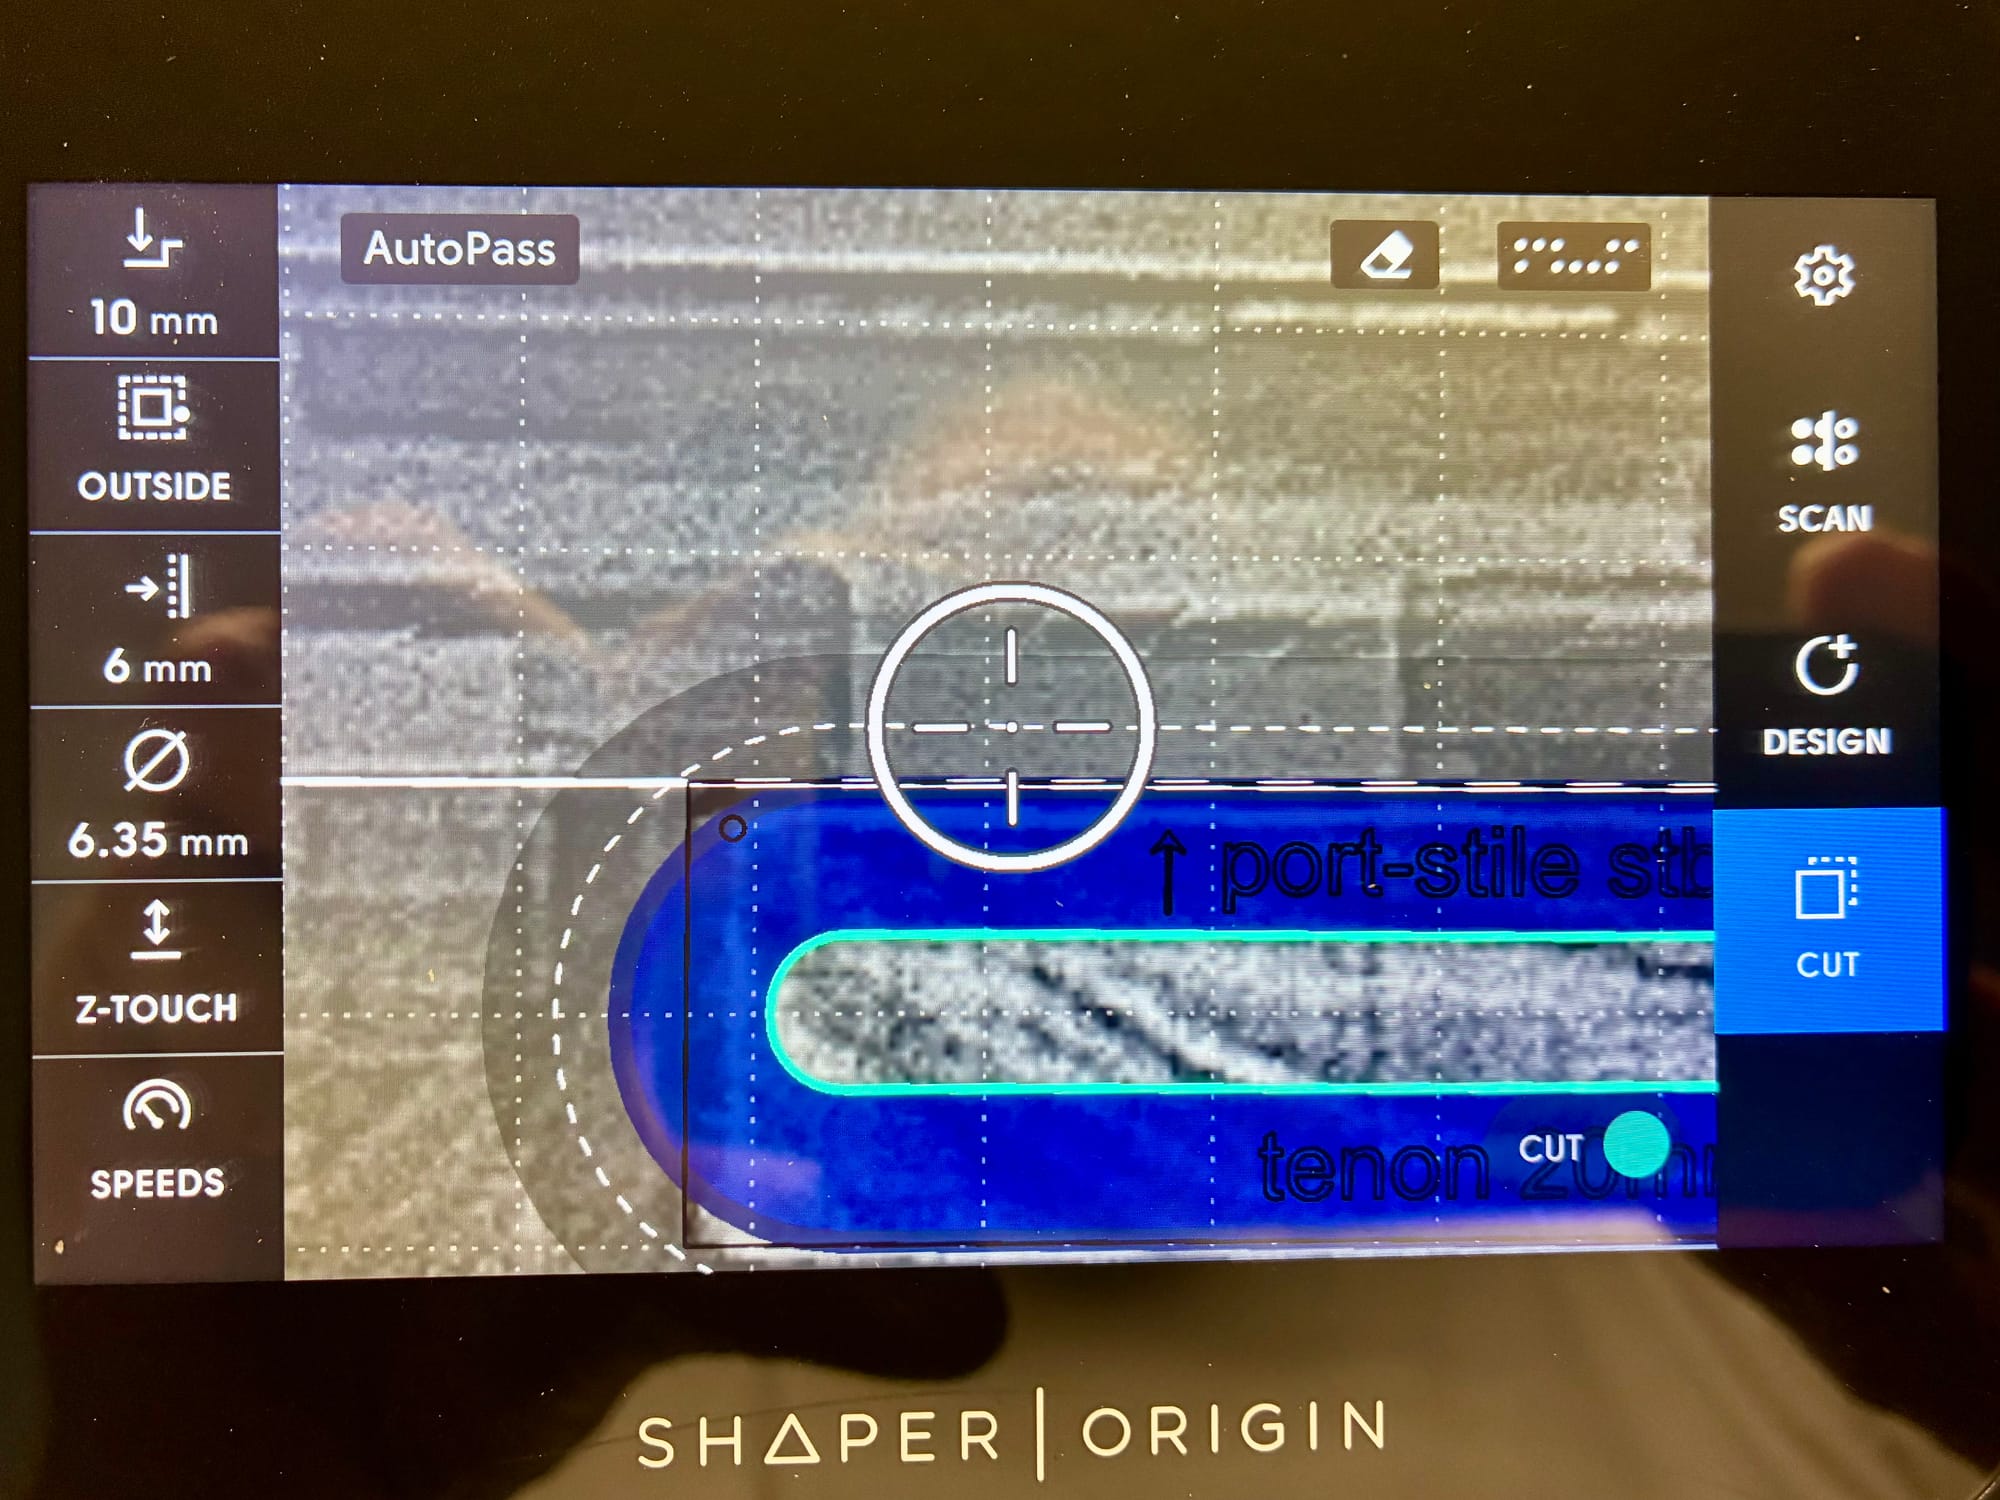
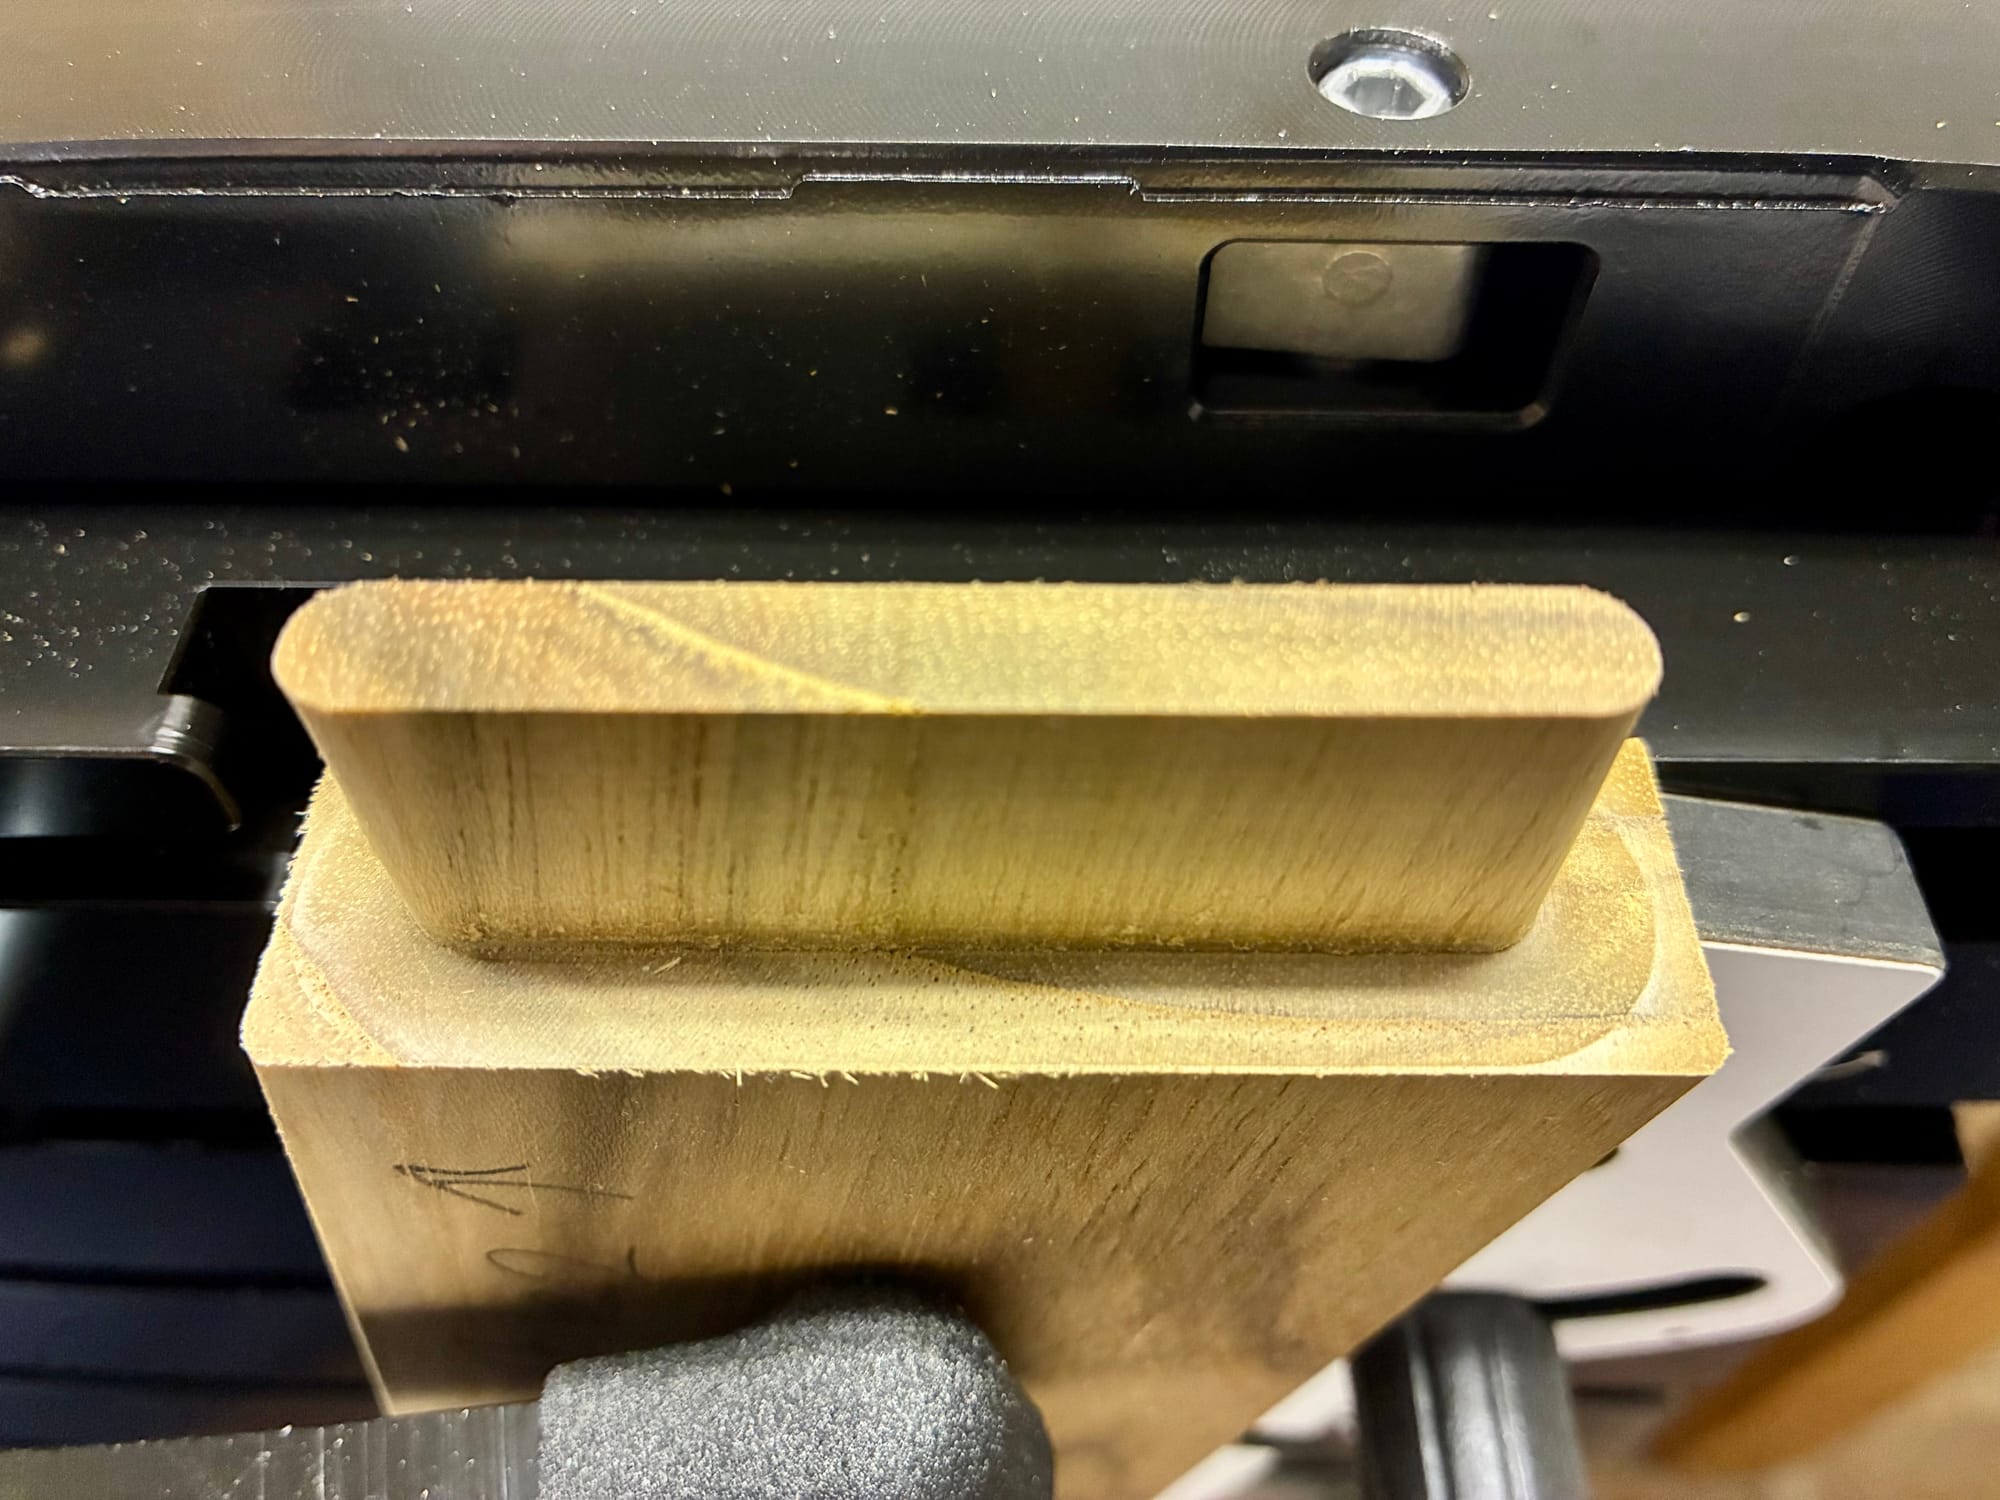
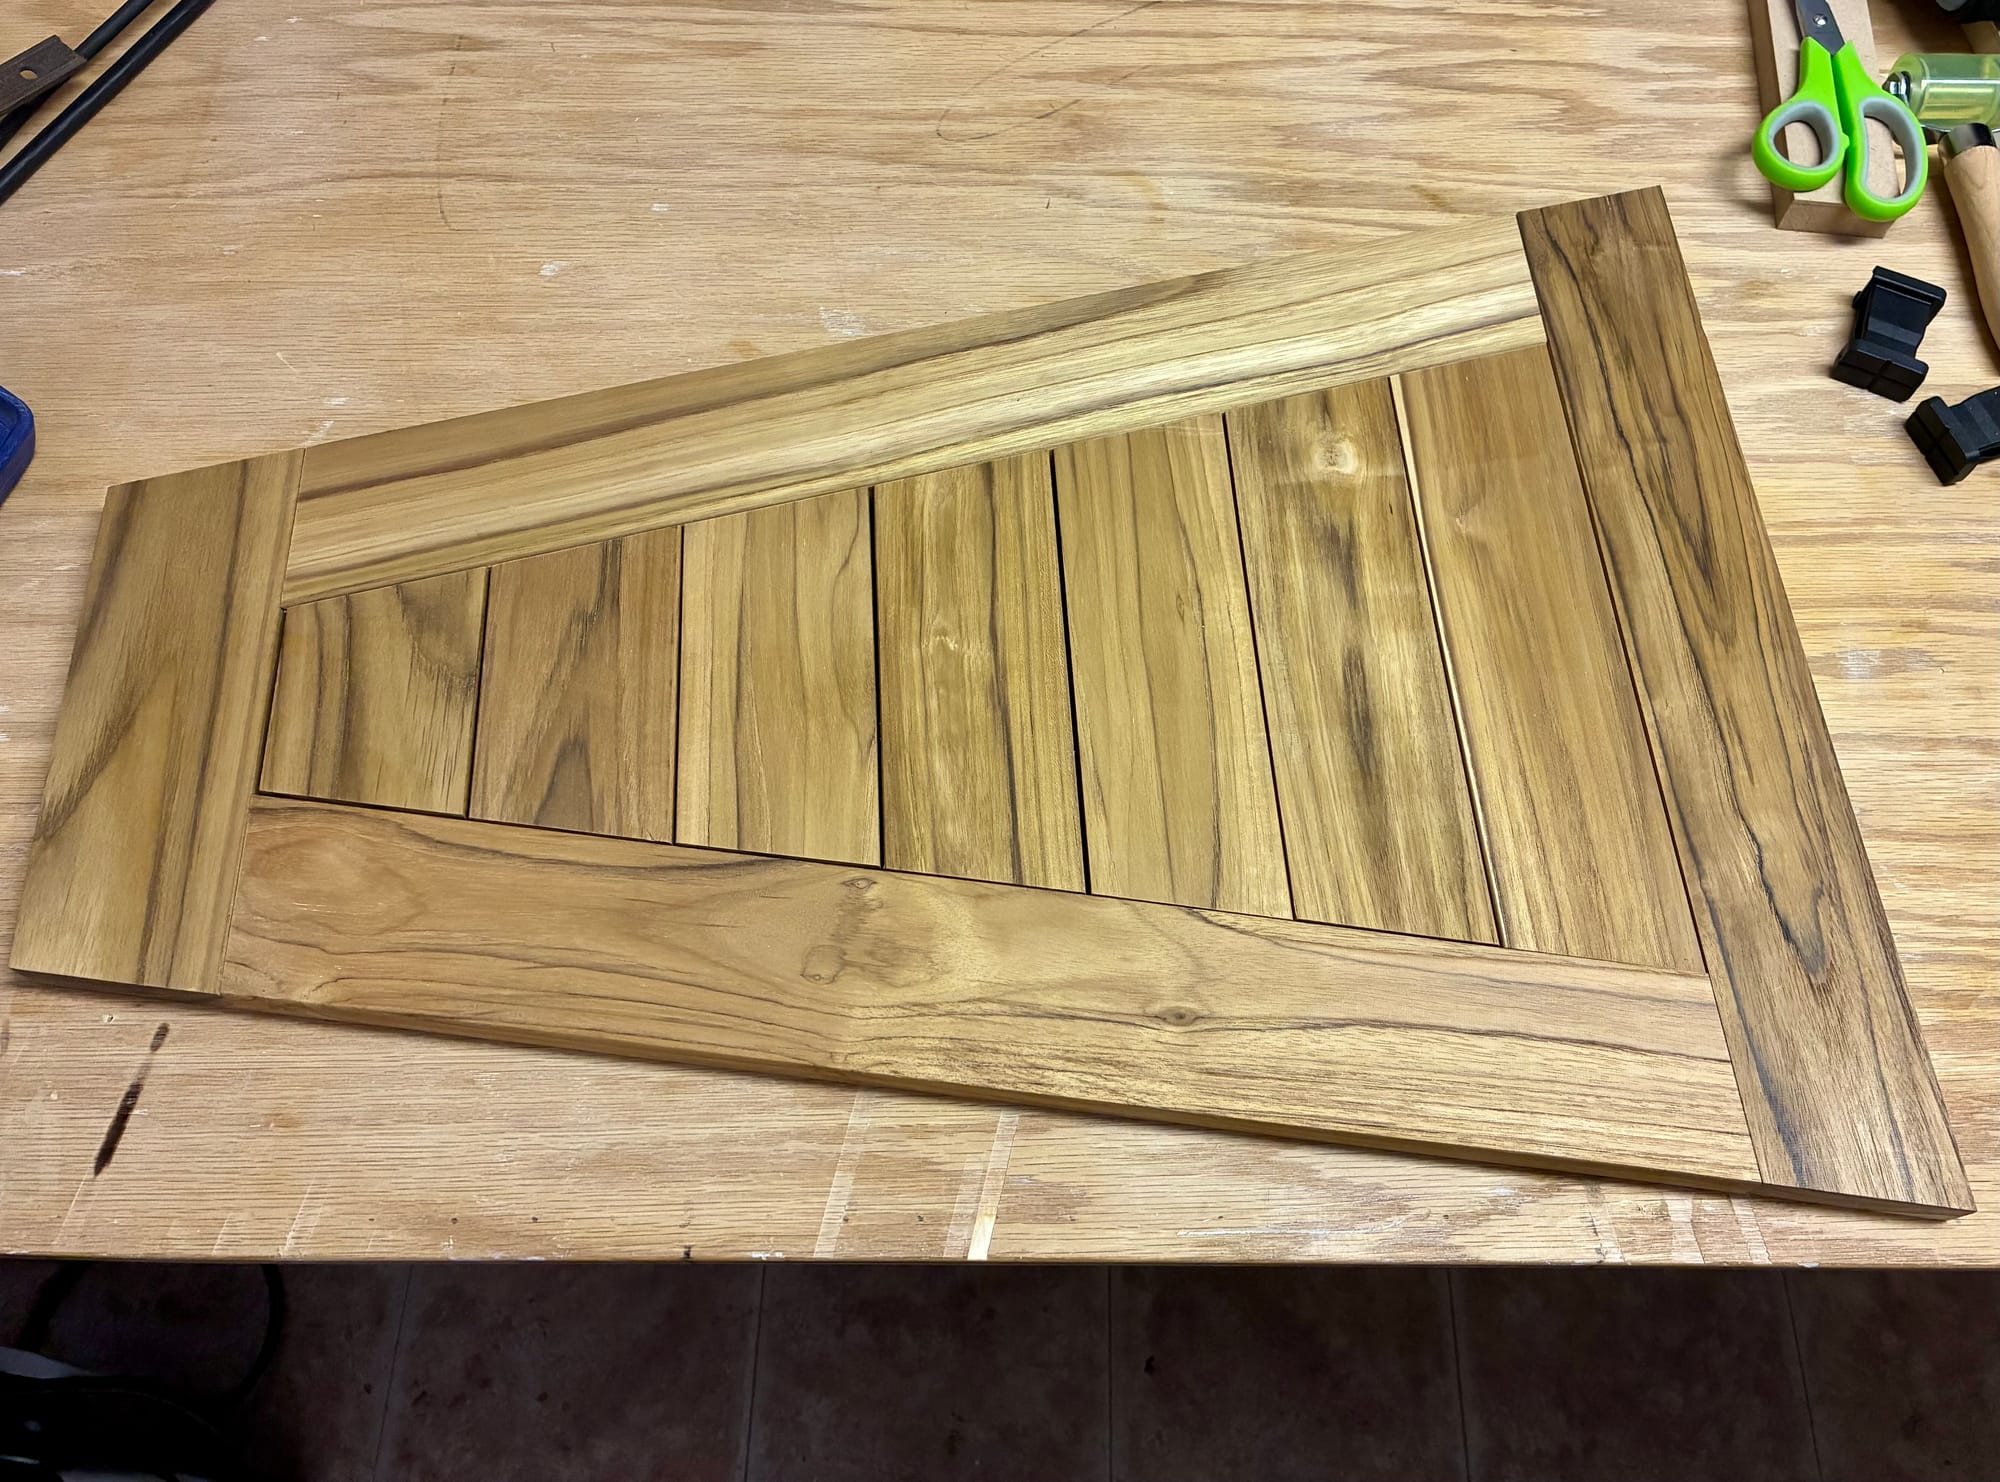
I used the auto-pass mode for these cuts to create 20mm long tenons. Because the part is angled, you have to start with an offset so that the tenon is centered at the shoulder. As my bit is less than 1/3 of the board thickness. You end up with an outer ring of material that still needs to be cut away. I did that by adding a 6mm offset and cutting again, resulting in the clean tenon. I tried many different techniques for laying out a grid, importing CAD files and dealing with parts too large for the workstation to practice it all and come to precise, repeatable joints, resulting in the dry fit as seen below. Now I need to glue this up before we can do the final milling like rounded corners, cutting slots between the stiles and round-over edges. The precision is stunning.