More CNC techniques

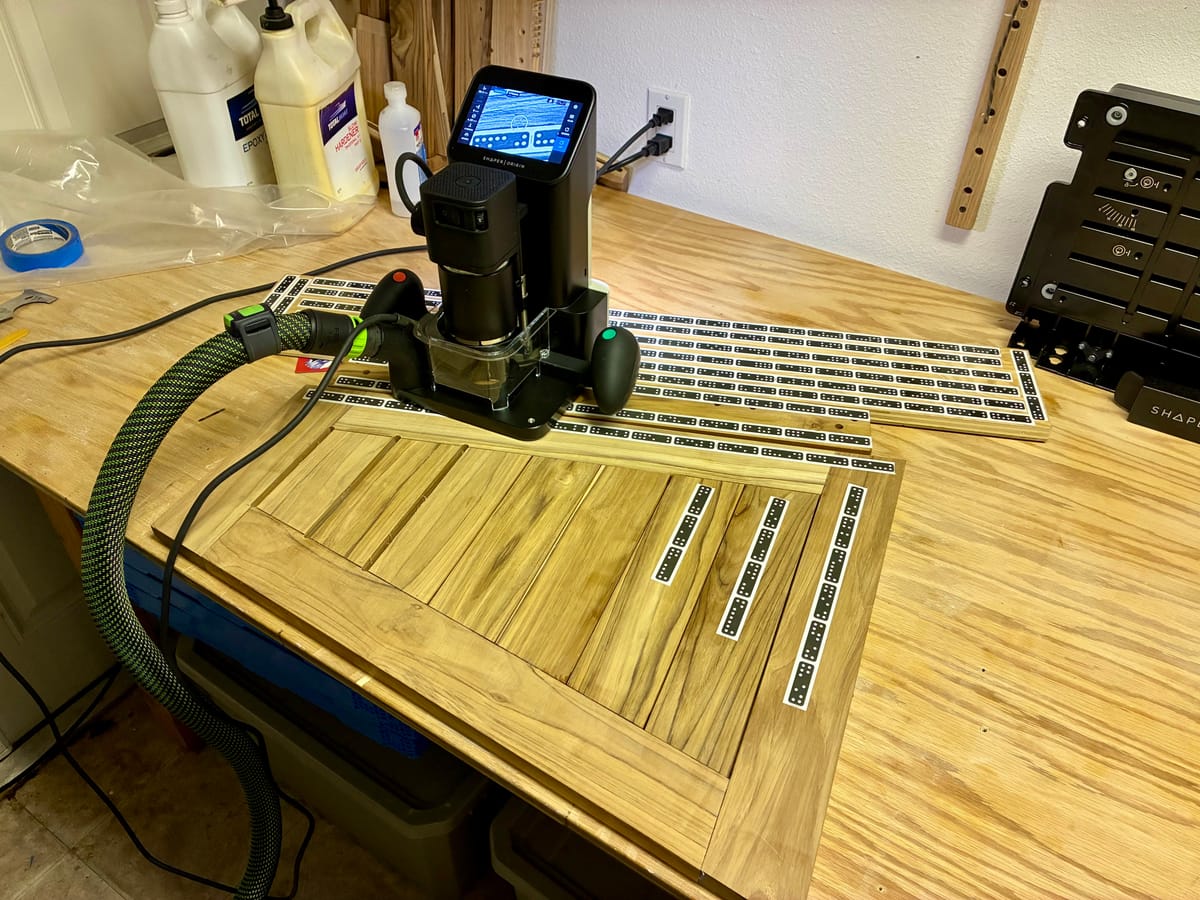
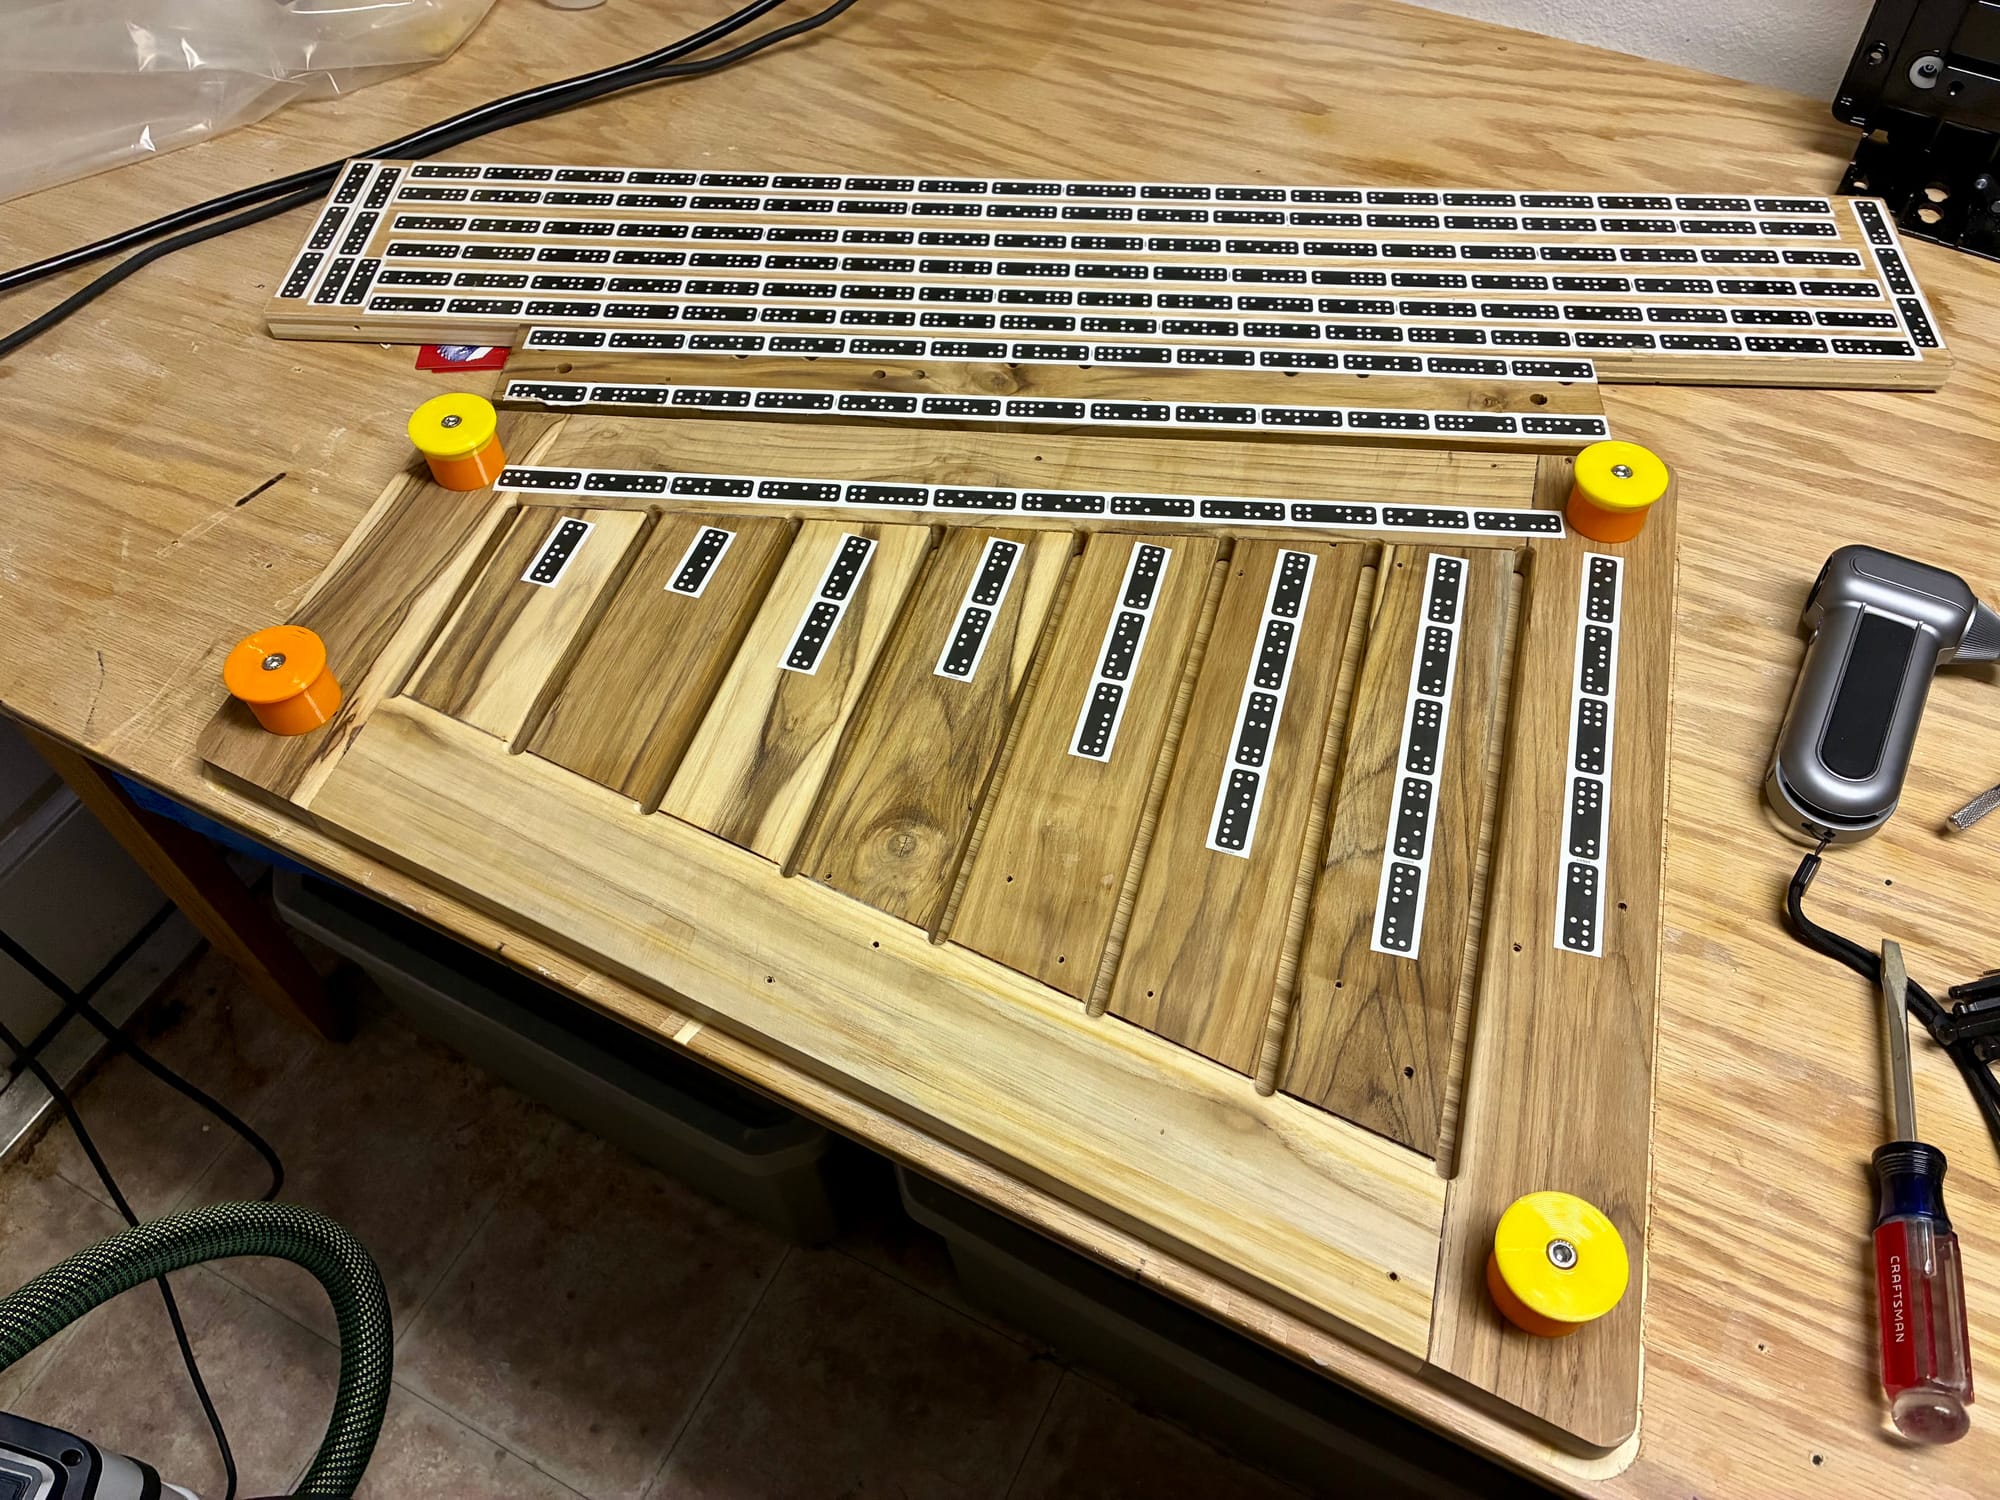
I have about 30 simultaneous projects going on but this week found some time for the teak foredeck seat again. After finishing all the joinery I glued it with epoxy, then did a rough sand with the belt sander. The picture above shows the setup after that where I just started milling the slots between the boards. Below a closeup of that:
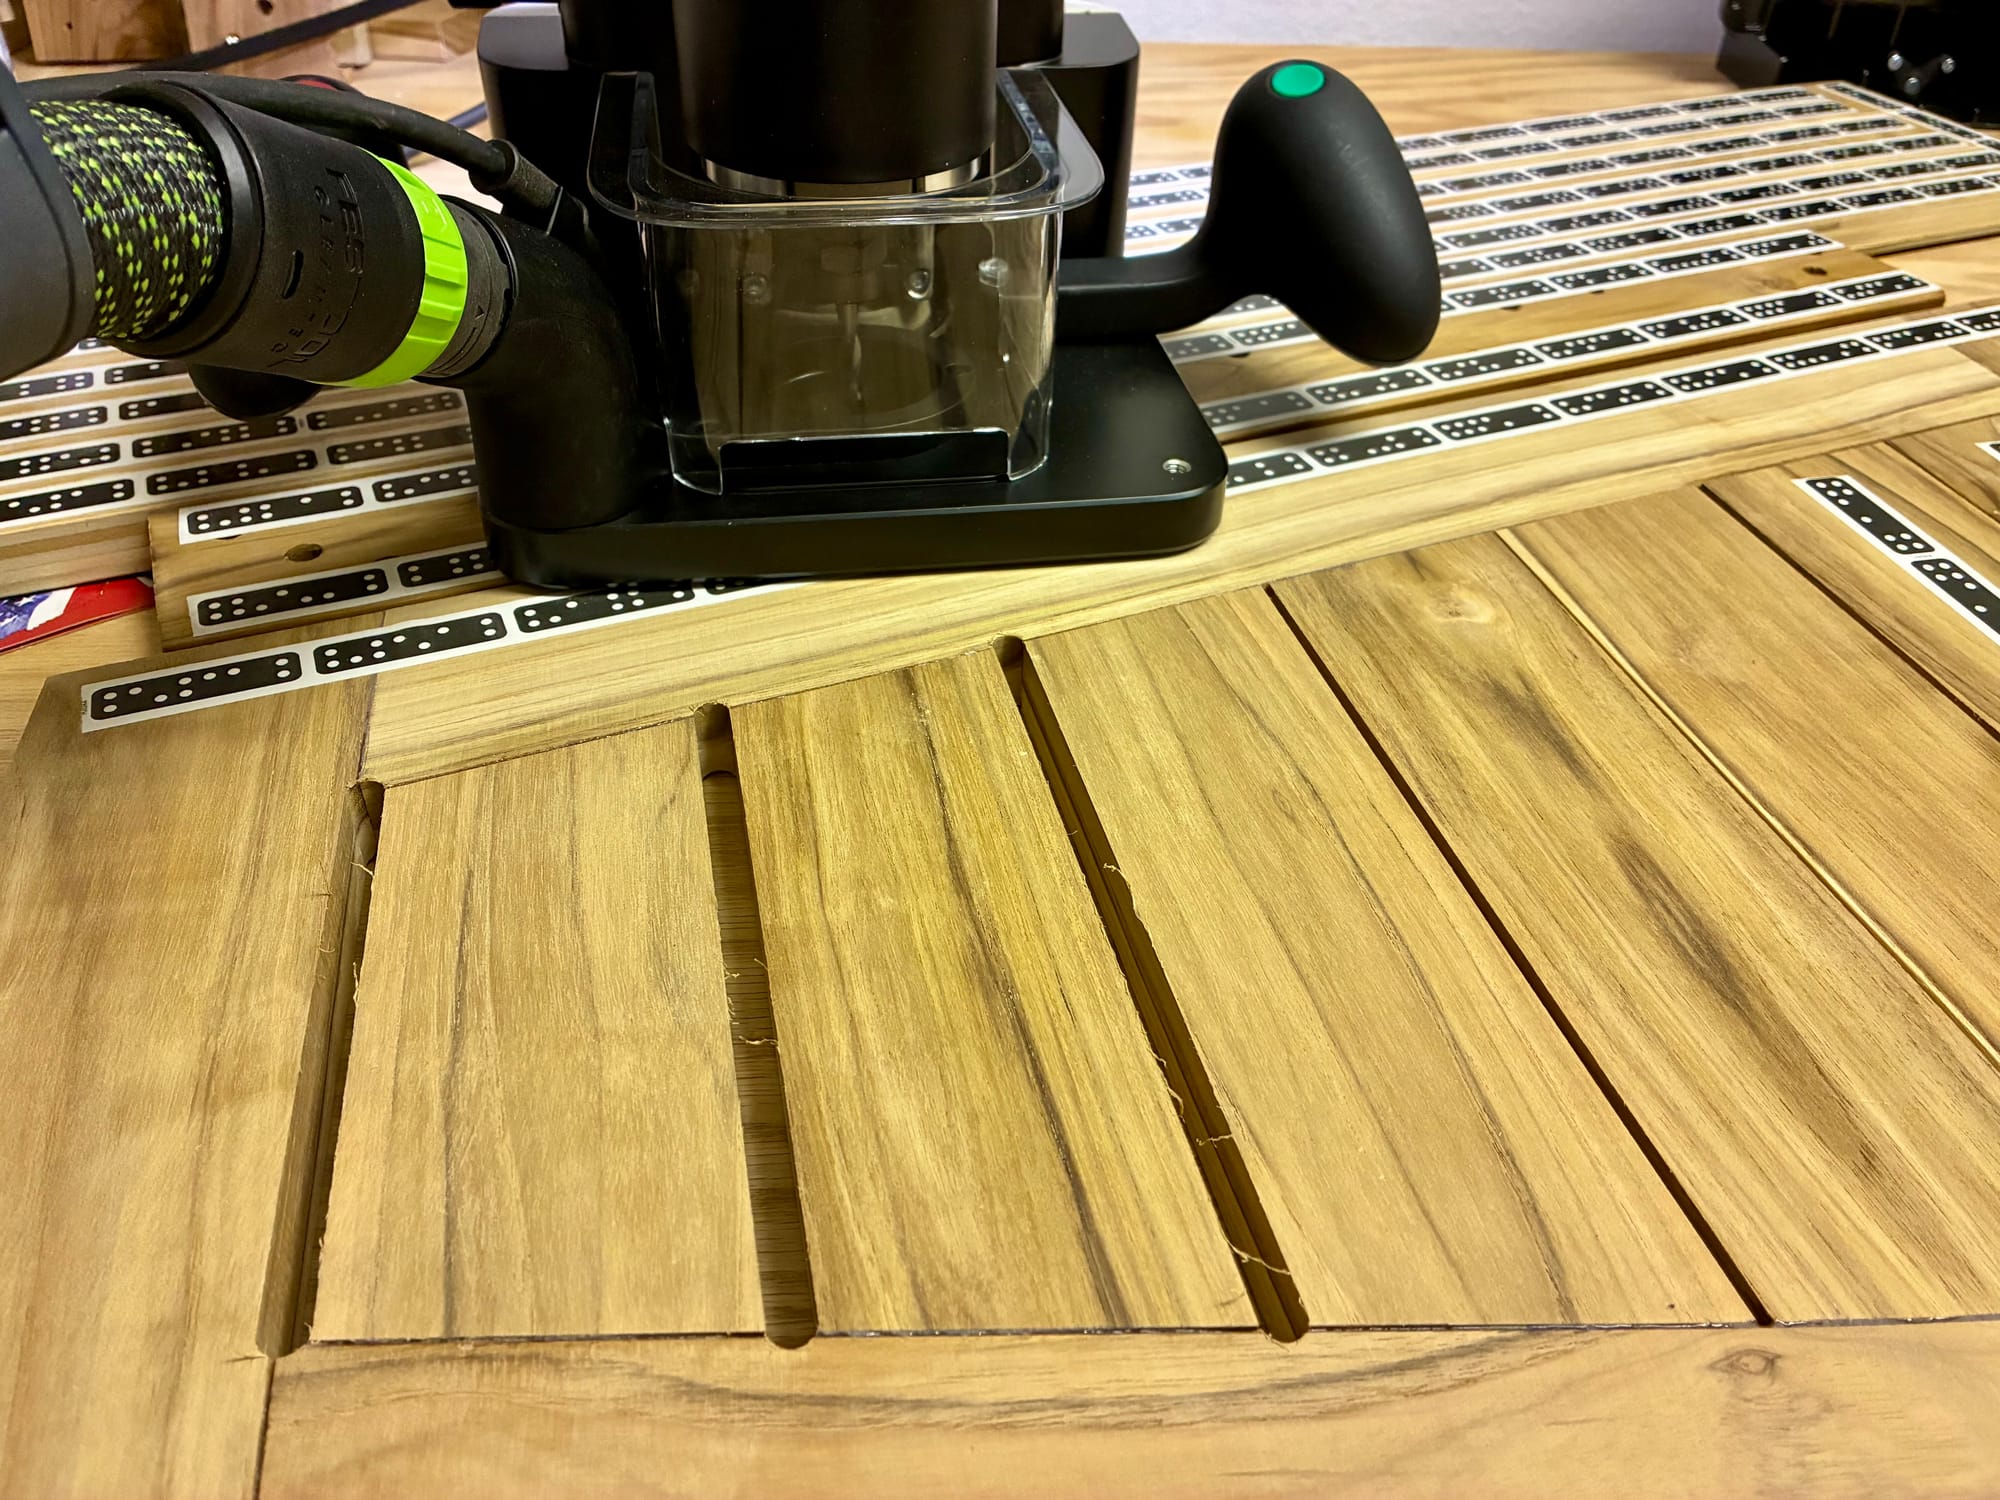
I am using a 1/4” up-cut bit to mill these 8mm wide slots. I can use an up-cut bit, which helps enormously with dust extraction, because these slots will be rounded over which takes the fuzz off.
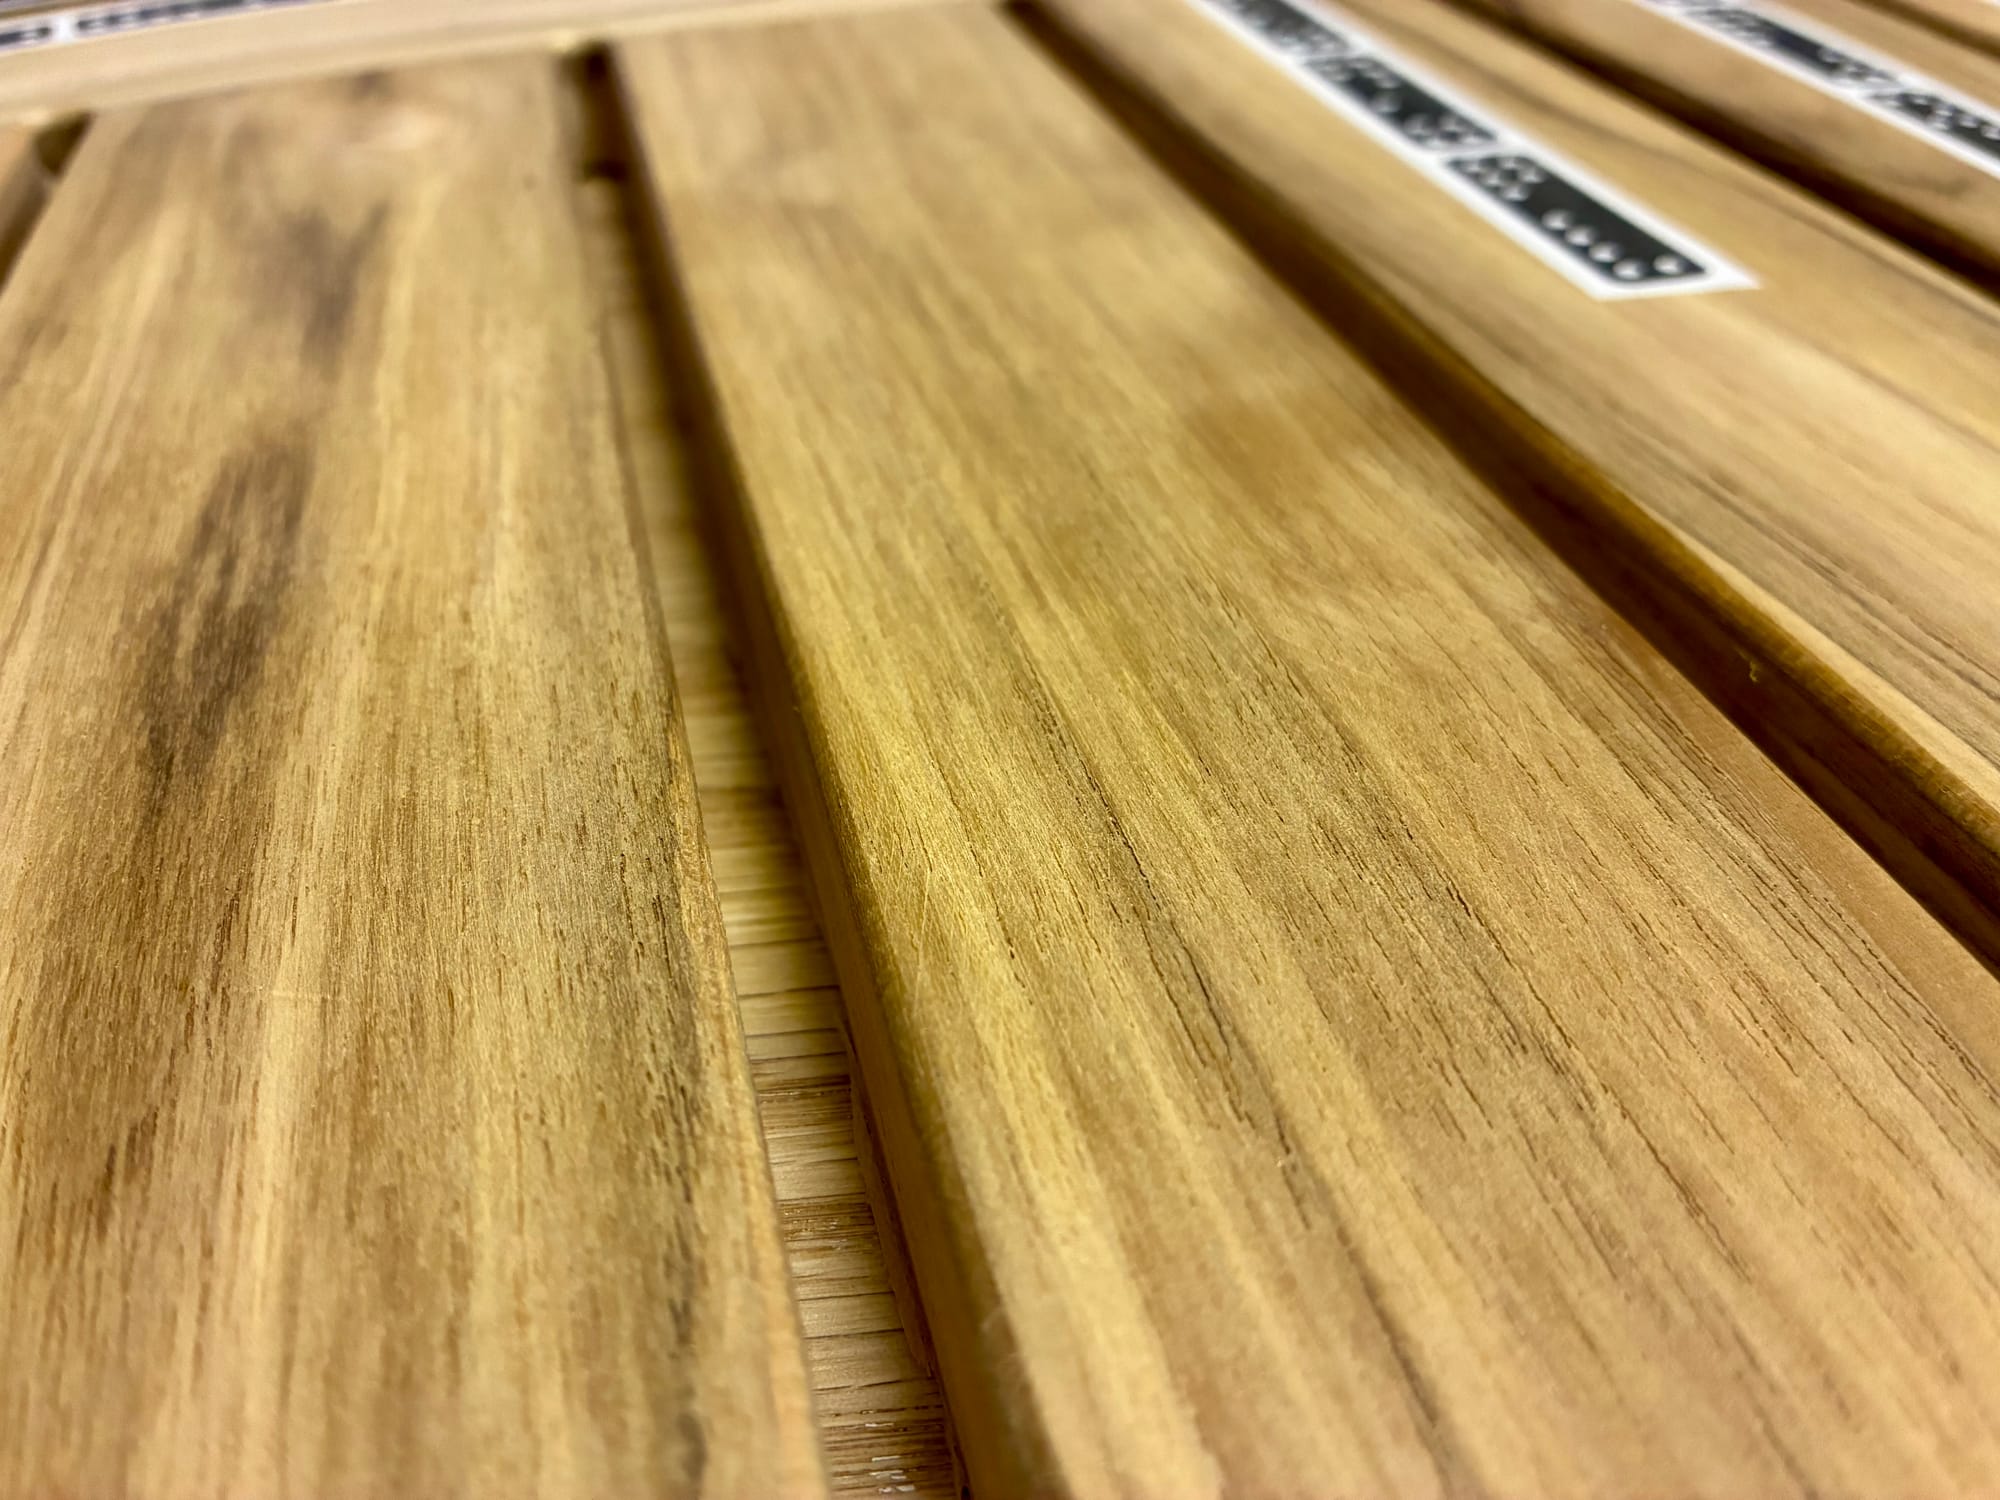
The round-over bit is completely unguided, i.e. no bearing and no guide ring, just the CNC correcting for clumsy human movement of the machine. Look at the nice results in the pictures below:
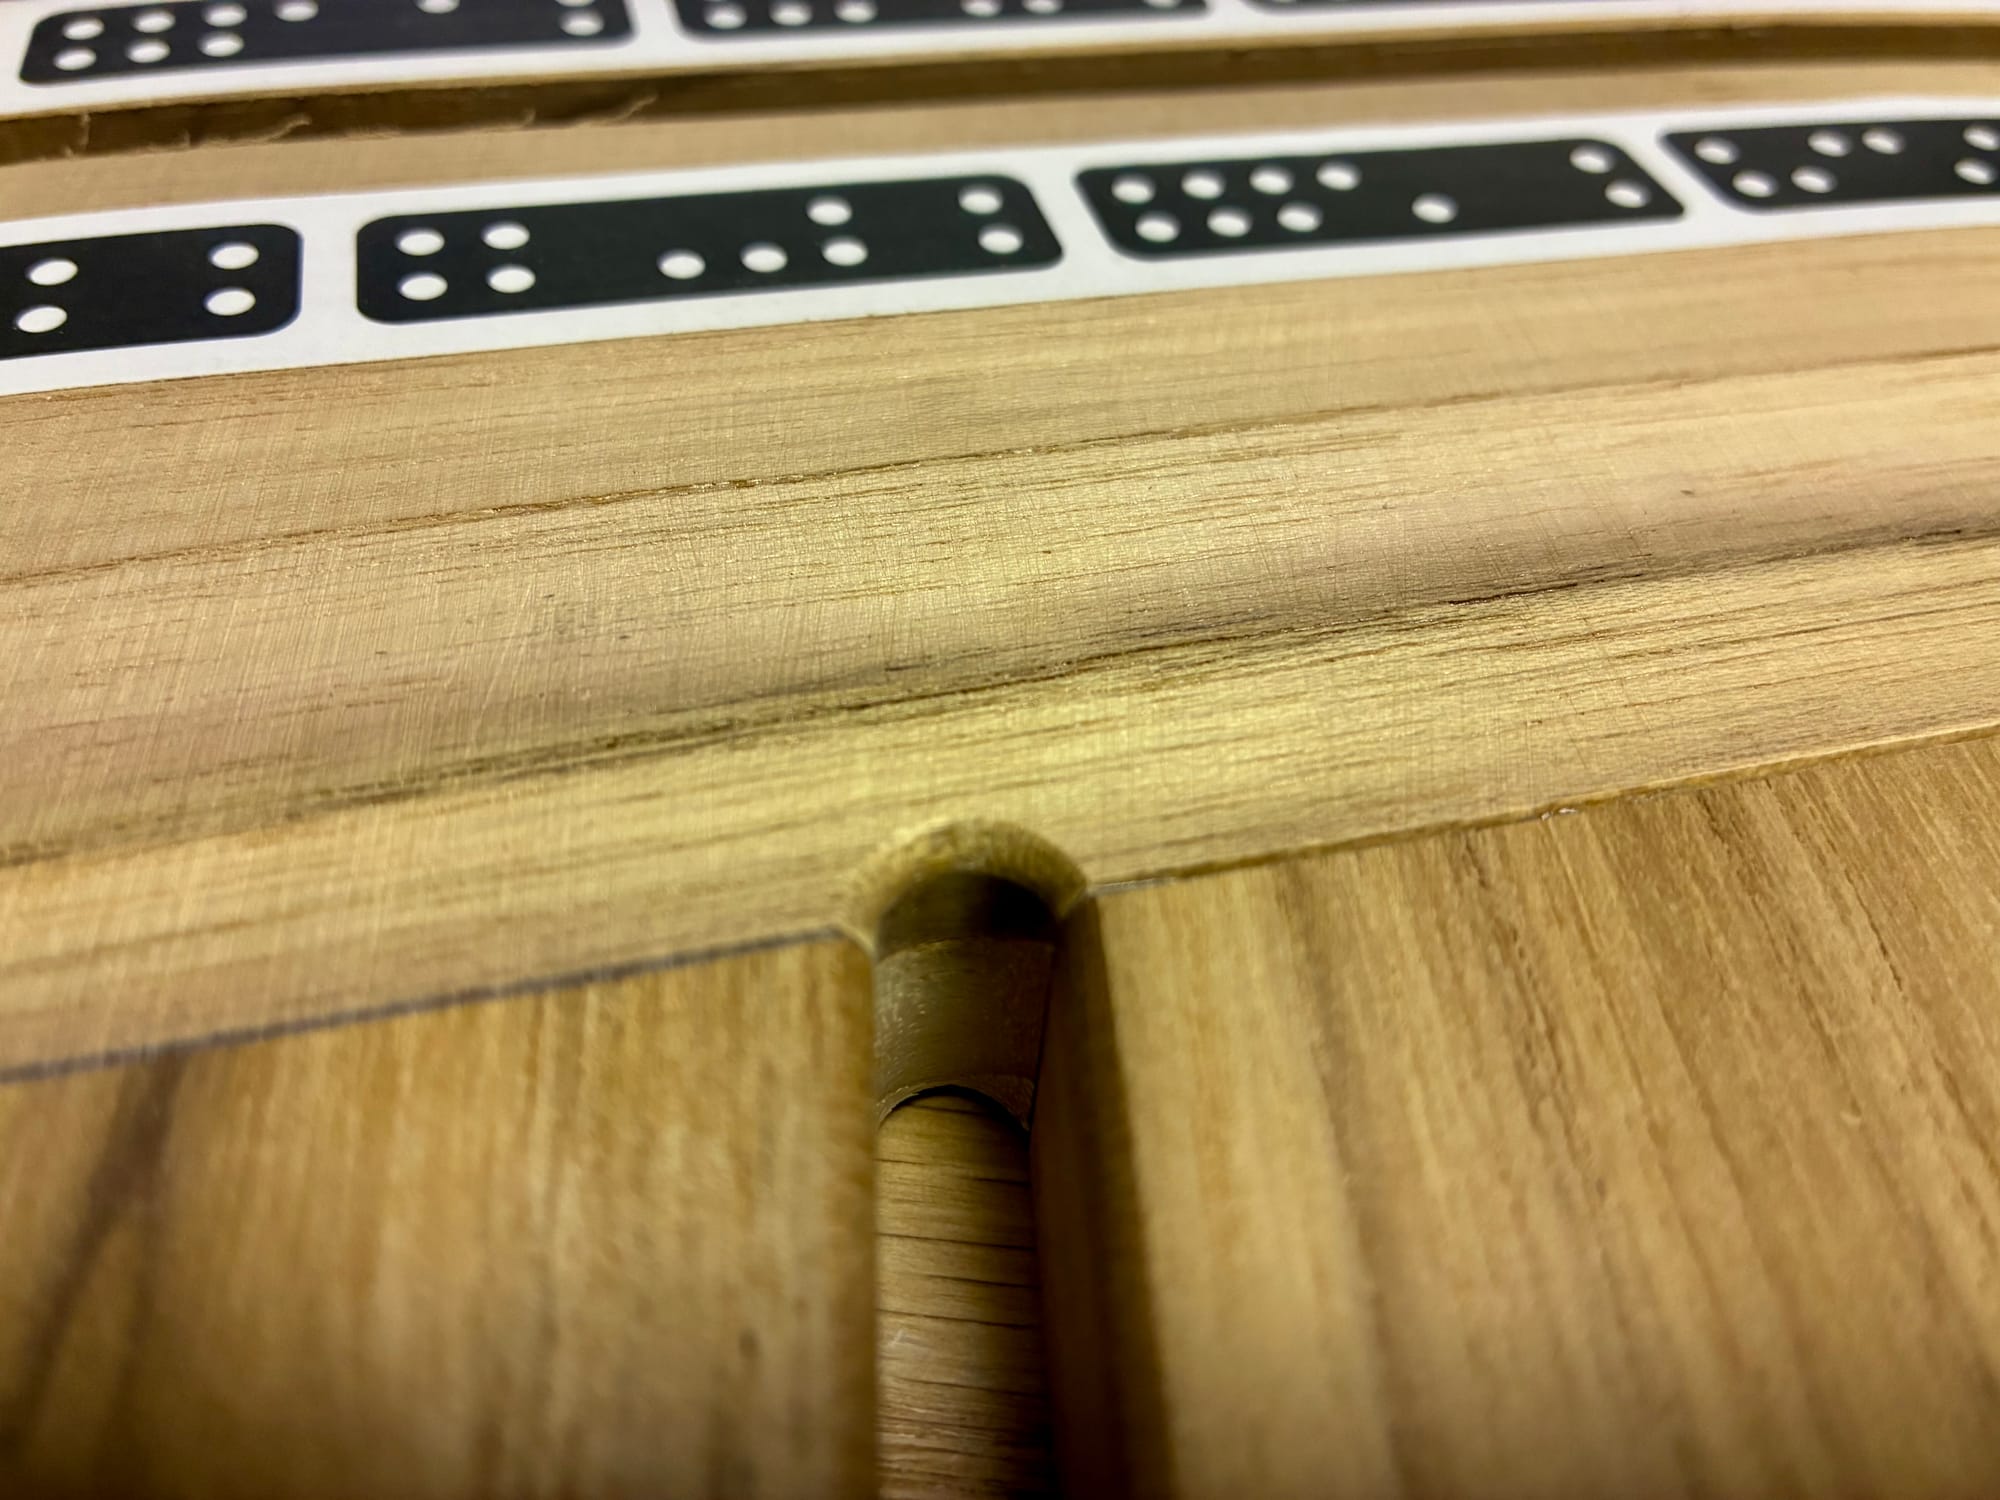
next it was time to turn the seat over and do the round-overs of the slots on the bottom of the seat. this seemed difficult because it is very hard to align it that precise, so I spent some time learning the options the Shaper Origin provides, especially the probing functions. unfortunately there isn’t a “probe slot” function yet, but there is a “probe rectangle“ which has the option to create a grid with the origin exactly in the center of the rectangle. I simply probed the slot and indeed this resu in a perfect grid centered on the slot center. from here there are two options: draw a slot on this grid, which I didn’t find very handy, or import the slot from our CAD software, which I found the easiest. I created 8 new files, each with just one slot. When you import those, they by default anchor in the center so you simply place it on the x=0 and y=0 coordinate and it’s perfectly aligned.
About the CNC round-over bit, I use the Amana Tool bit shown below:
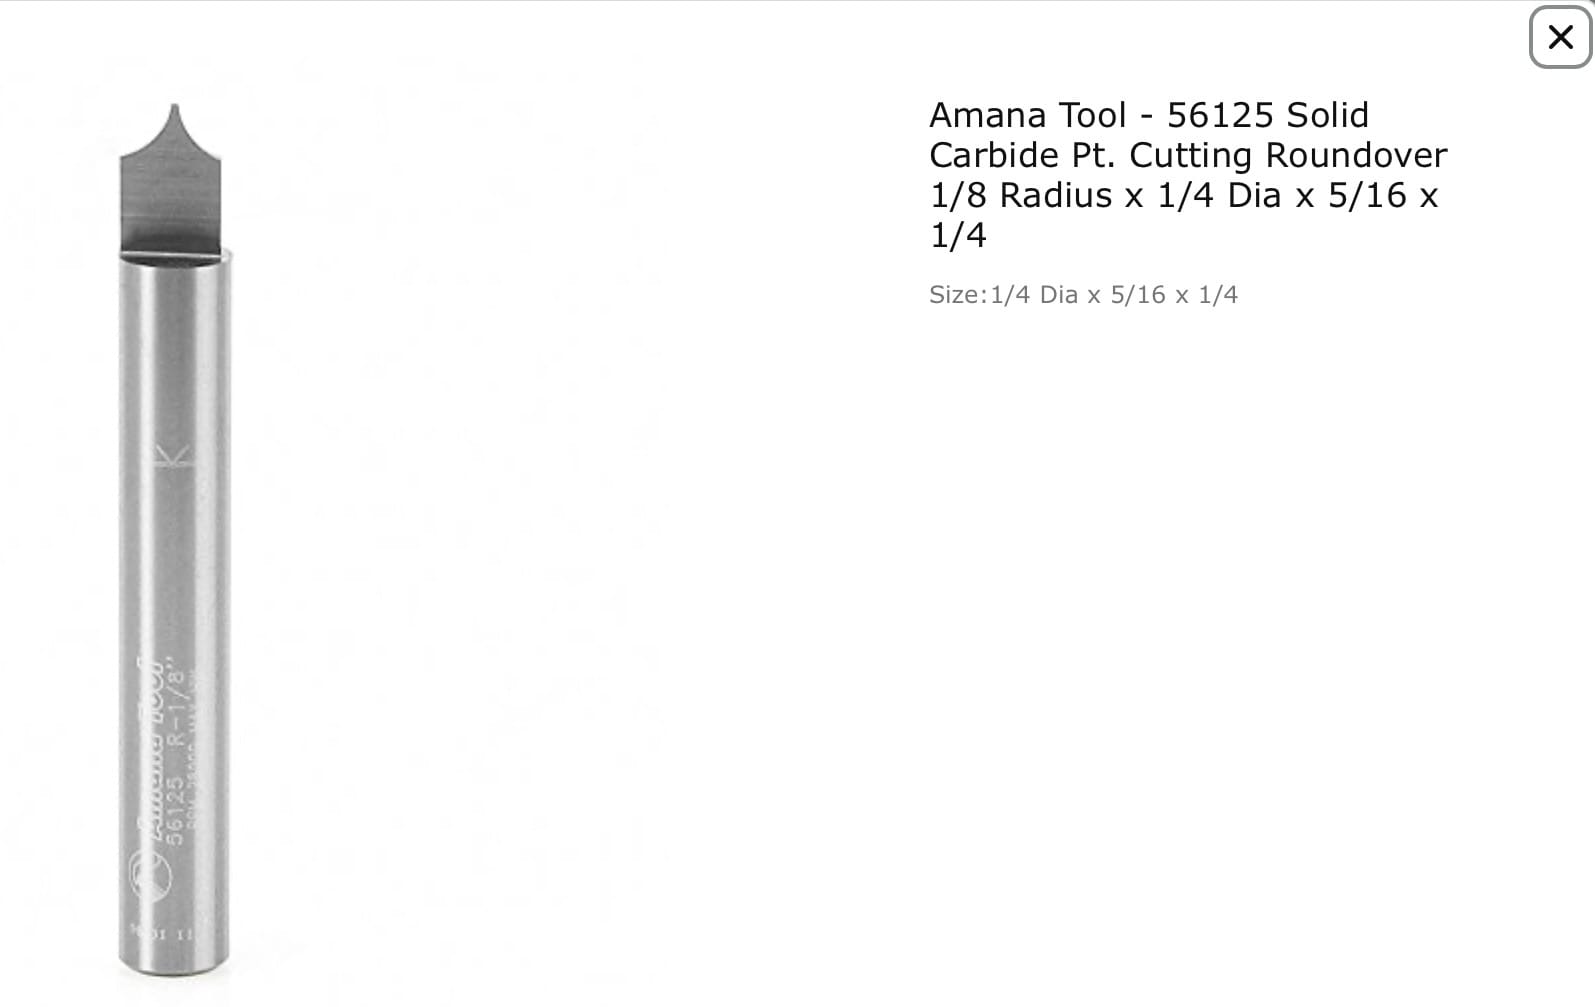
This bit is like a knife with the top only 0.5mm wide. This makes the Z-axis touch-off very difficult as the tip simply plunges into the wood. So you must do a careful manual Z-touch. You set the bit diameter to 0.5mm and do an inside cut of the slot; for this 1/8” round-over bit I cut it 3mm deep with perfect results.
After that was done, I cut the outside perimeter of the seat, which rounded the corners. Then it was time for the threaded inserts. I use stainless steel M6 inserts which have a M8 outside thread. So in CAD I drew four 6.7mm holes, which is the drill size for a M8 tap and cut them 14mm deep using the helix cut option. After that it was easy to cut the threads and mount the insert with some CA glue to lock them in and mount the prototype knobs that lock the seat in place.
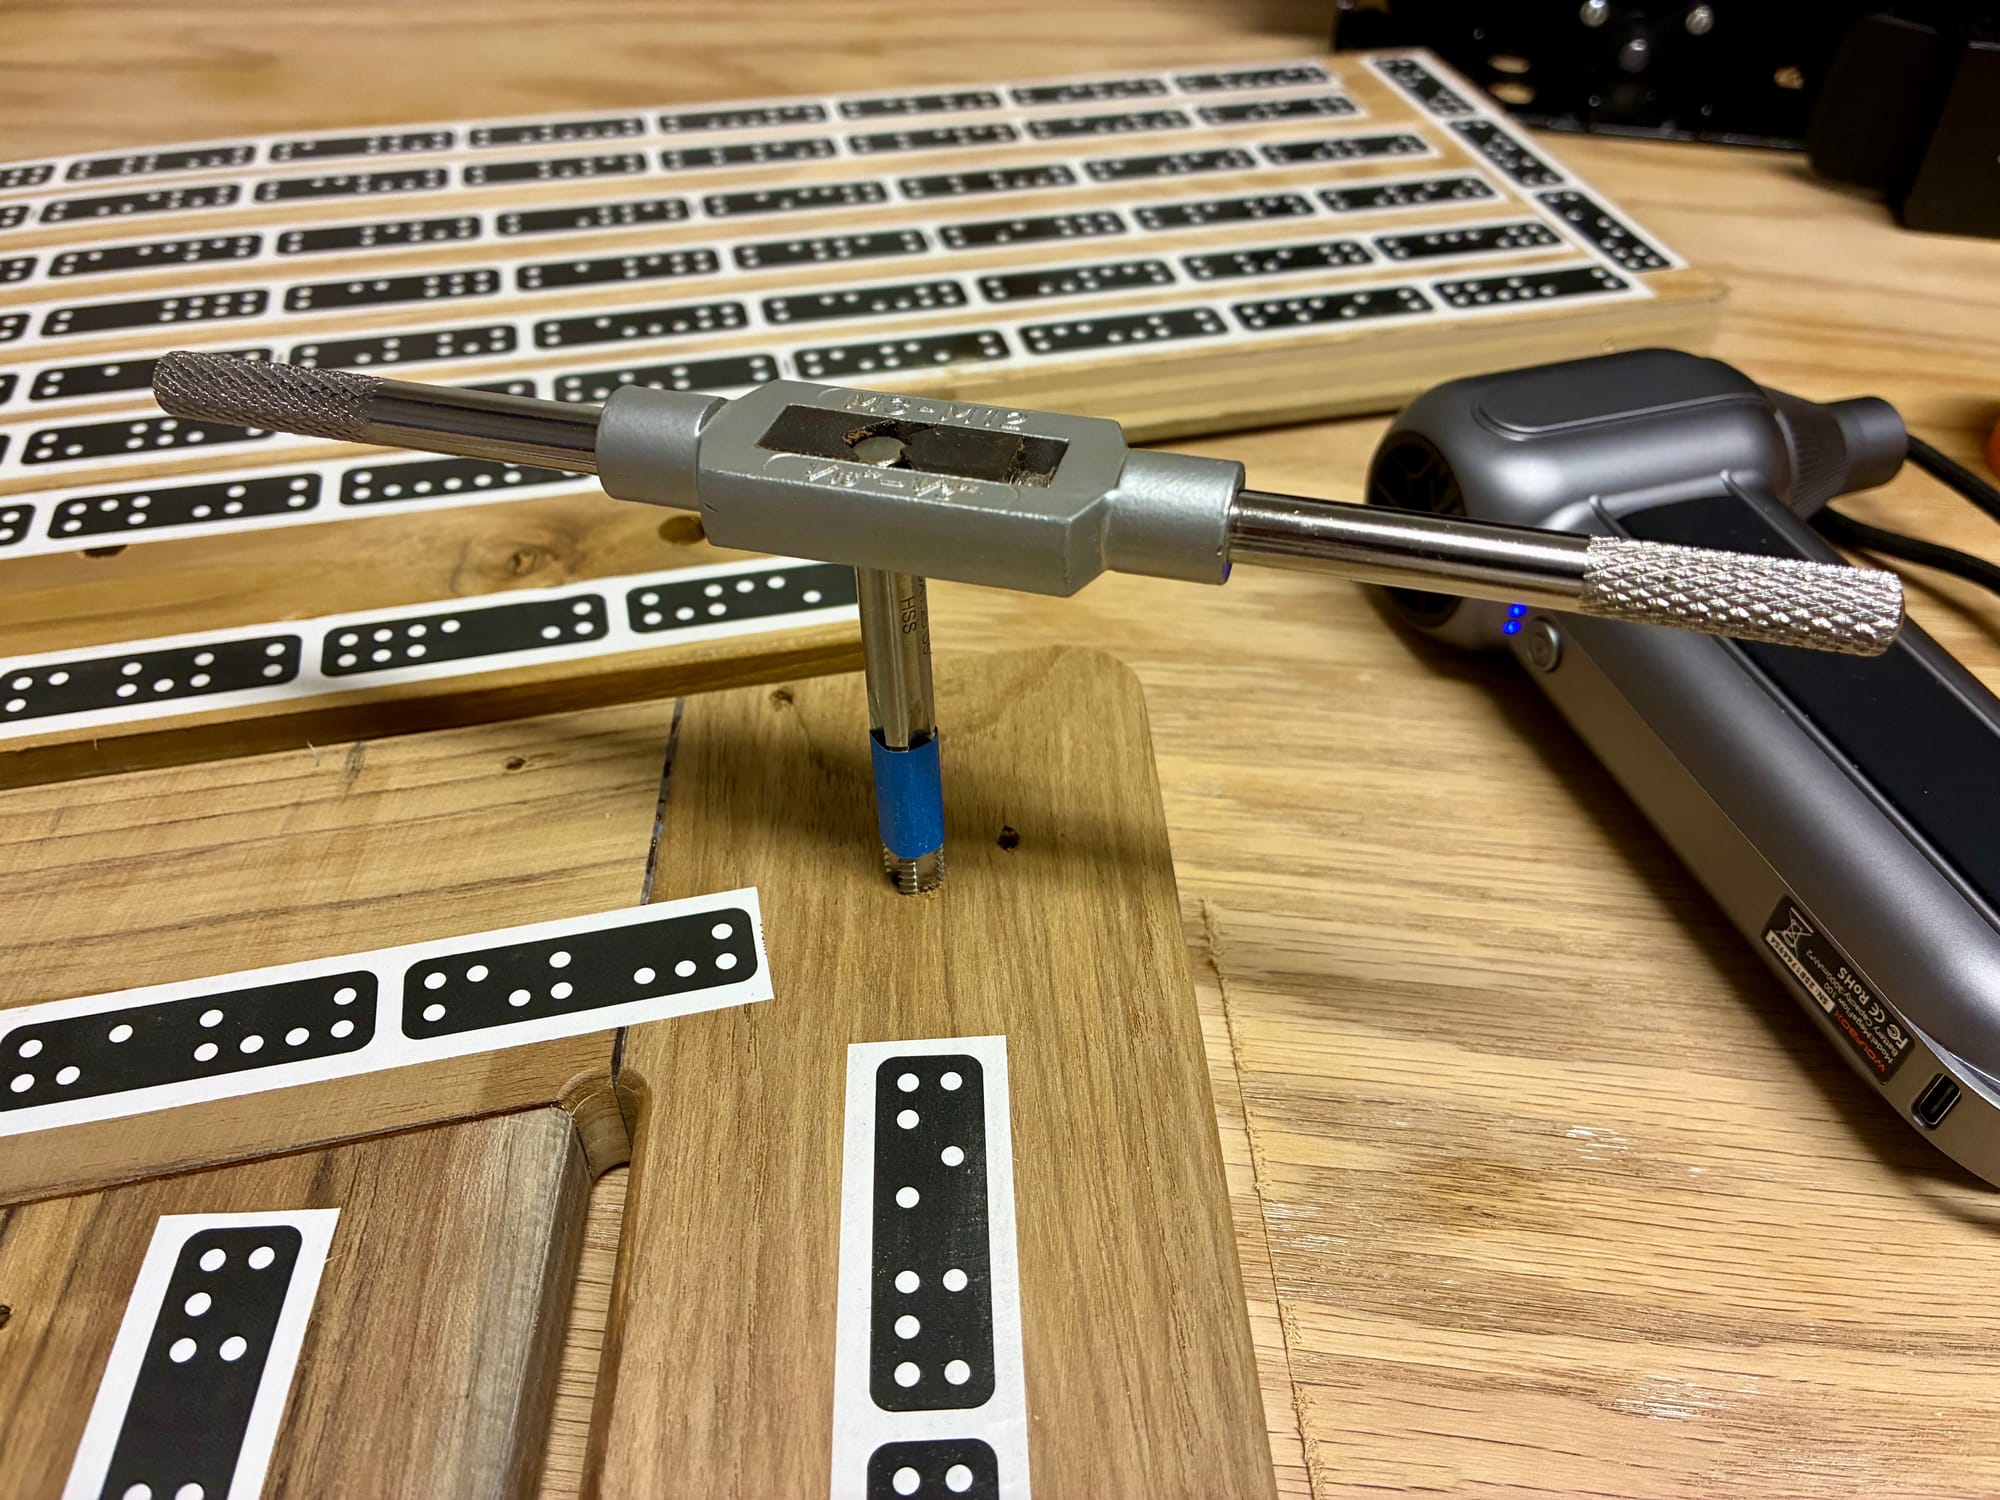
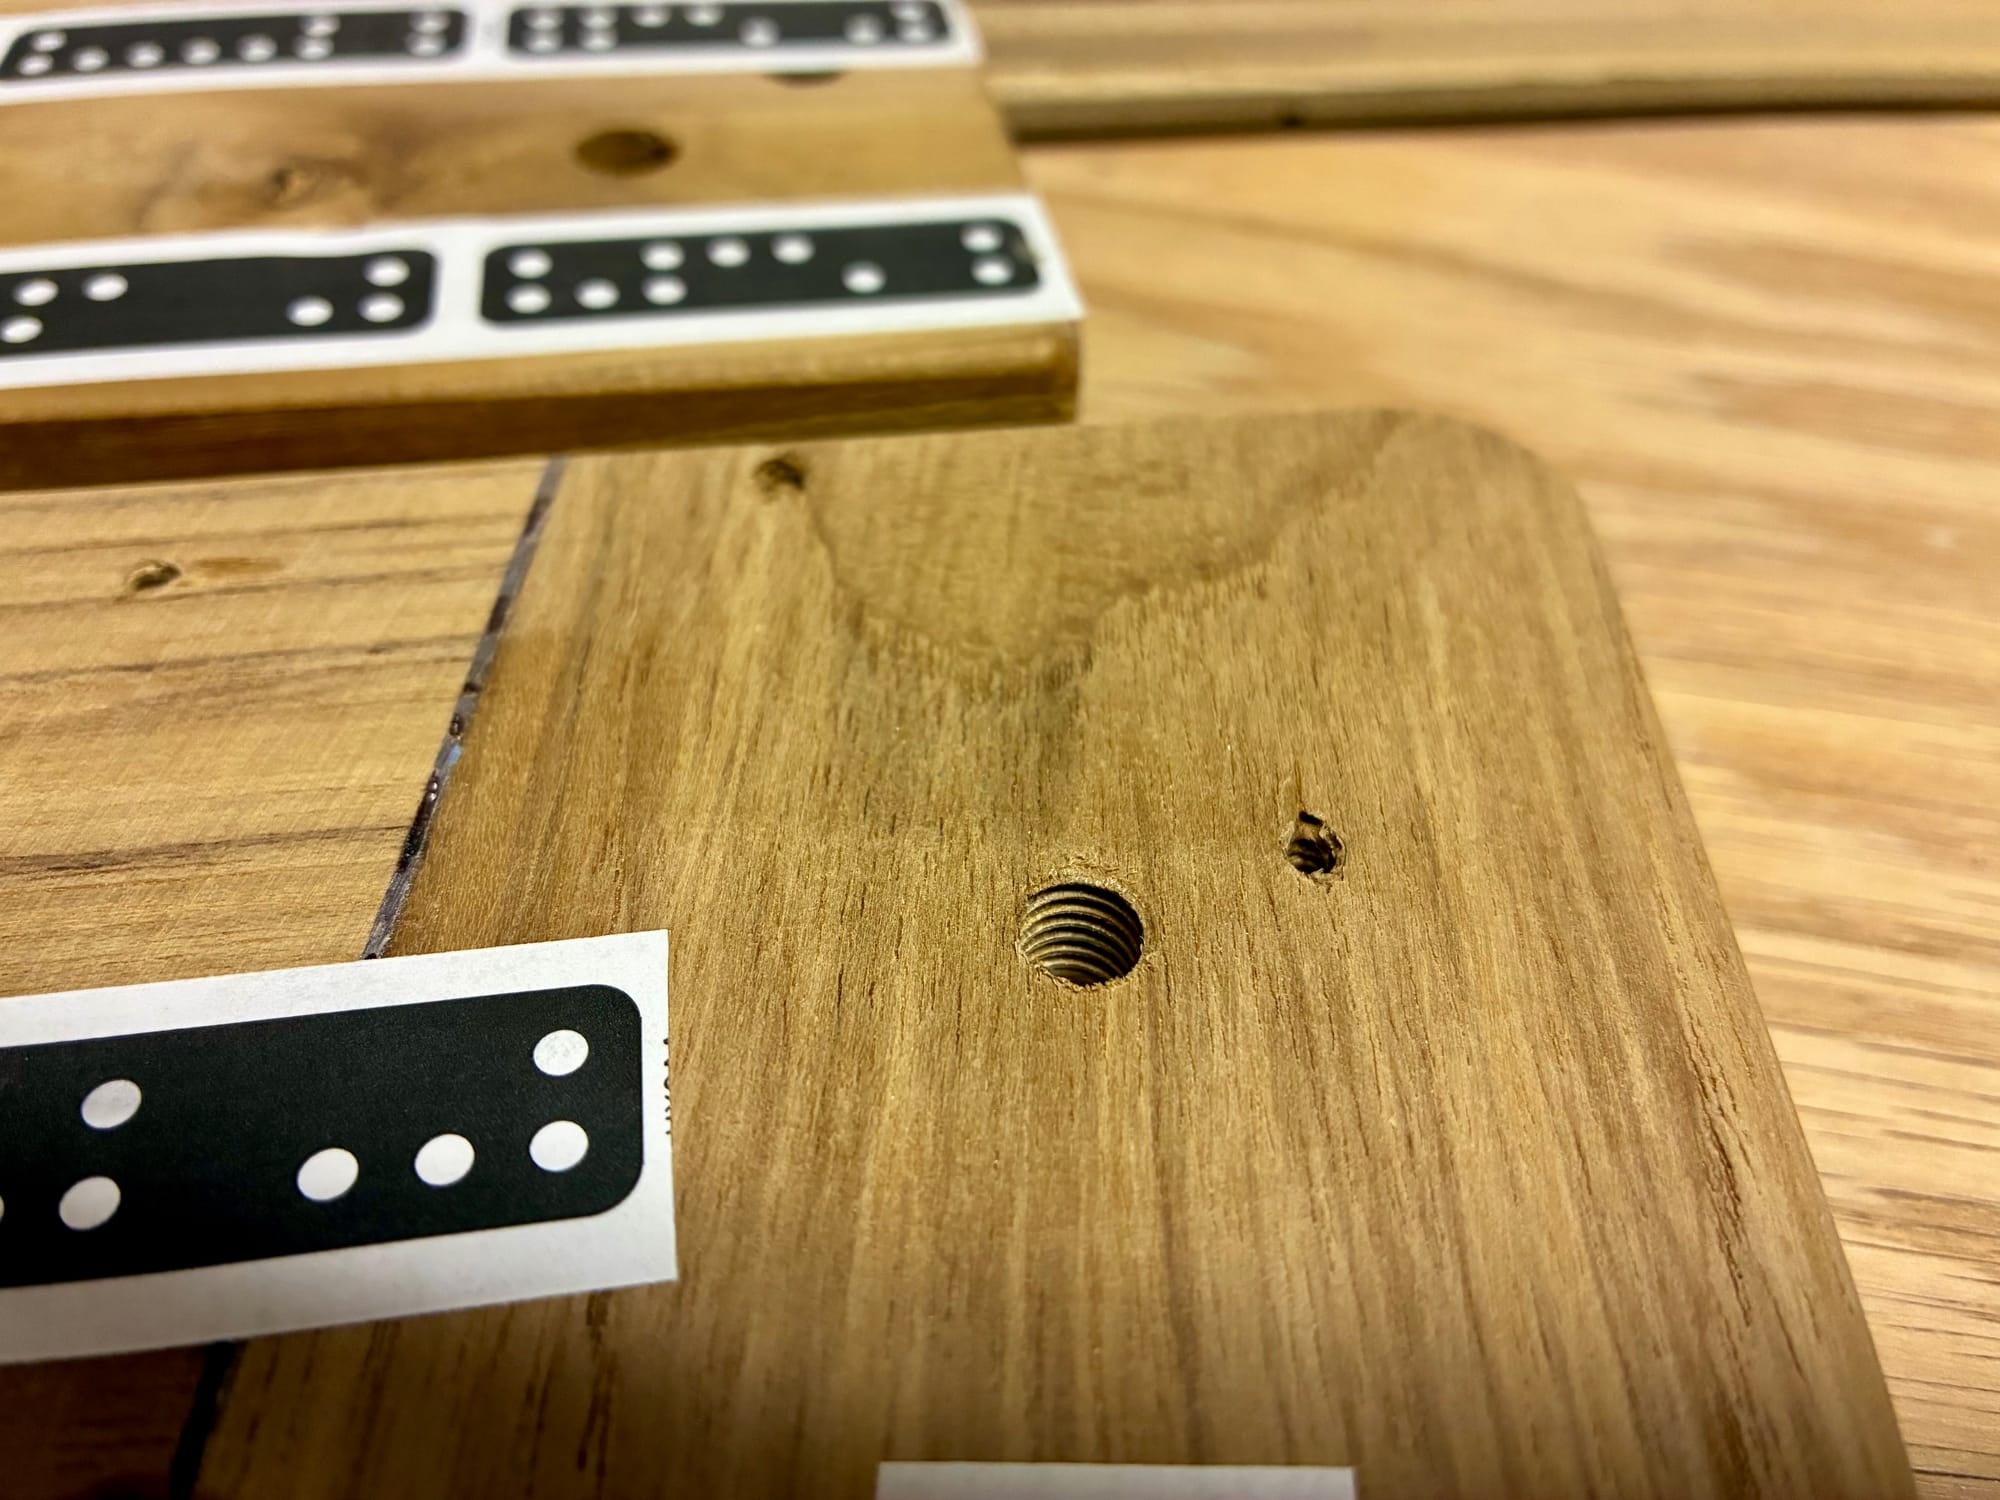
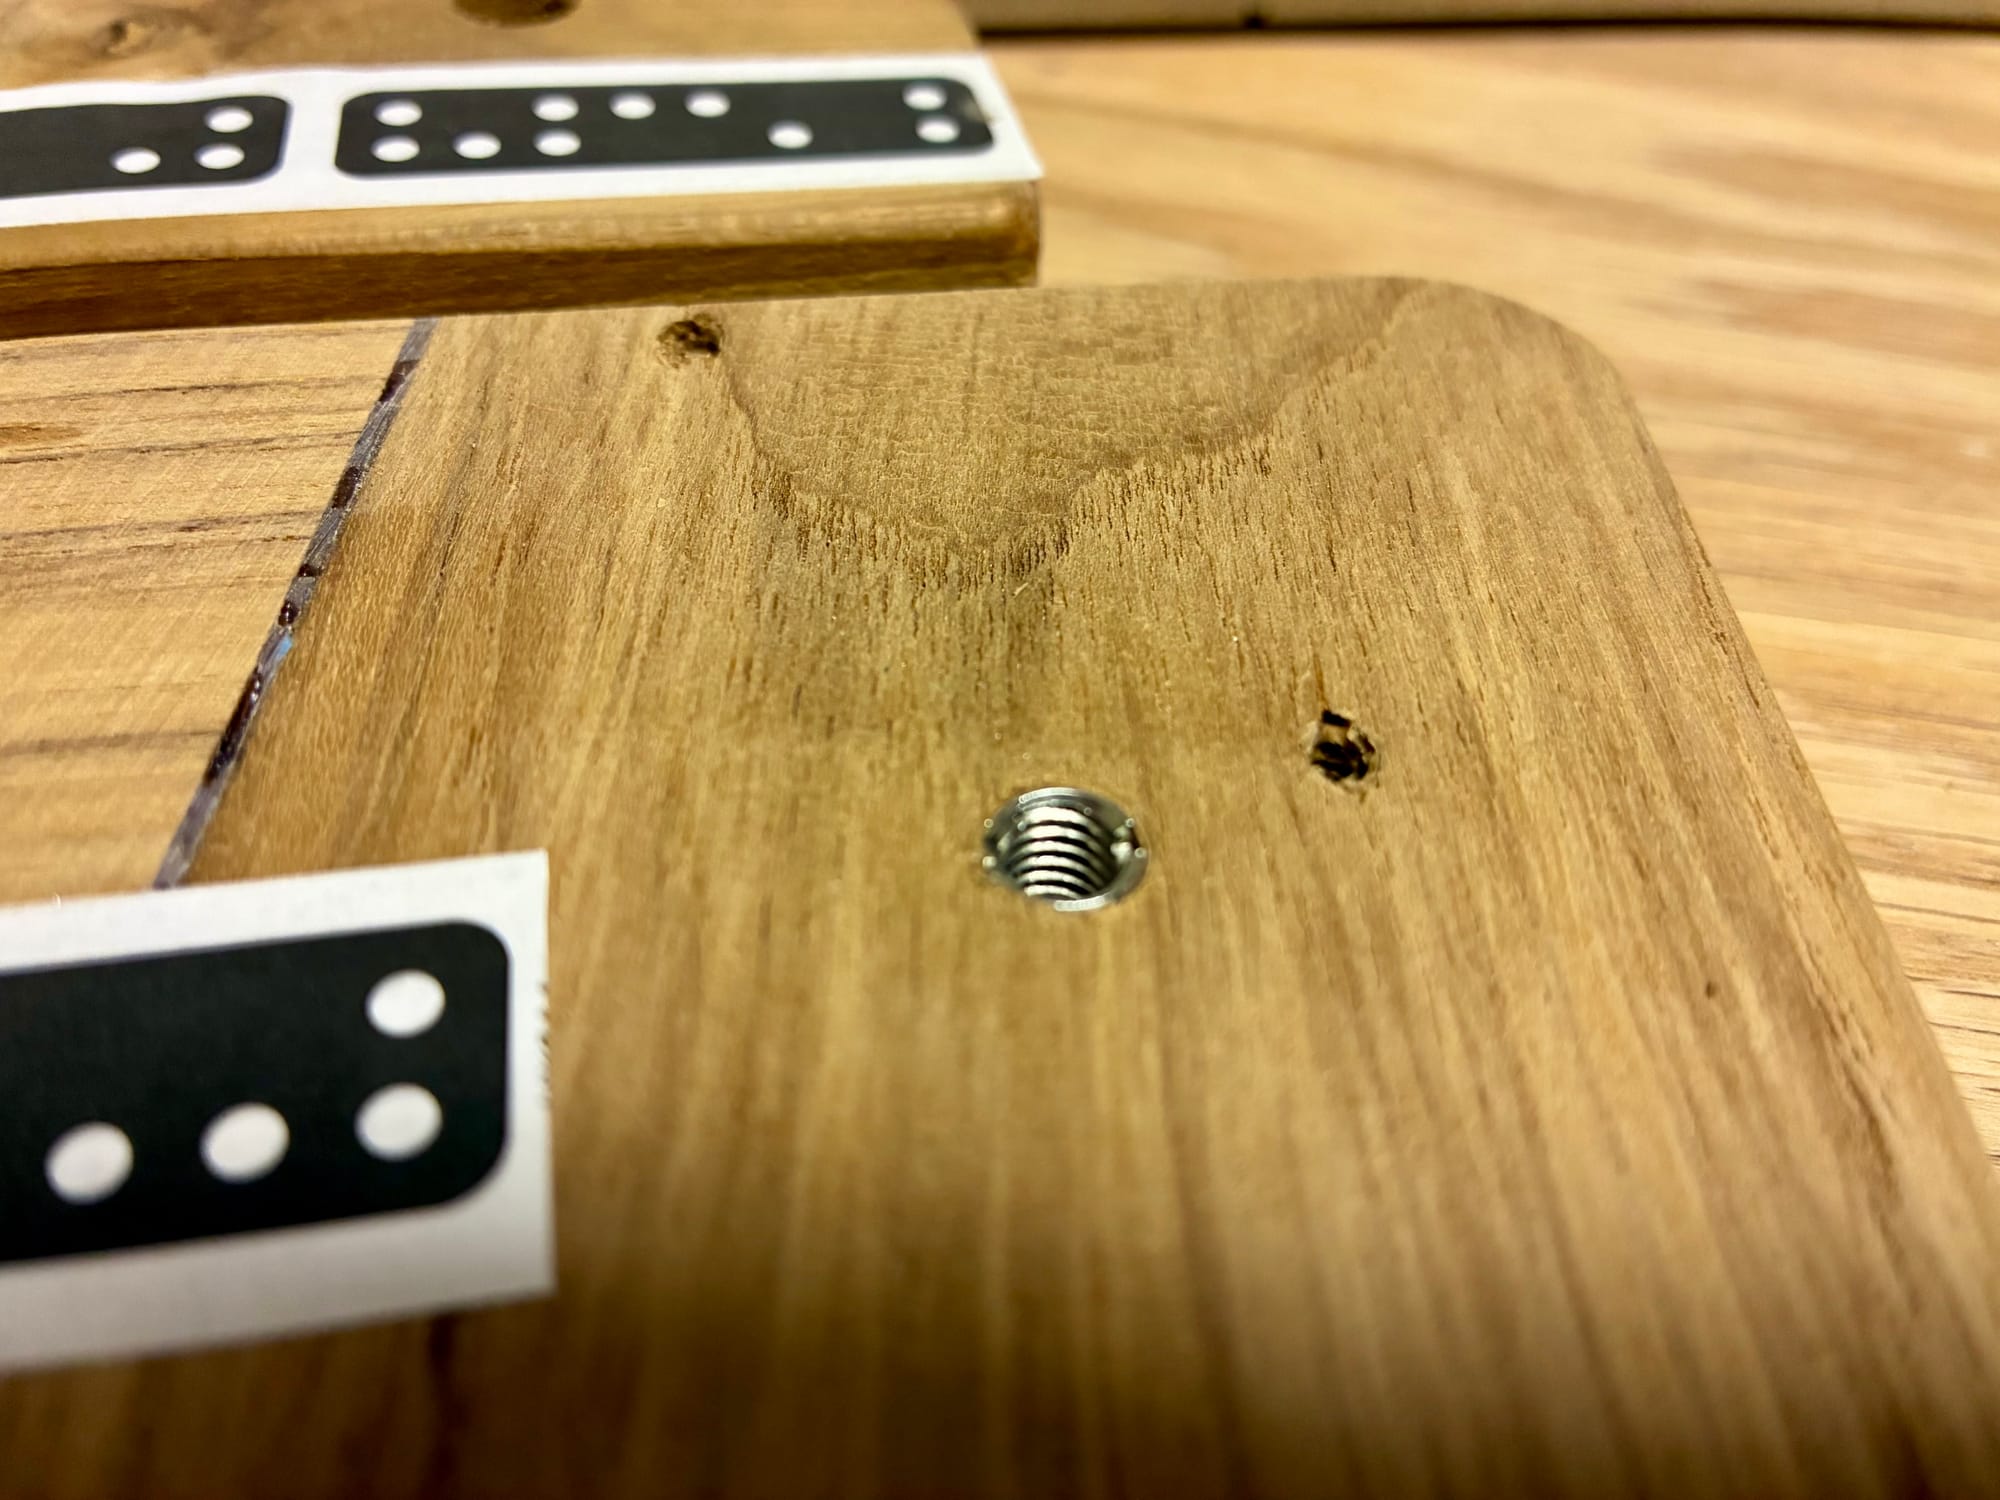
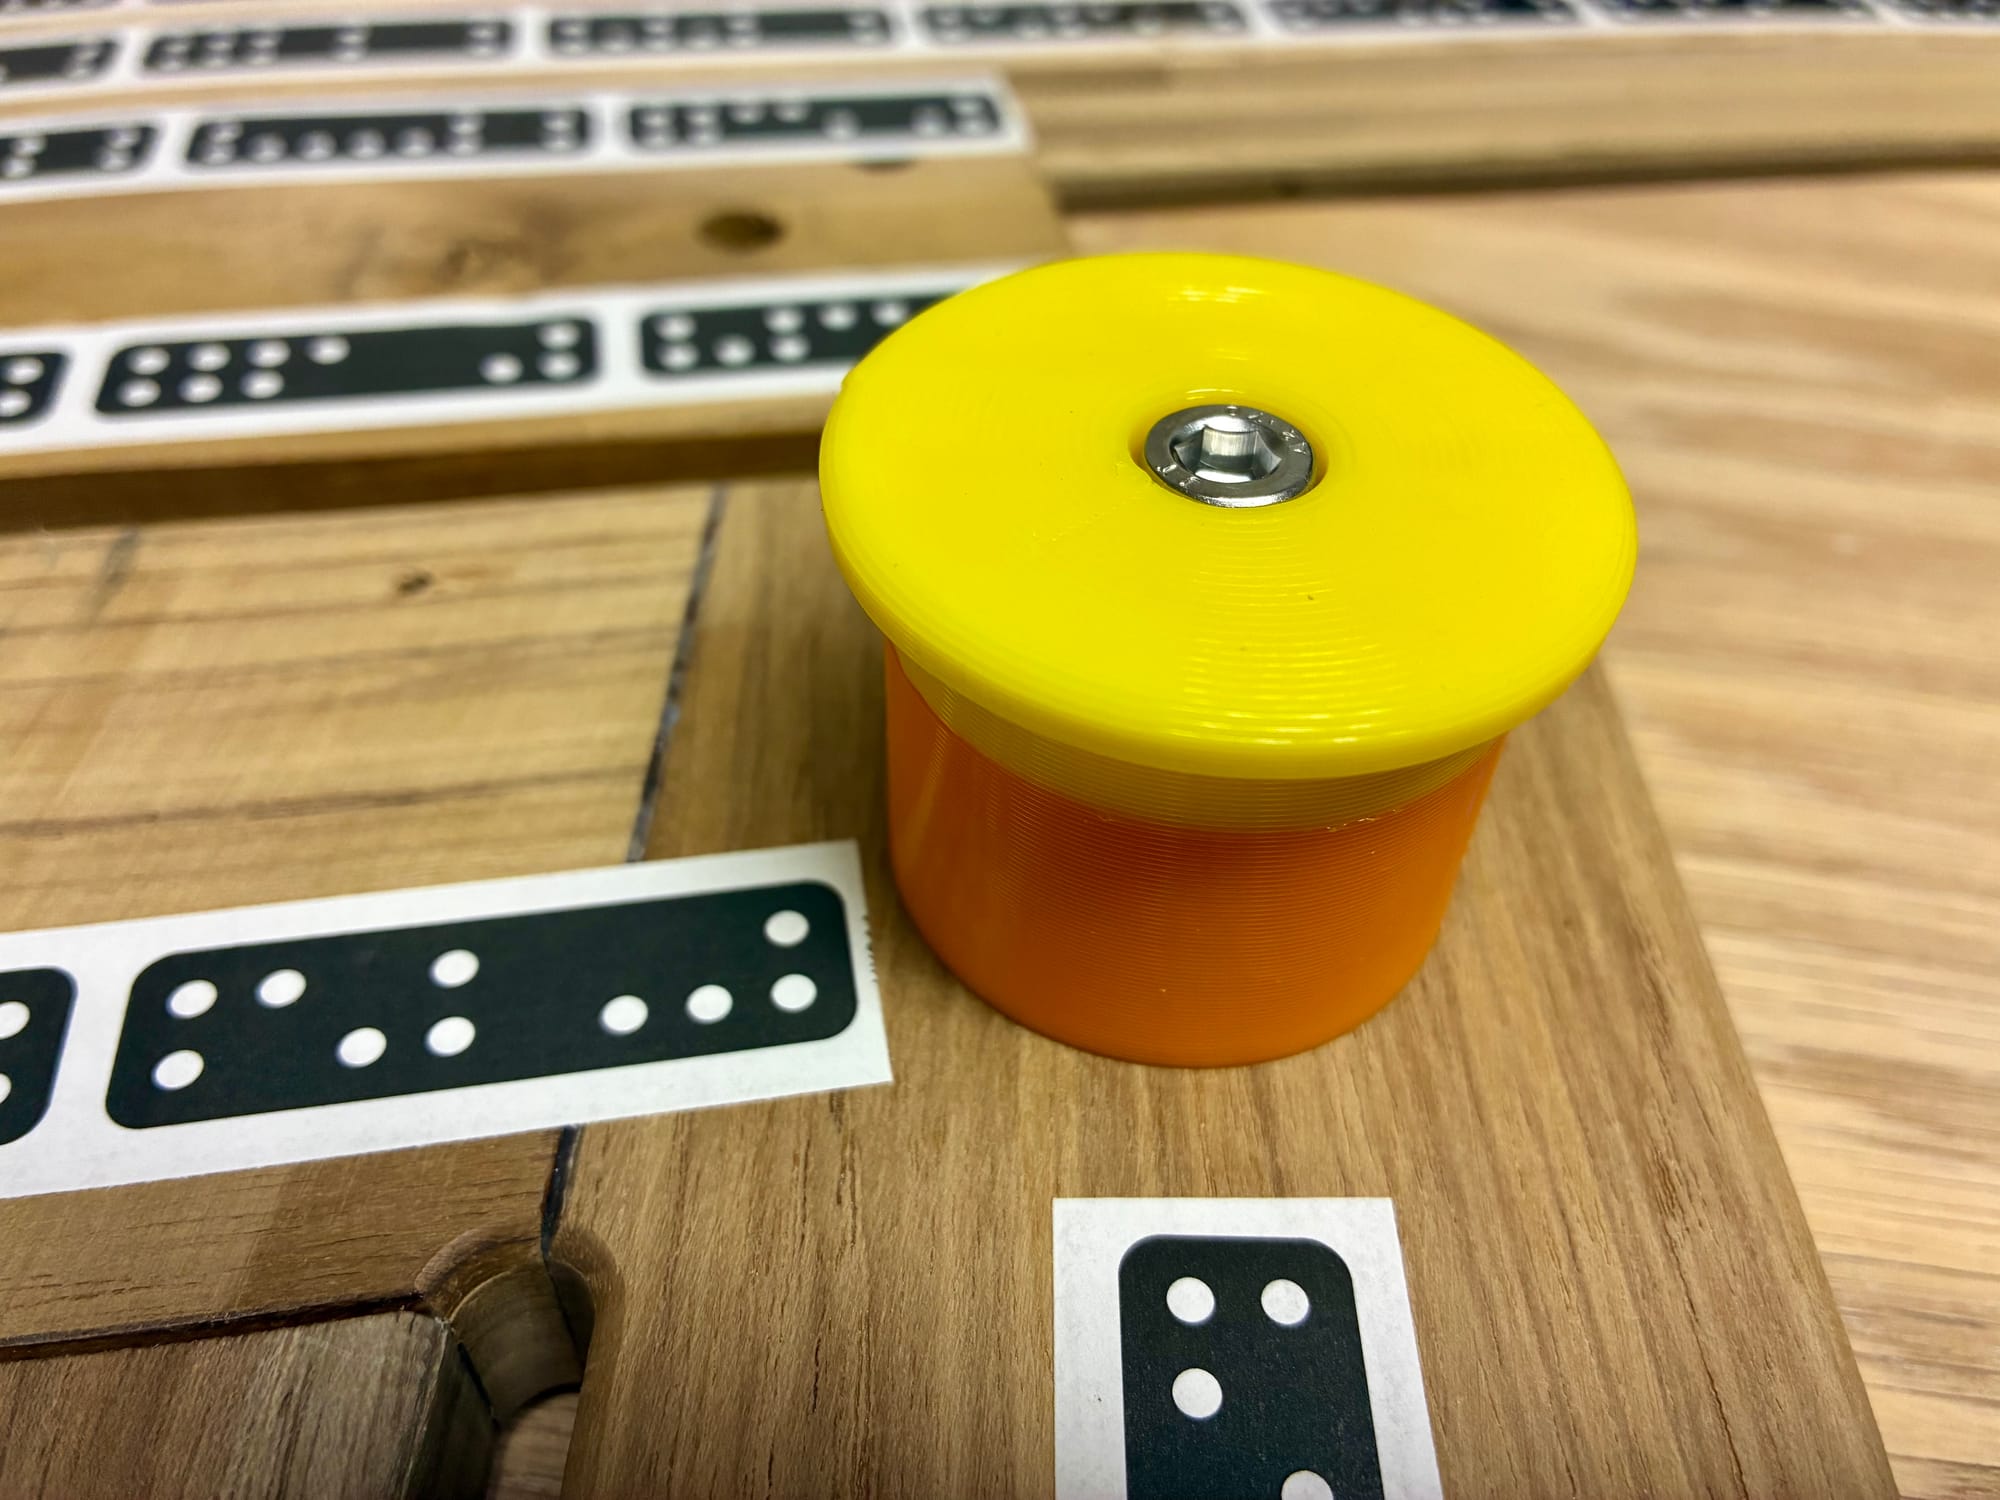
Now there’s three more steps to finish the seat: first deal with the screw holes (this is repurposed teak) by cutting plugs for them, then do the outer perimeter round-over with my new battery powered palm router and finally the finish sanding and a rub of oil to replenish what was removed with acetone for the glue up.
Note that the weird colors for the knobs come from me finishing leftovers of filament for prototypes 😀