Rebuilding our ProFurl 42 jib furler

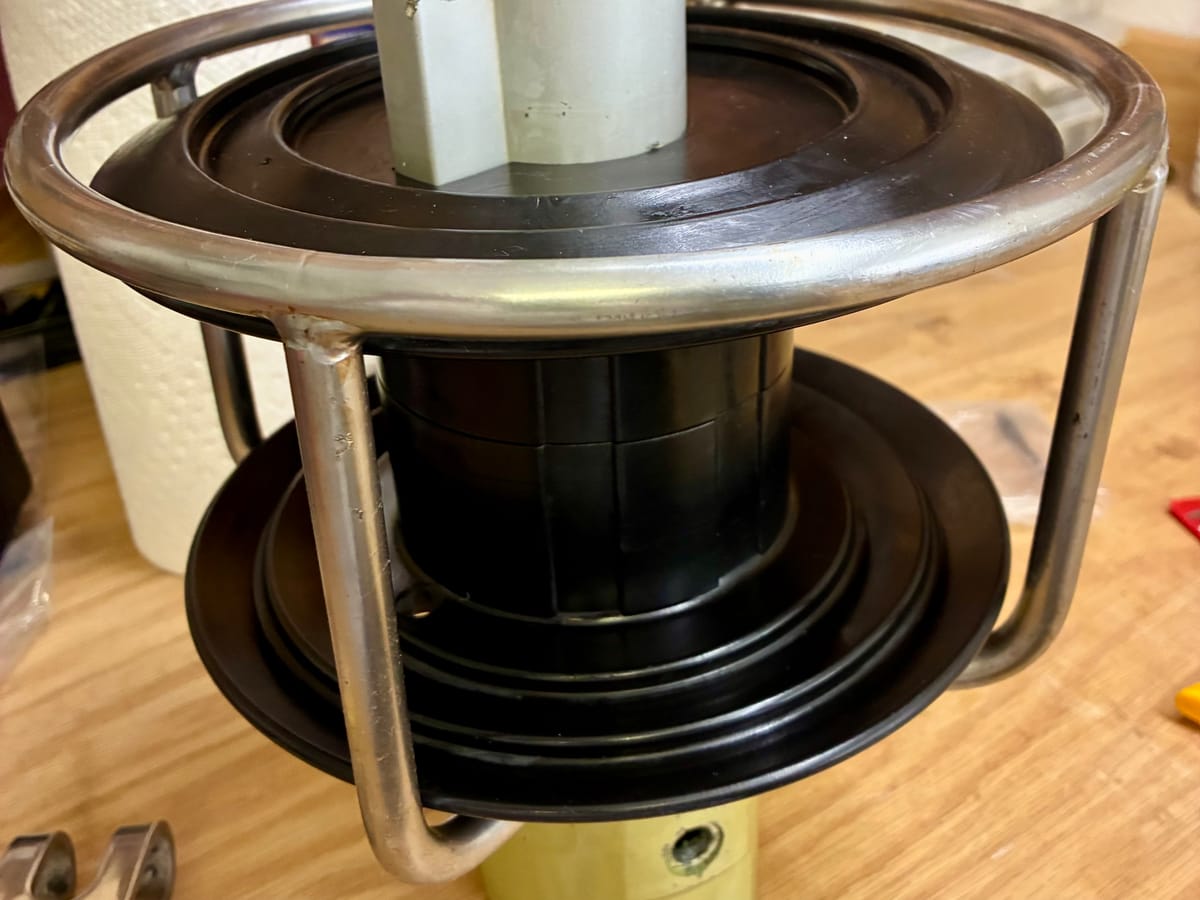
One of the projects this year is replacing our forestay and rebuilding the furler. I’m not gonna go through all the steps because there is a very good YouTube video from the “Living for Sail” YouTube channel which you can find here: https://youtu.be/vc3DQJPHudg
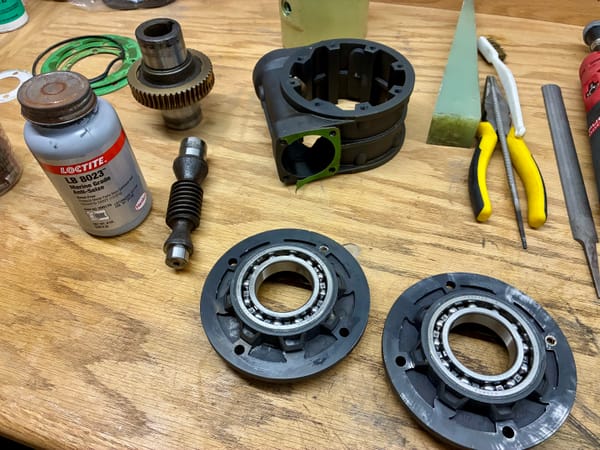
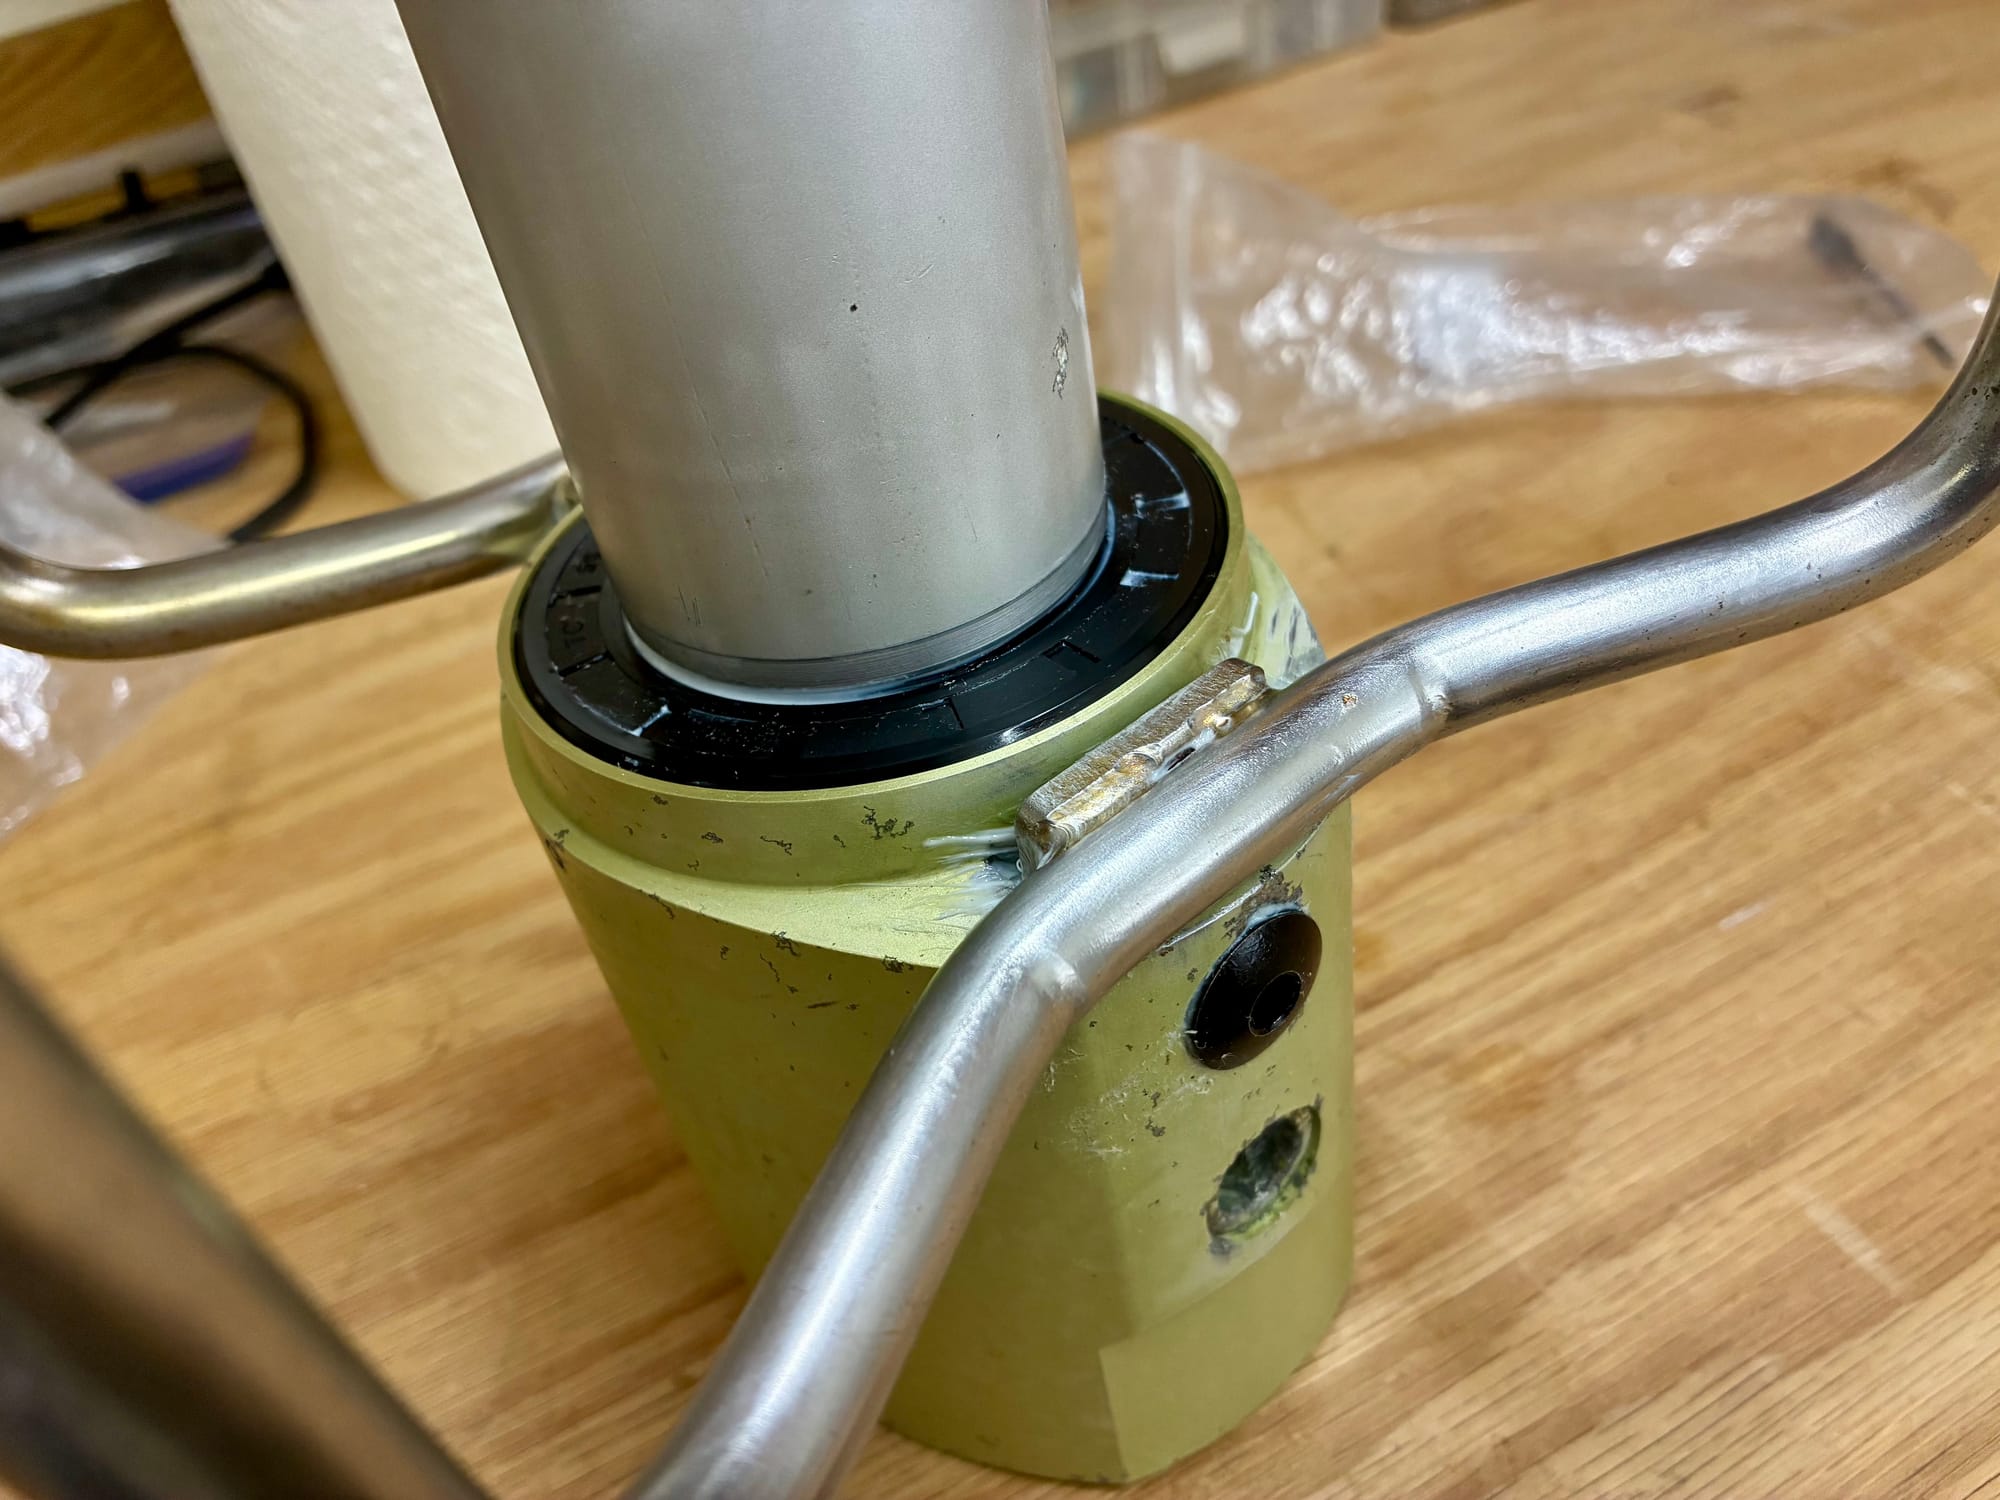
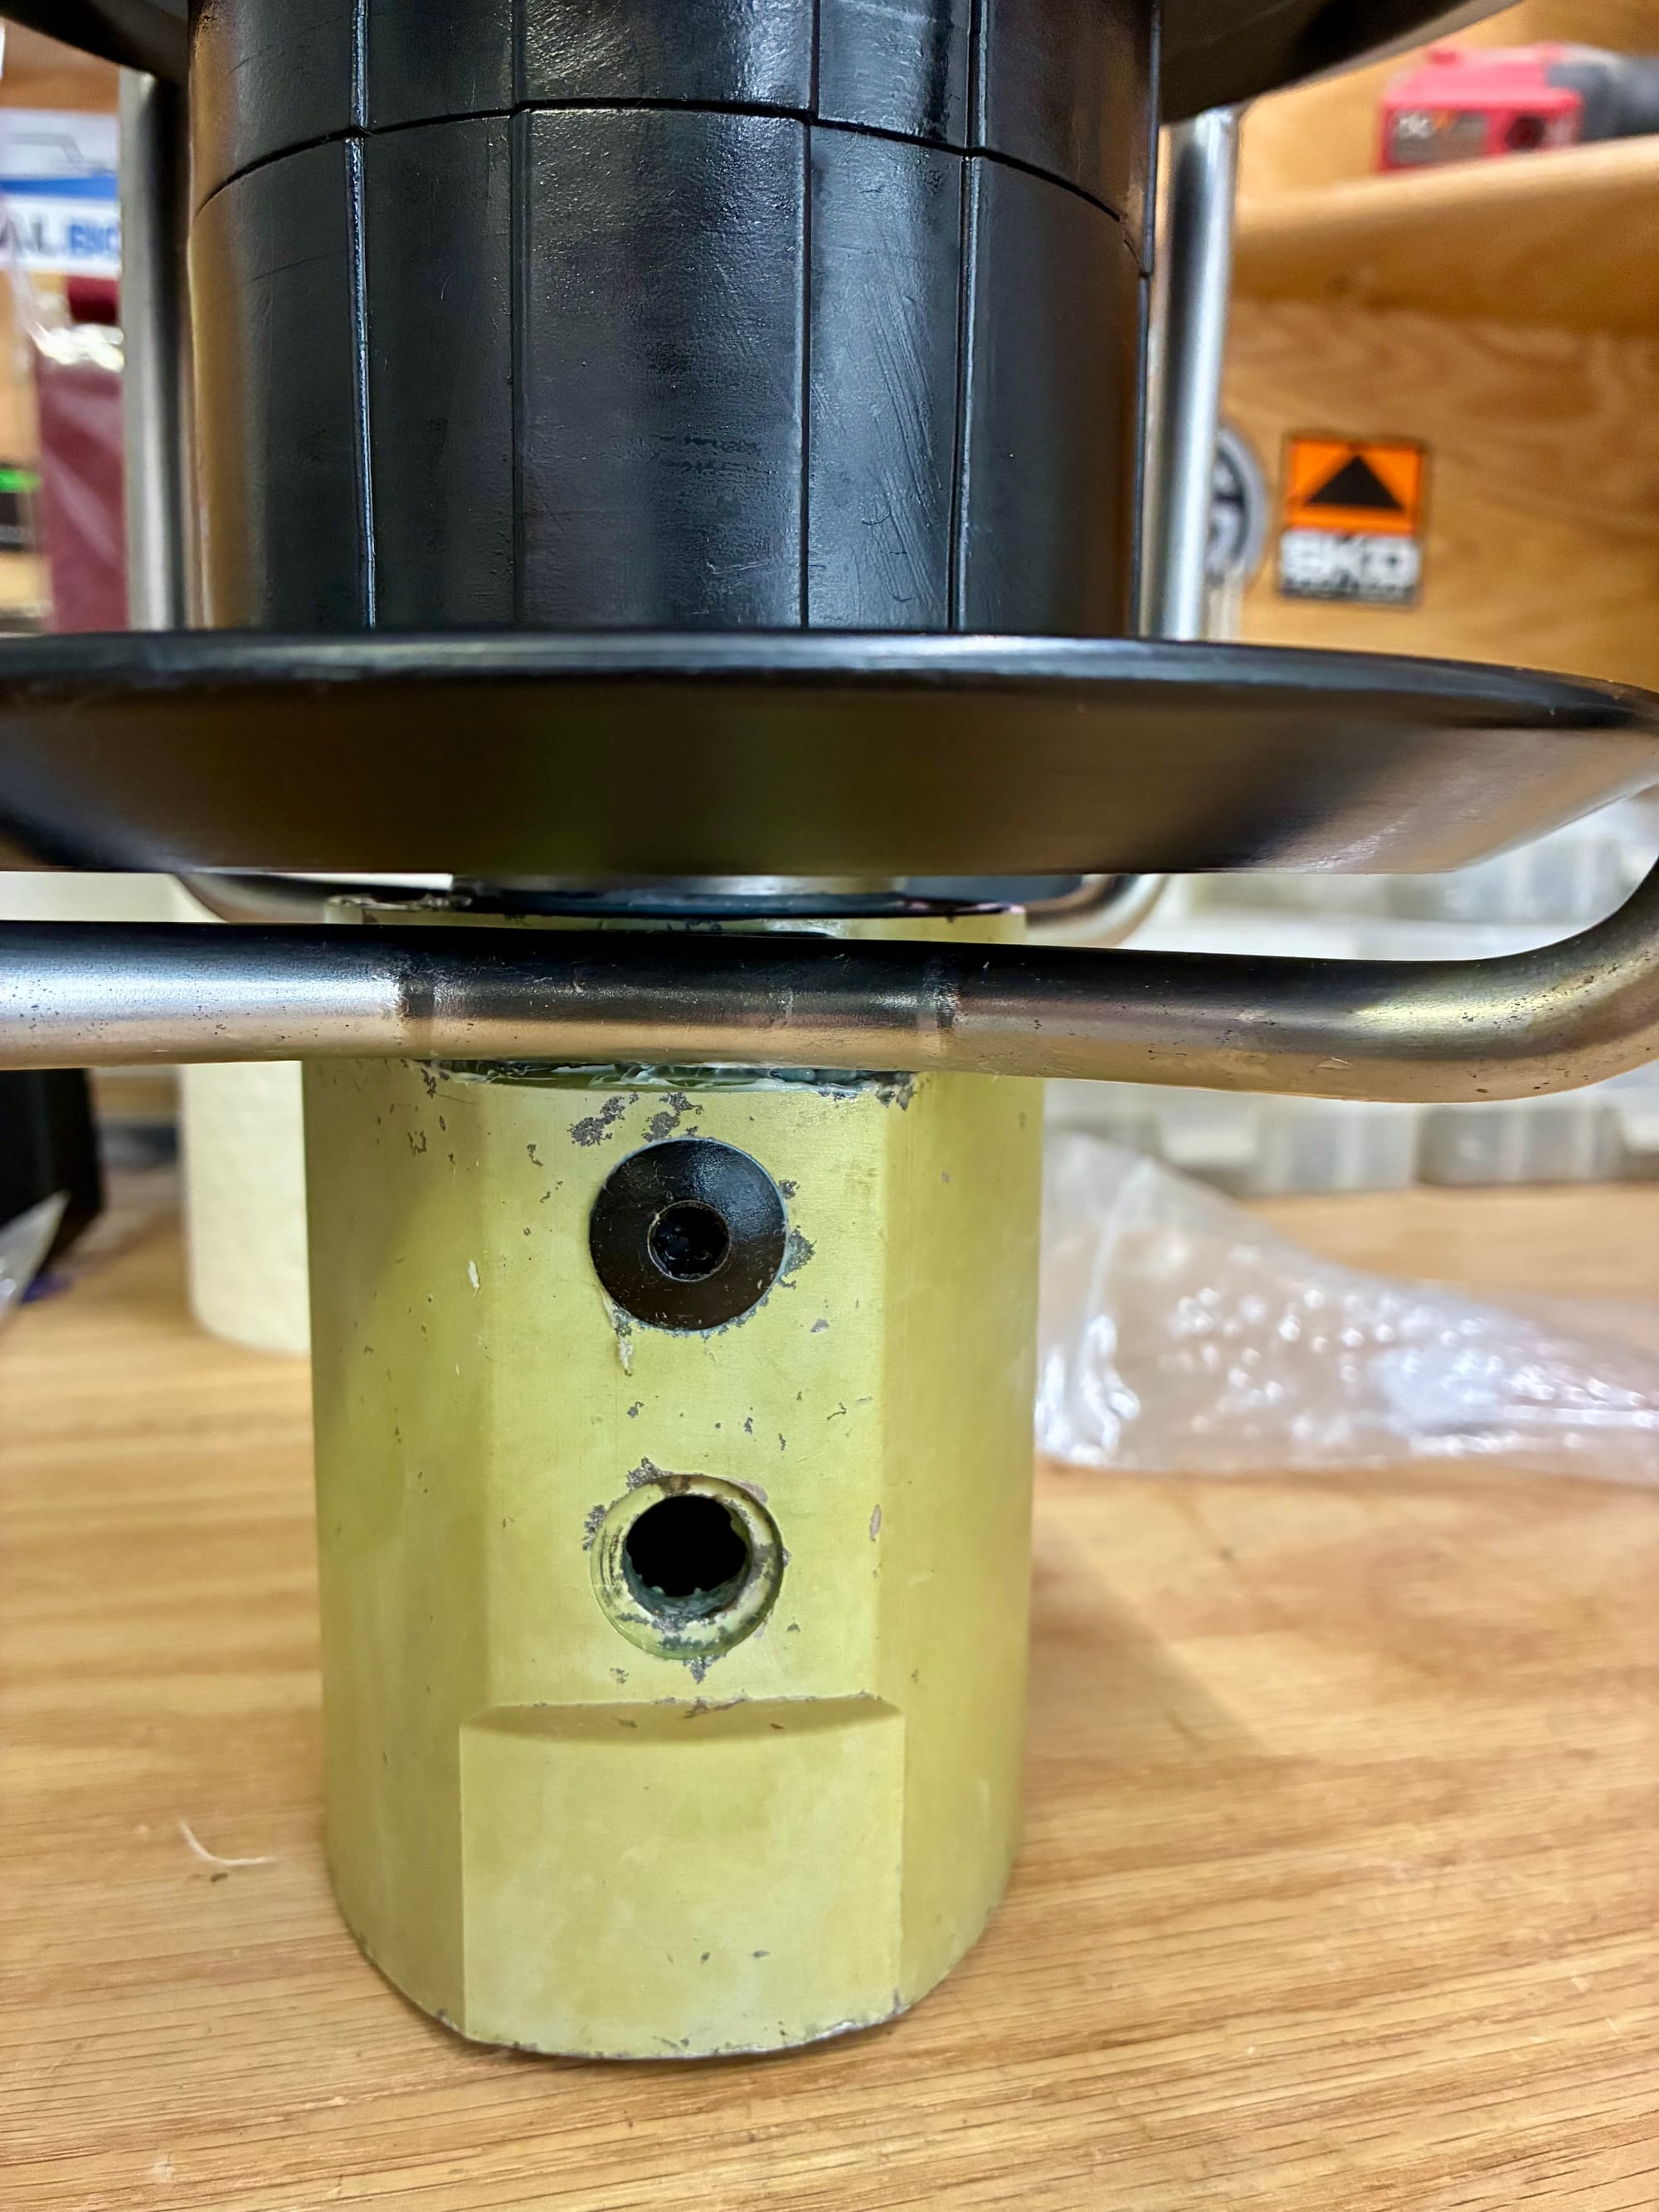
I didn’t use any of his custom pipes/tools to press parts in, nor the oven. With some Tef Gel around the bearings, they easily went in using the tools shown in the pictures or even just by pushing with our fingers. We used the grease for packing the bearings instead of the thin formula Tef gel of the video. The trick with the feeler gauge was necessary to let the air out during the install of the second seal.
the rebuild is for the upper swivel as well as for the lower drum unit. They use the same internal components: one 16010 bearing, two 50x80x13mm oil seals, one 80mm internal circlip that is 2.5mm thick and two 50mm external circlips that are 2mm thick. These are standard industrial components that I bought from Amazon and McMaster-Carr.
I bought four new titanium screws for the lower drum unit, which cost as much as all the other parts together. I was able to remove the two lowest screws to the link plates but had to drill out the other two. My M42 drill bits (8% Cobalt) didn’t have any issue with the titanium. I drilled all the way up to the M12 tap size (10.2mm) then used a cold chisel and pick to get the remnants out the threads. Note that the upper screws that hold the stainless steel cage are tapered so only drill the head off, then remove the cage from the lower unit and tackle the parts left in the stainless steel. I used drill and easy-out for those.
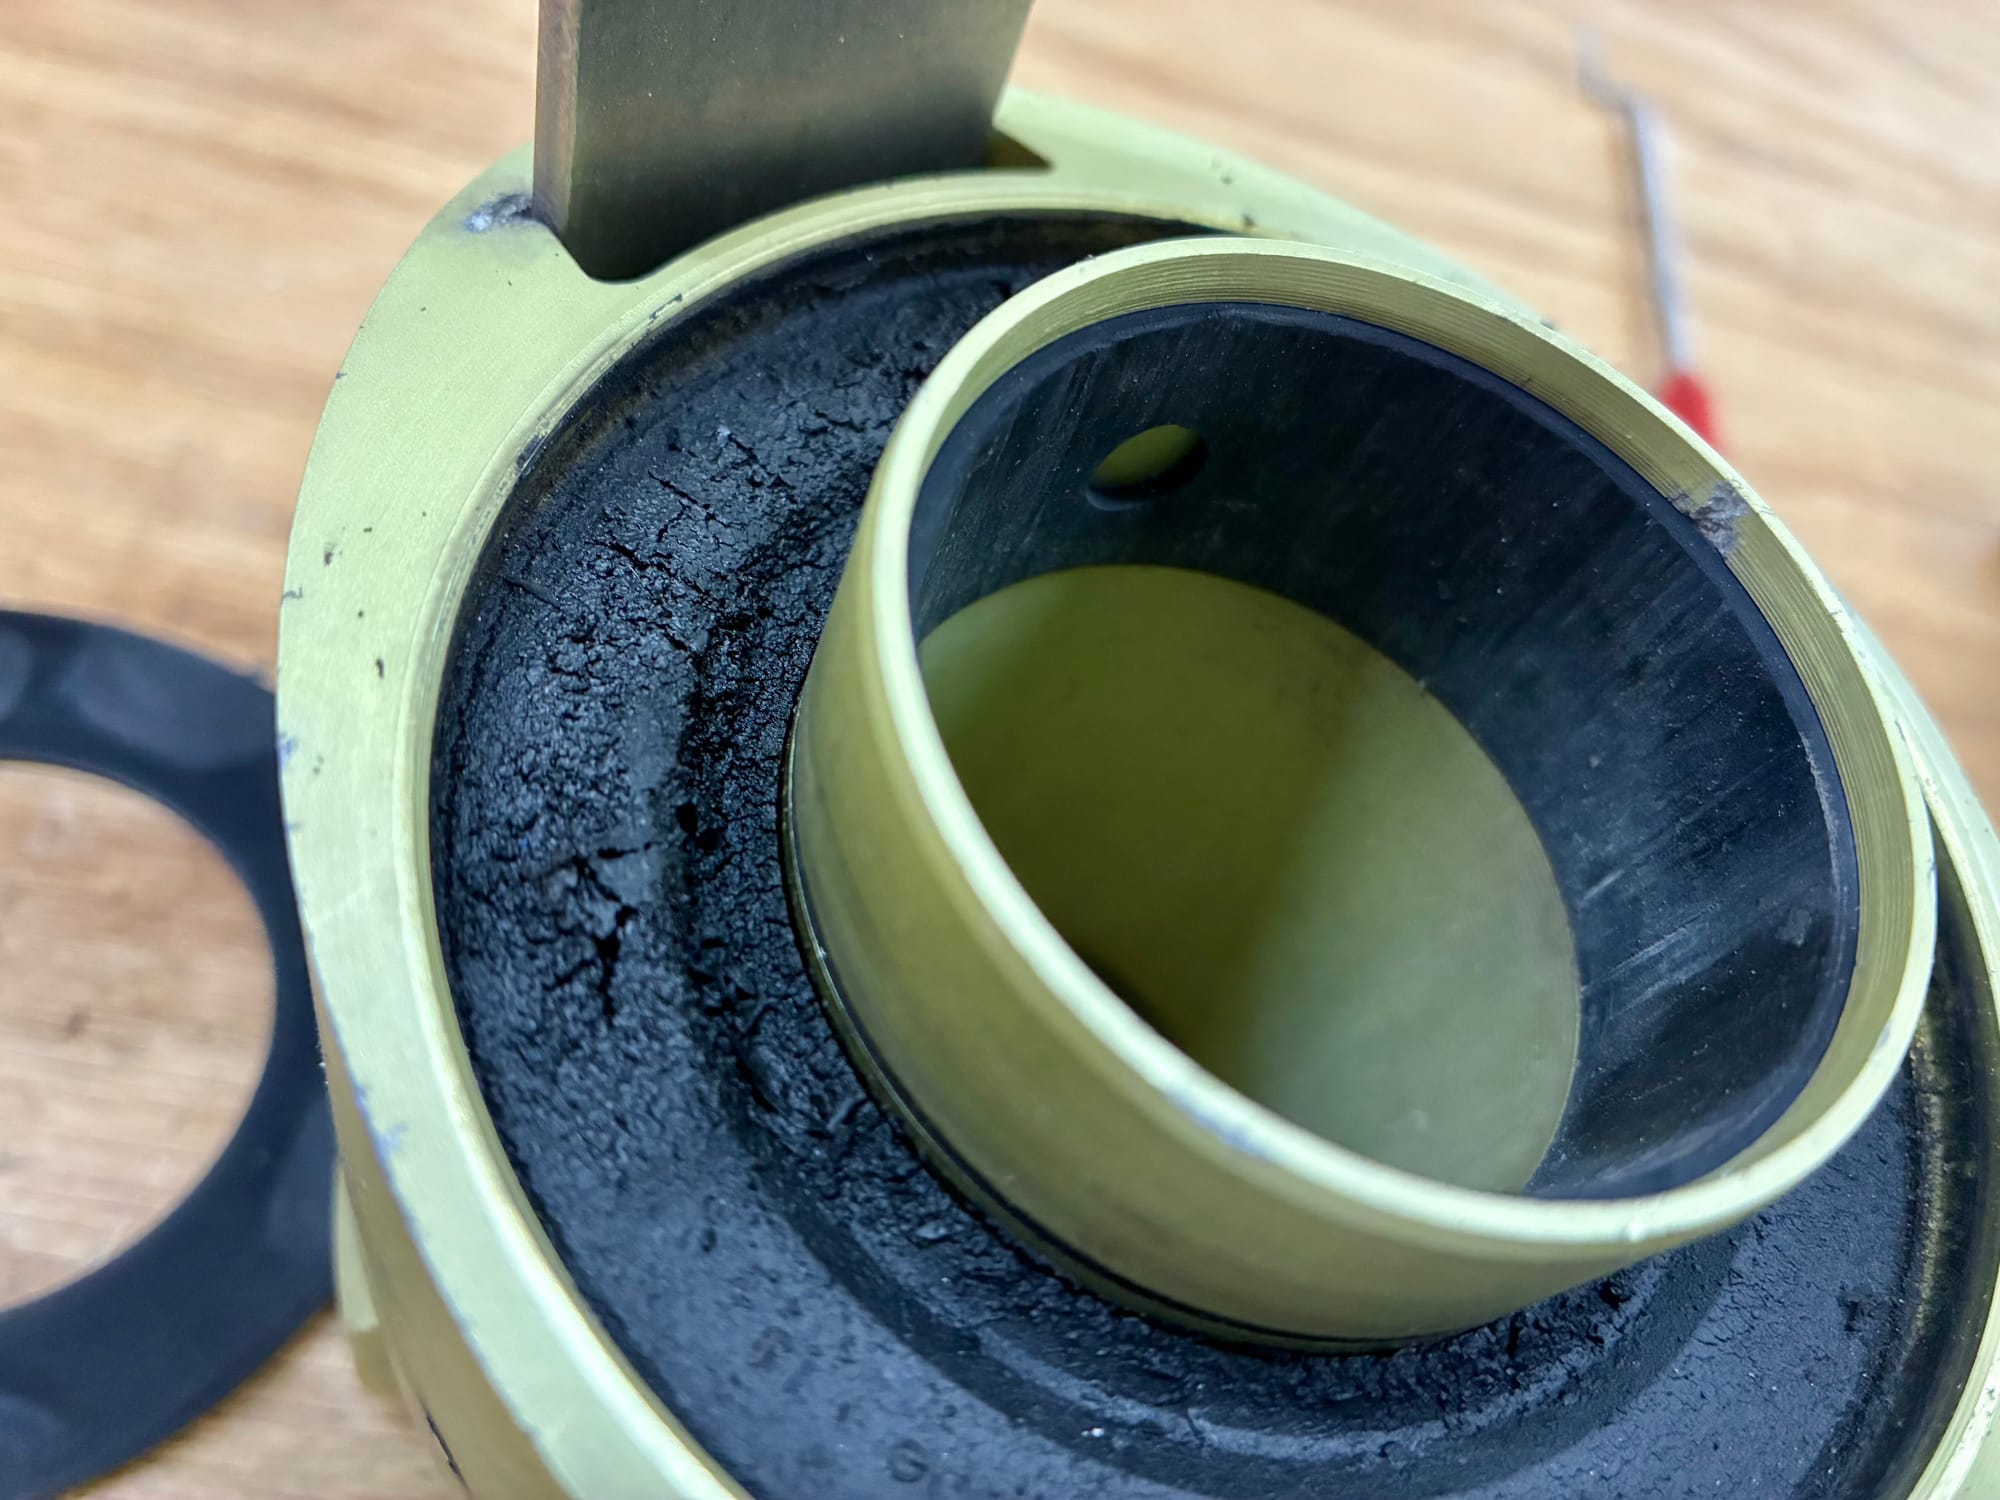
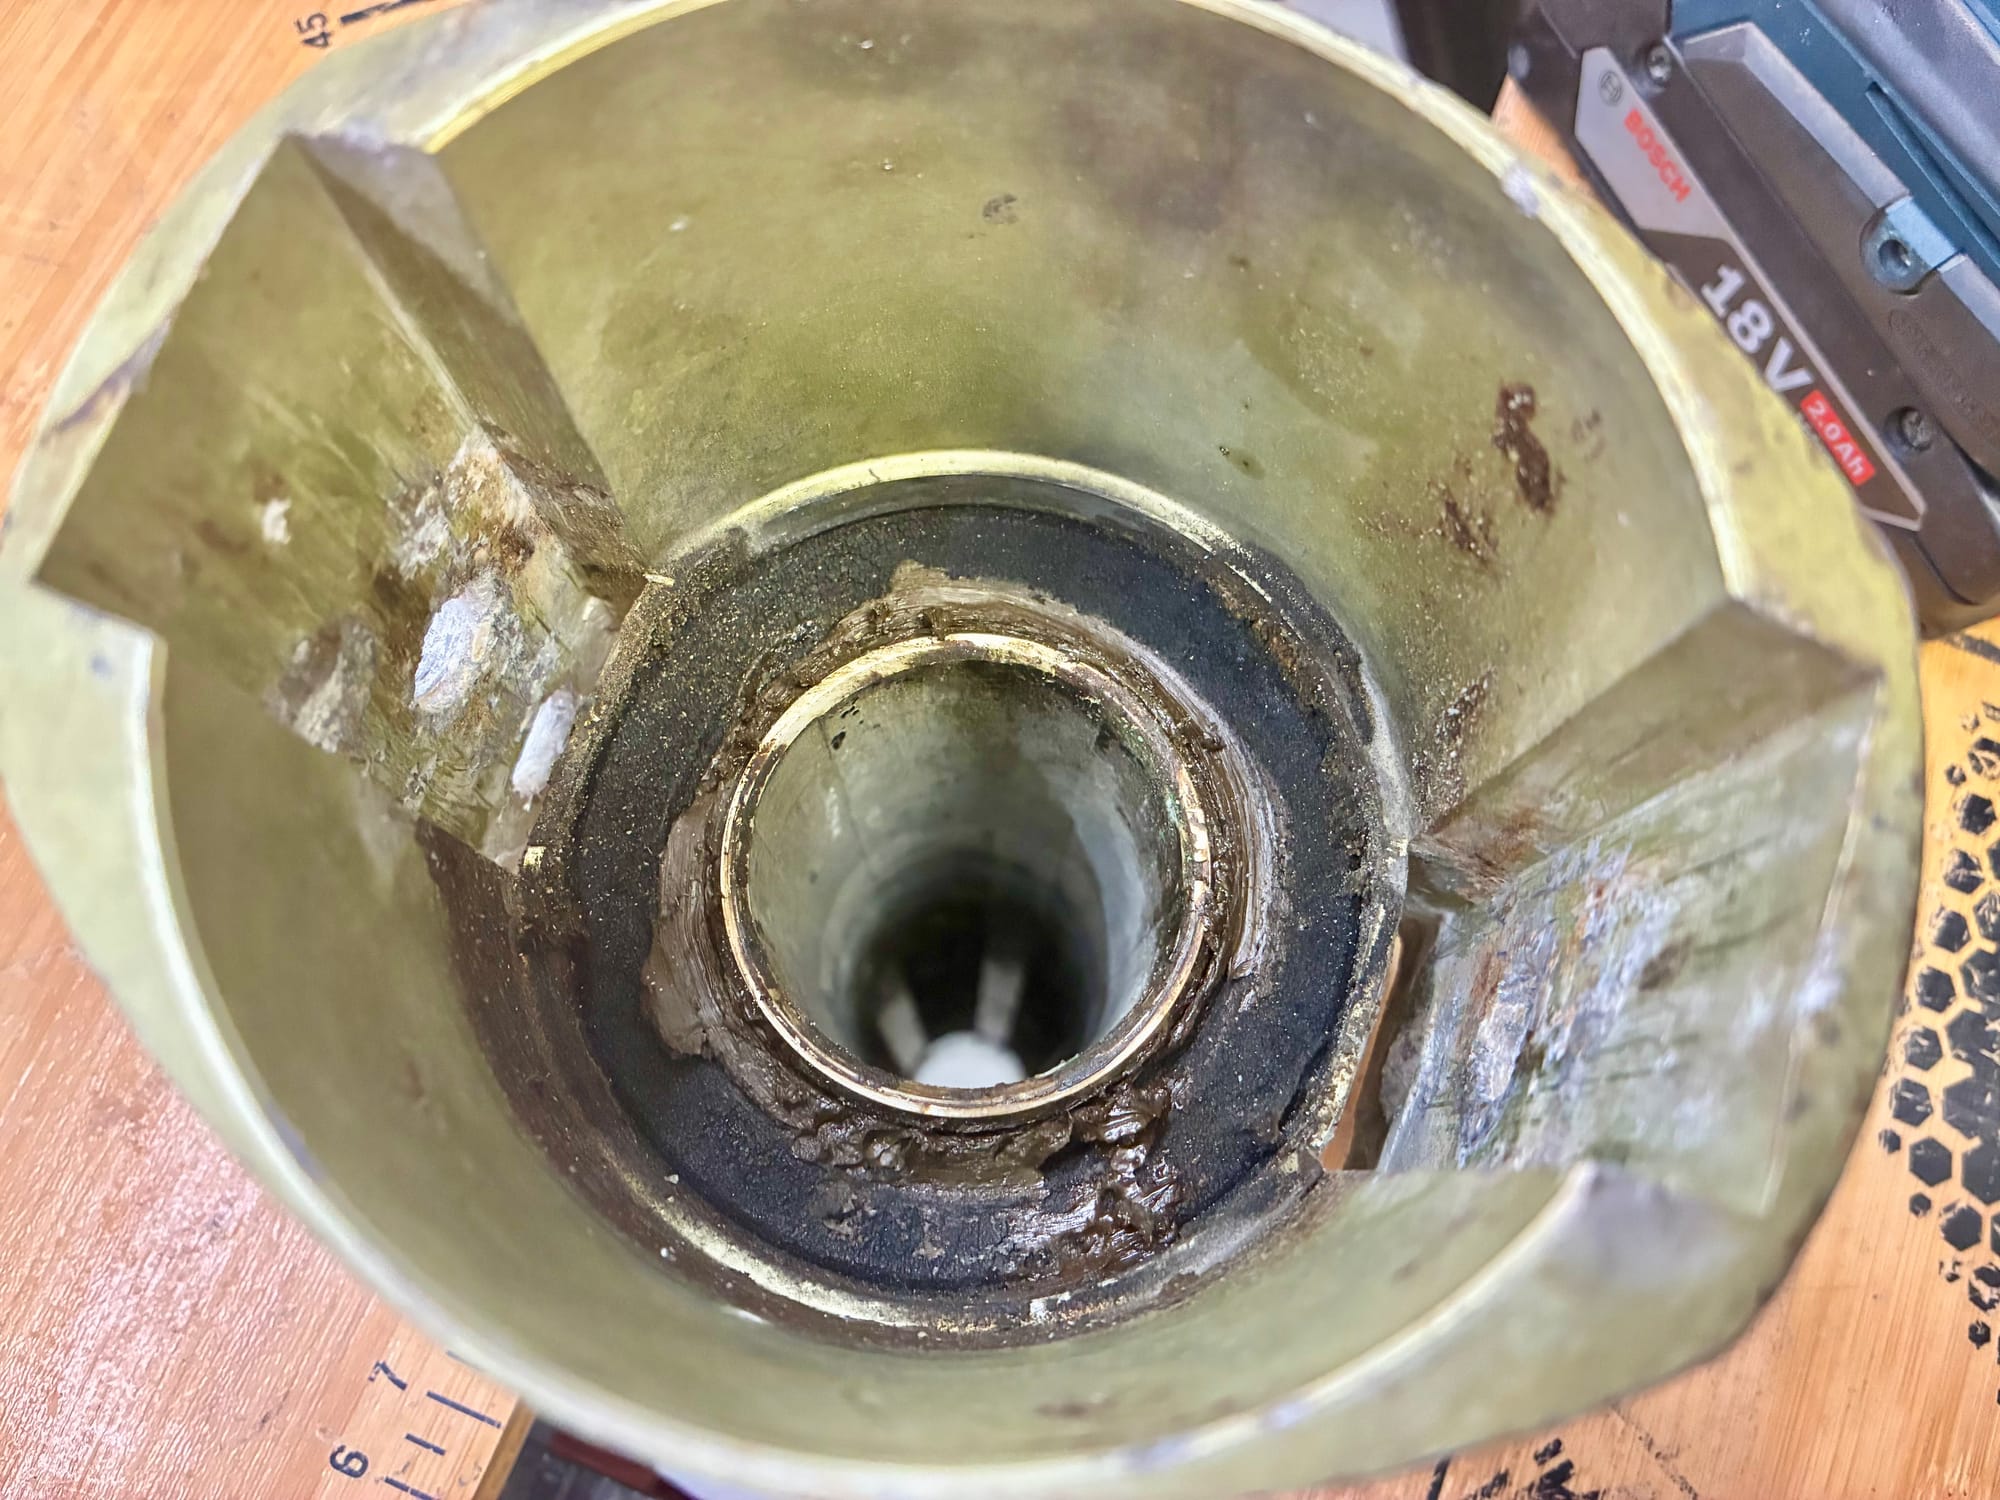
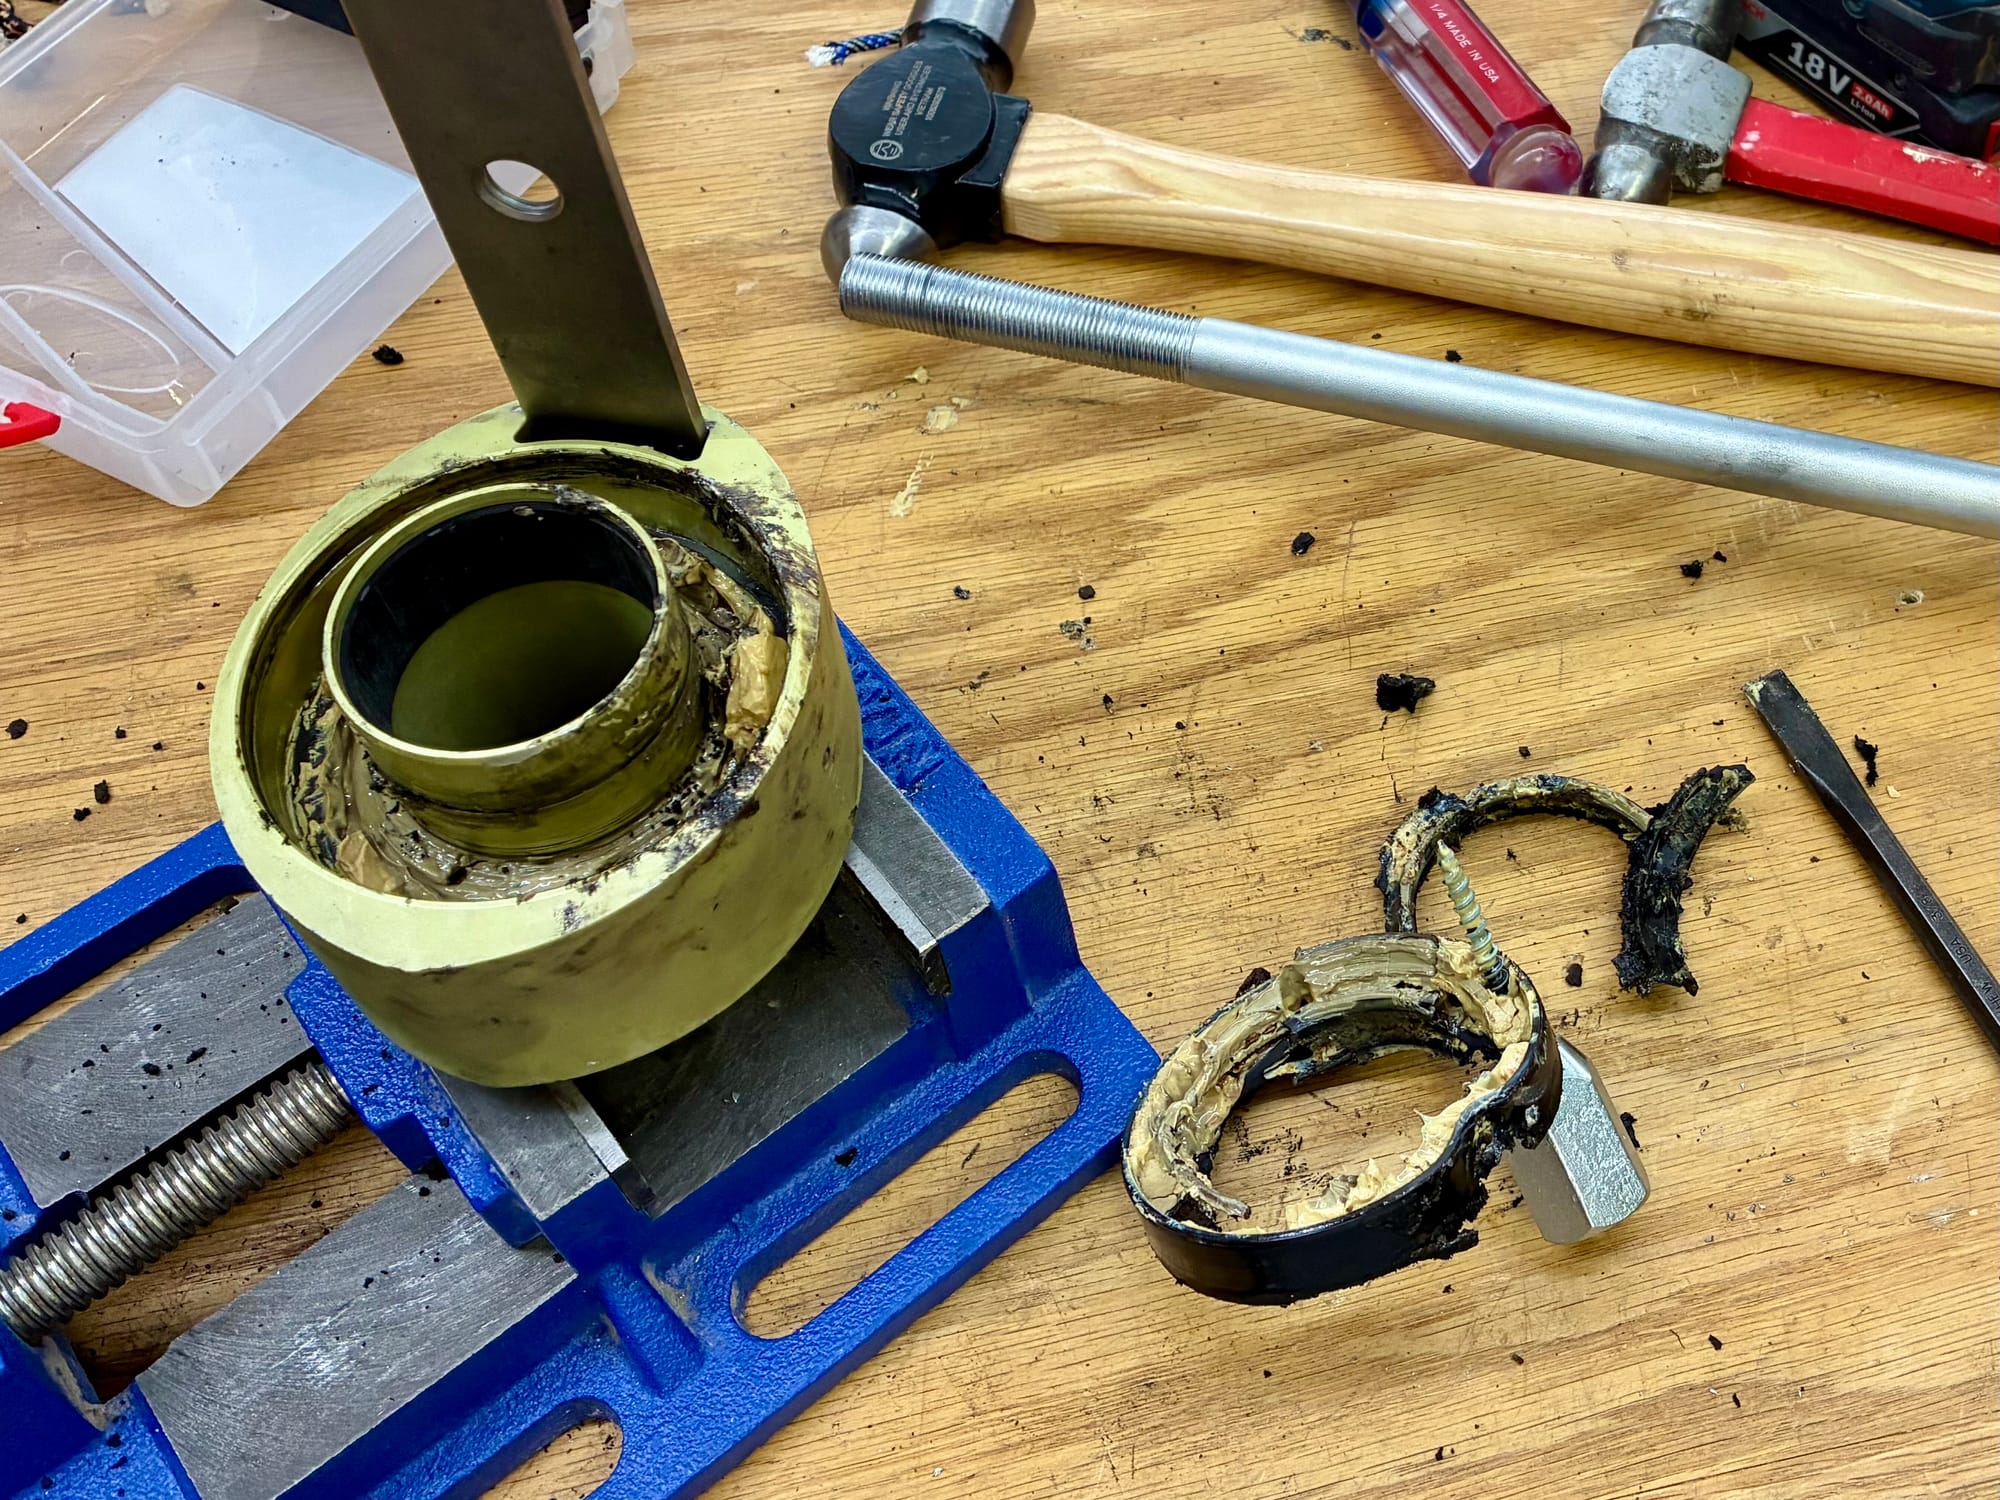
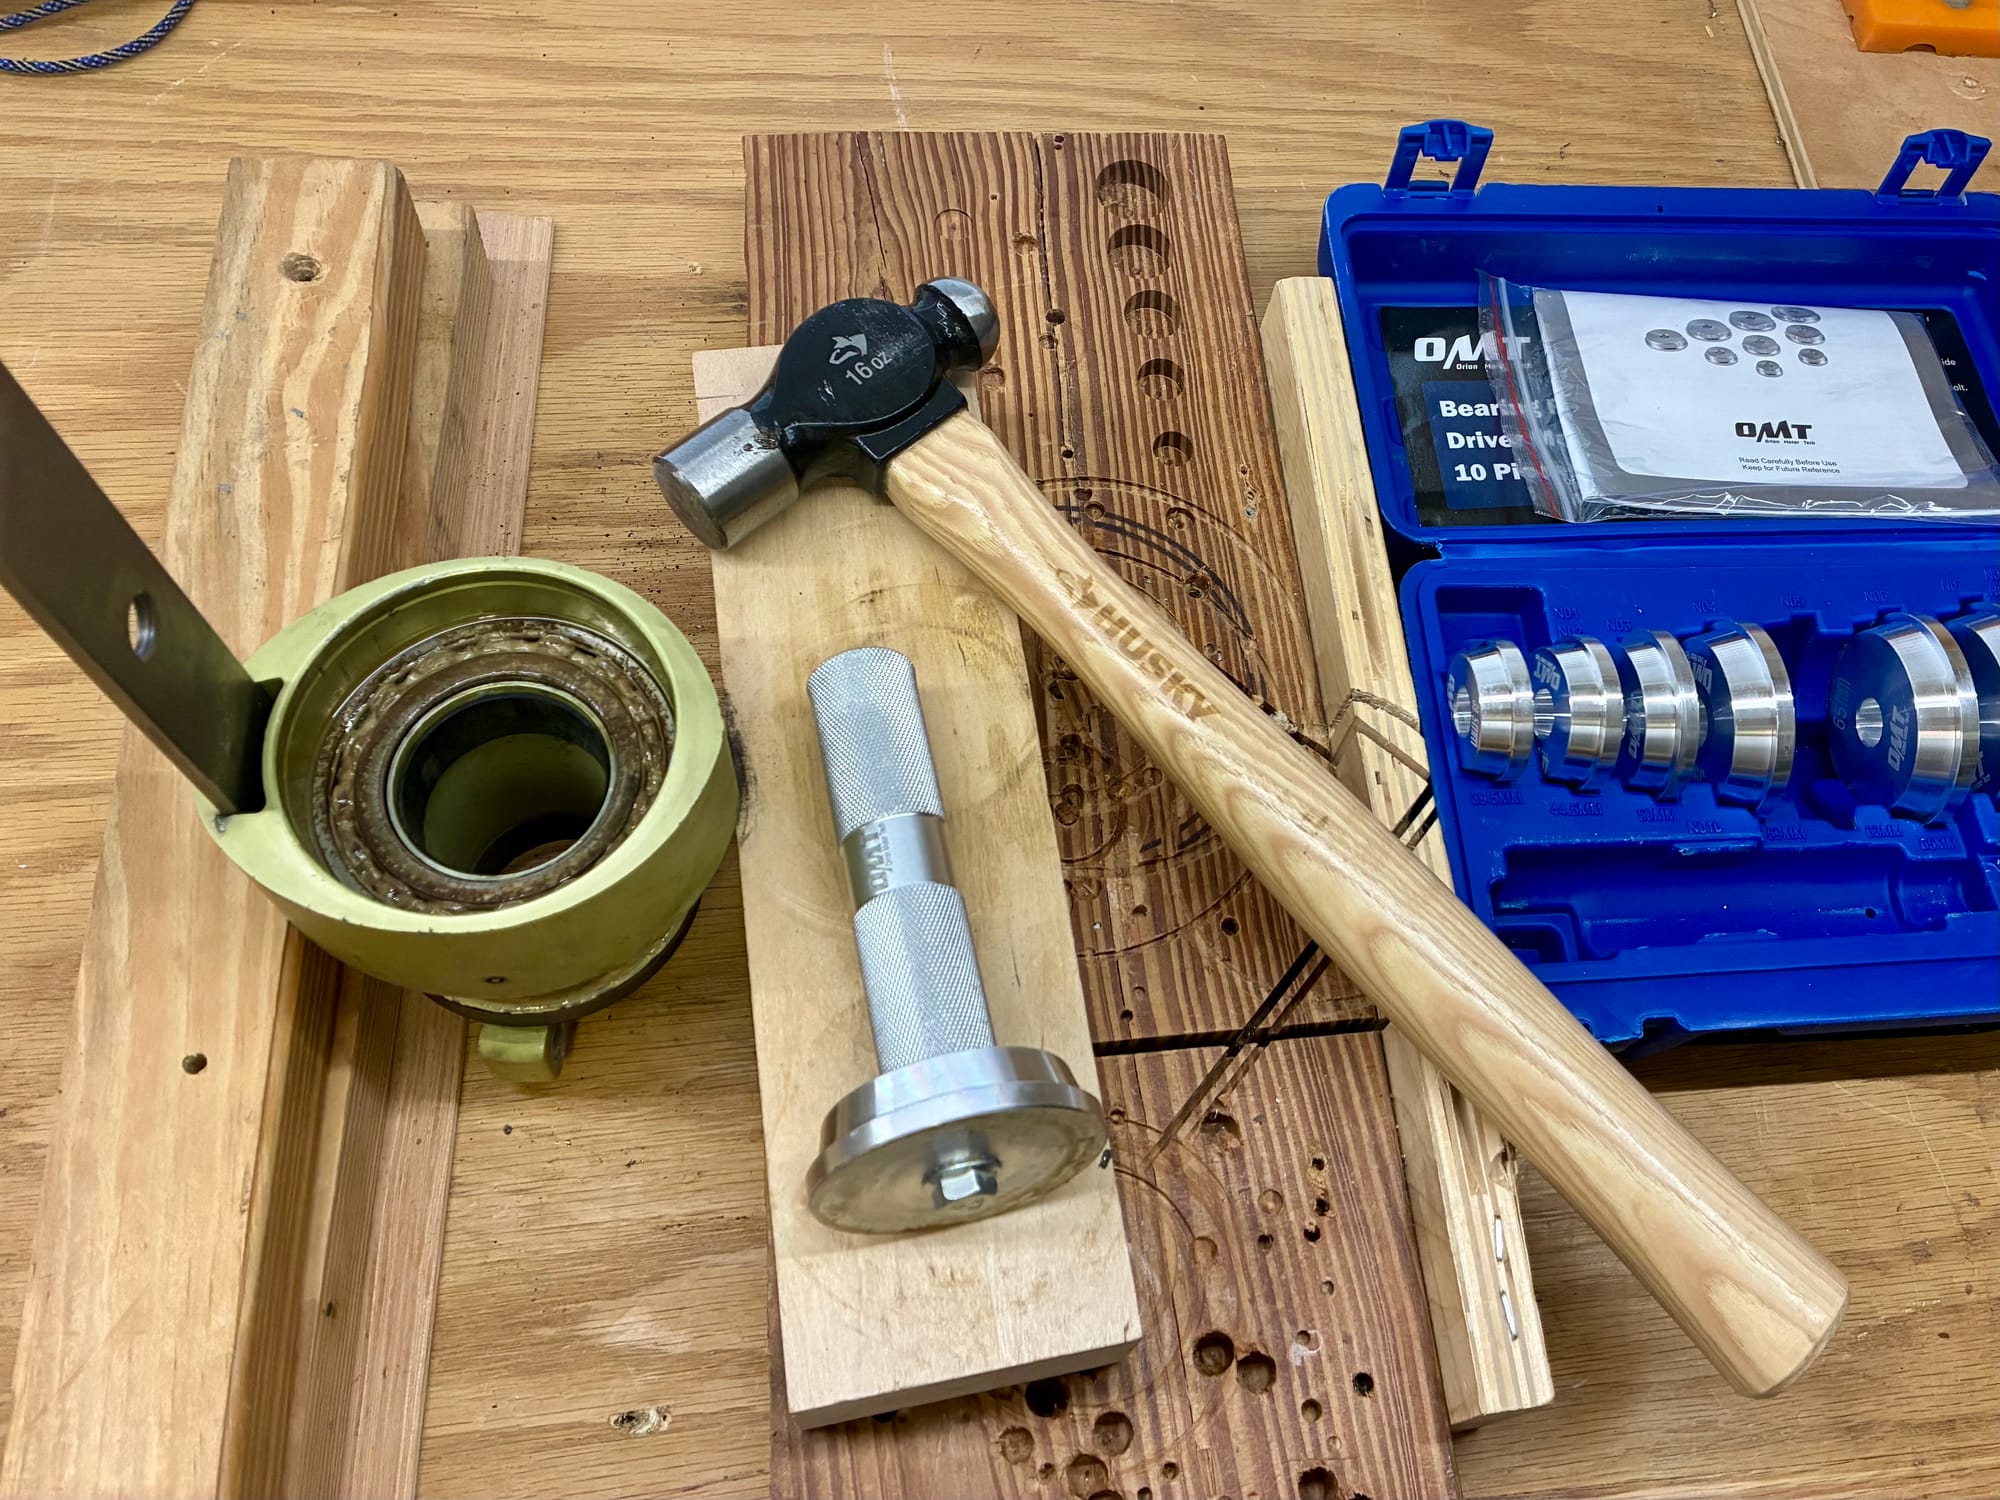
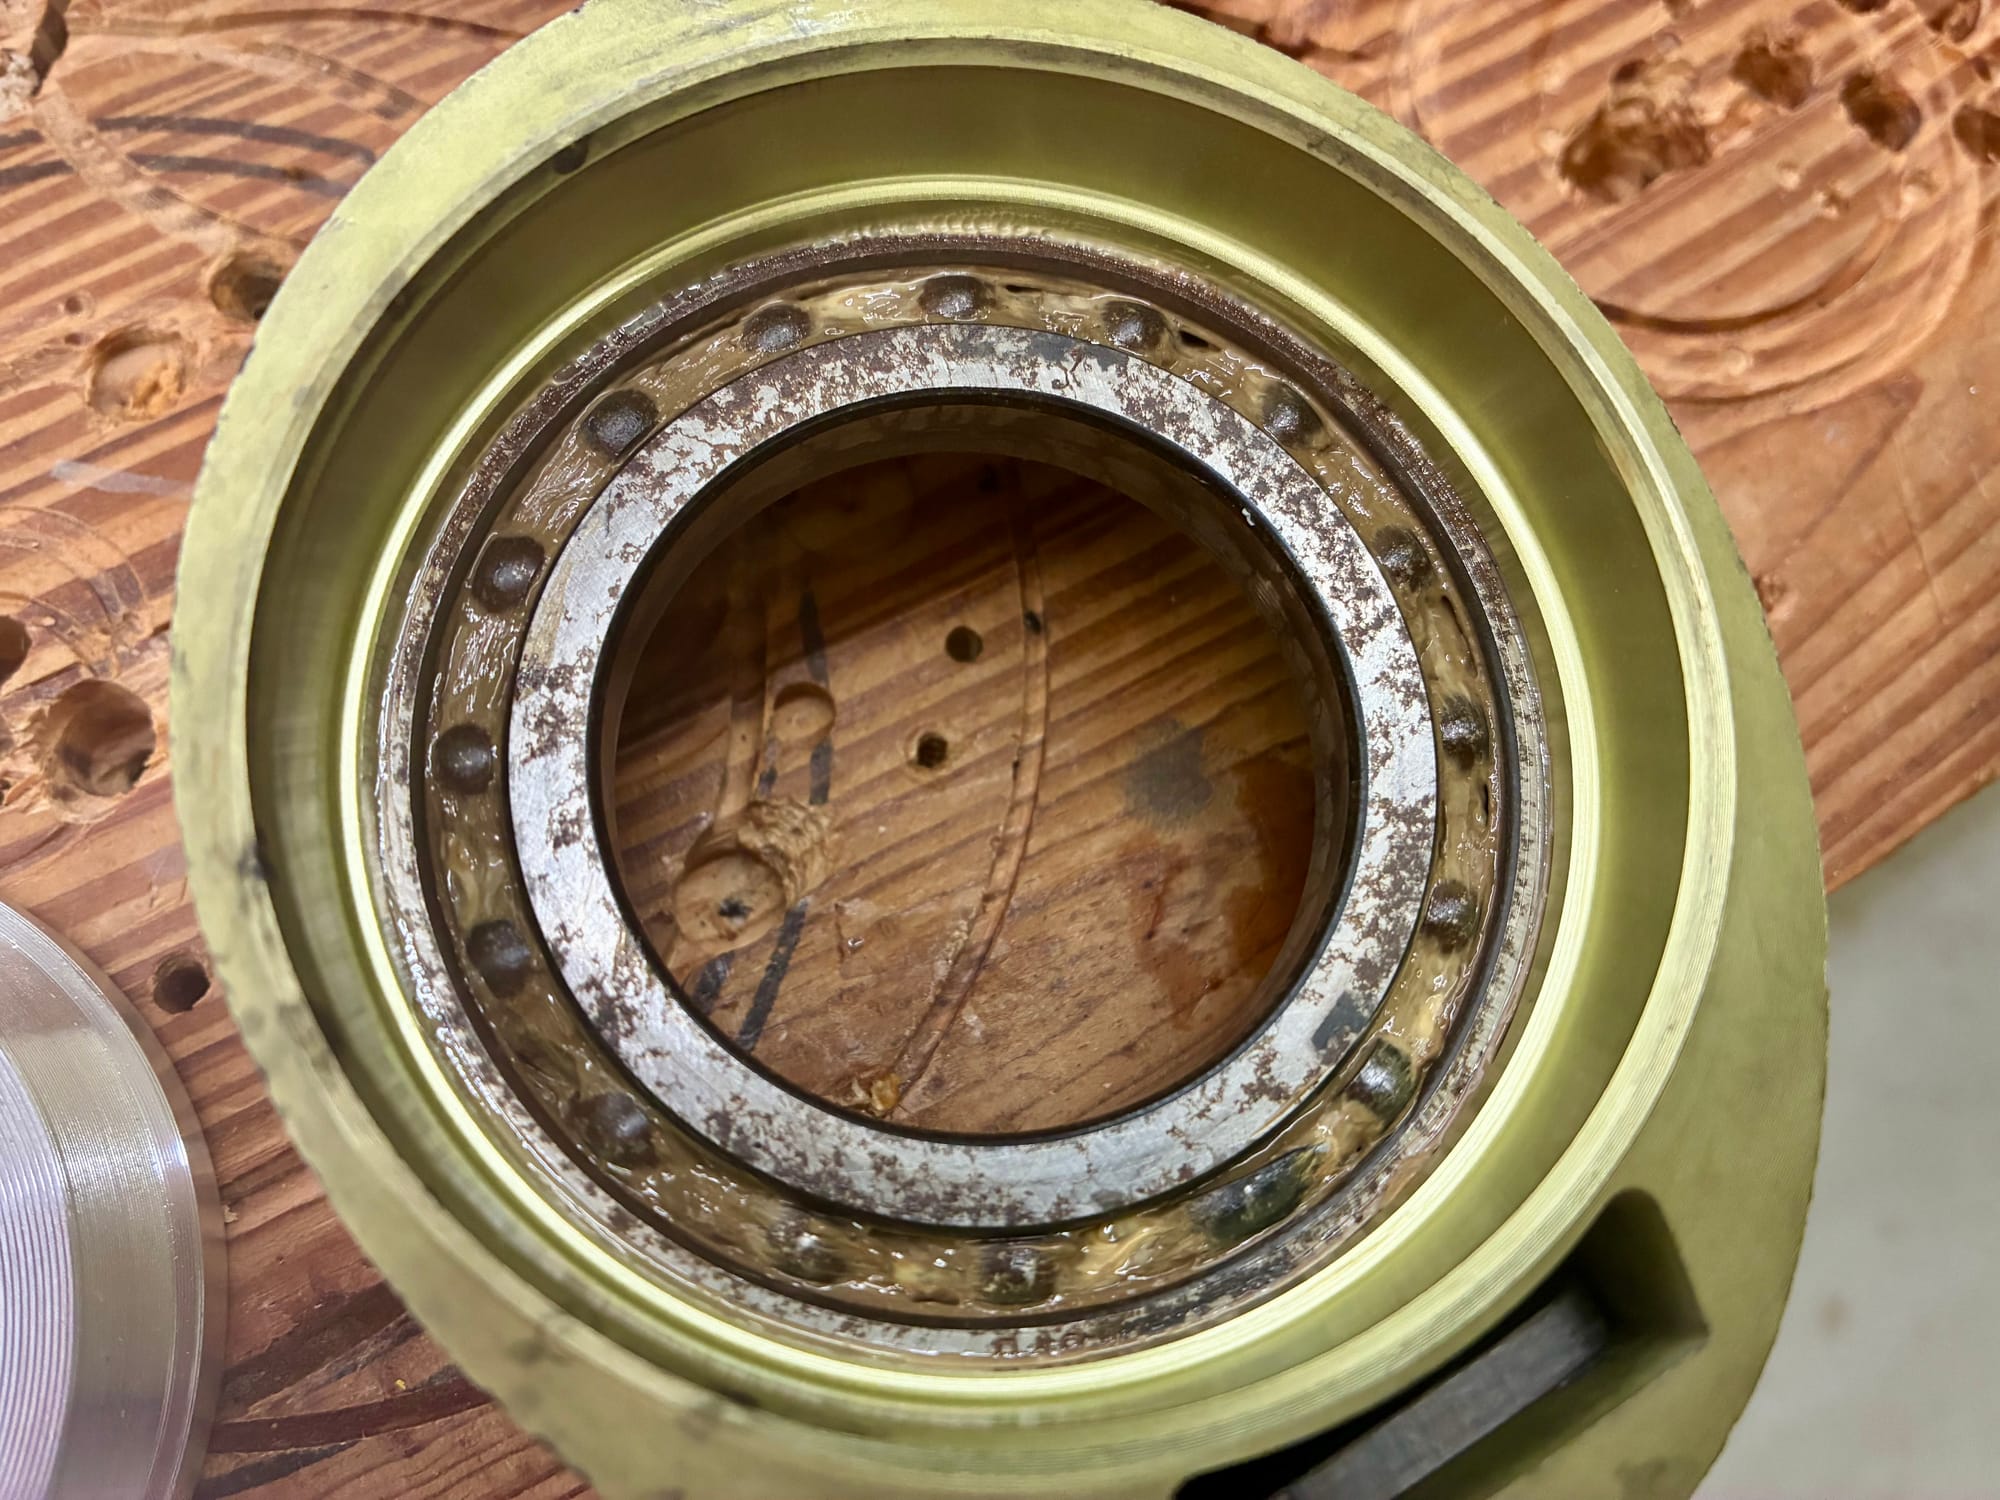
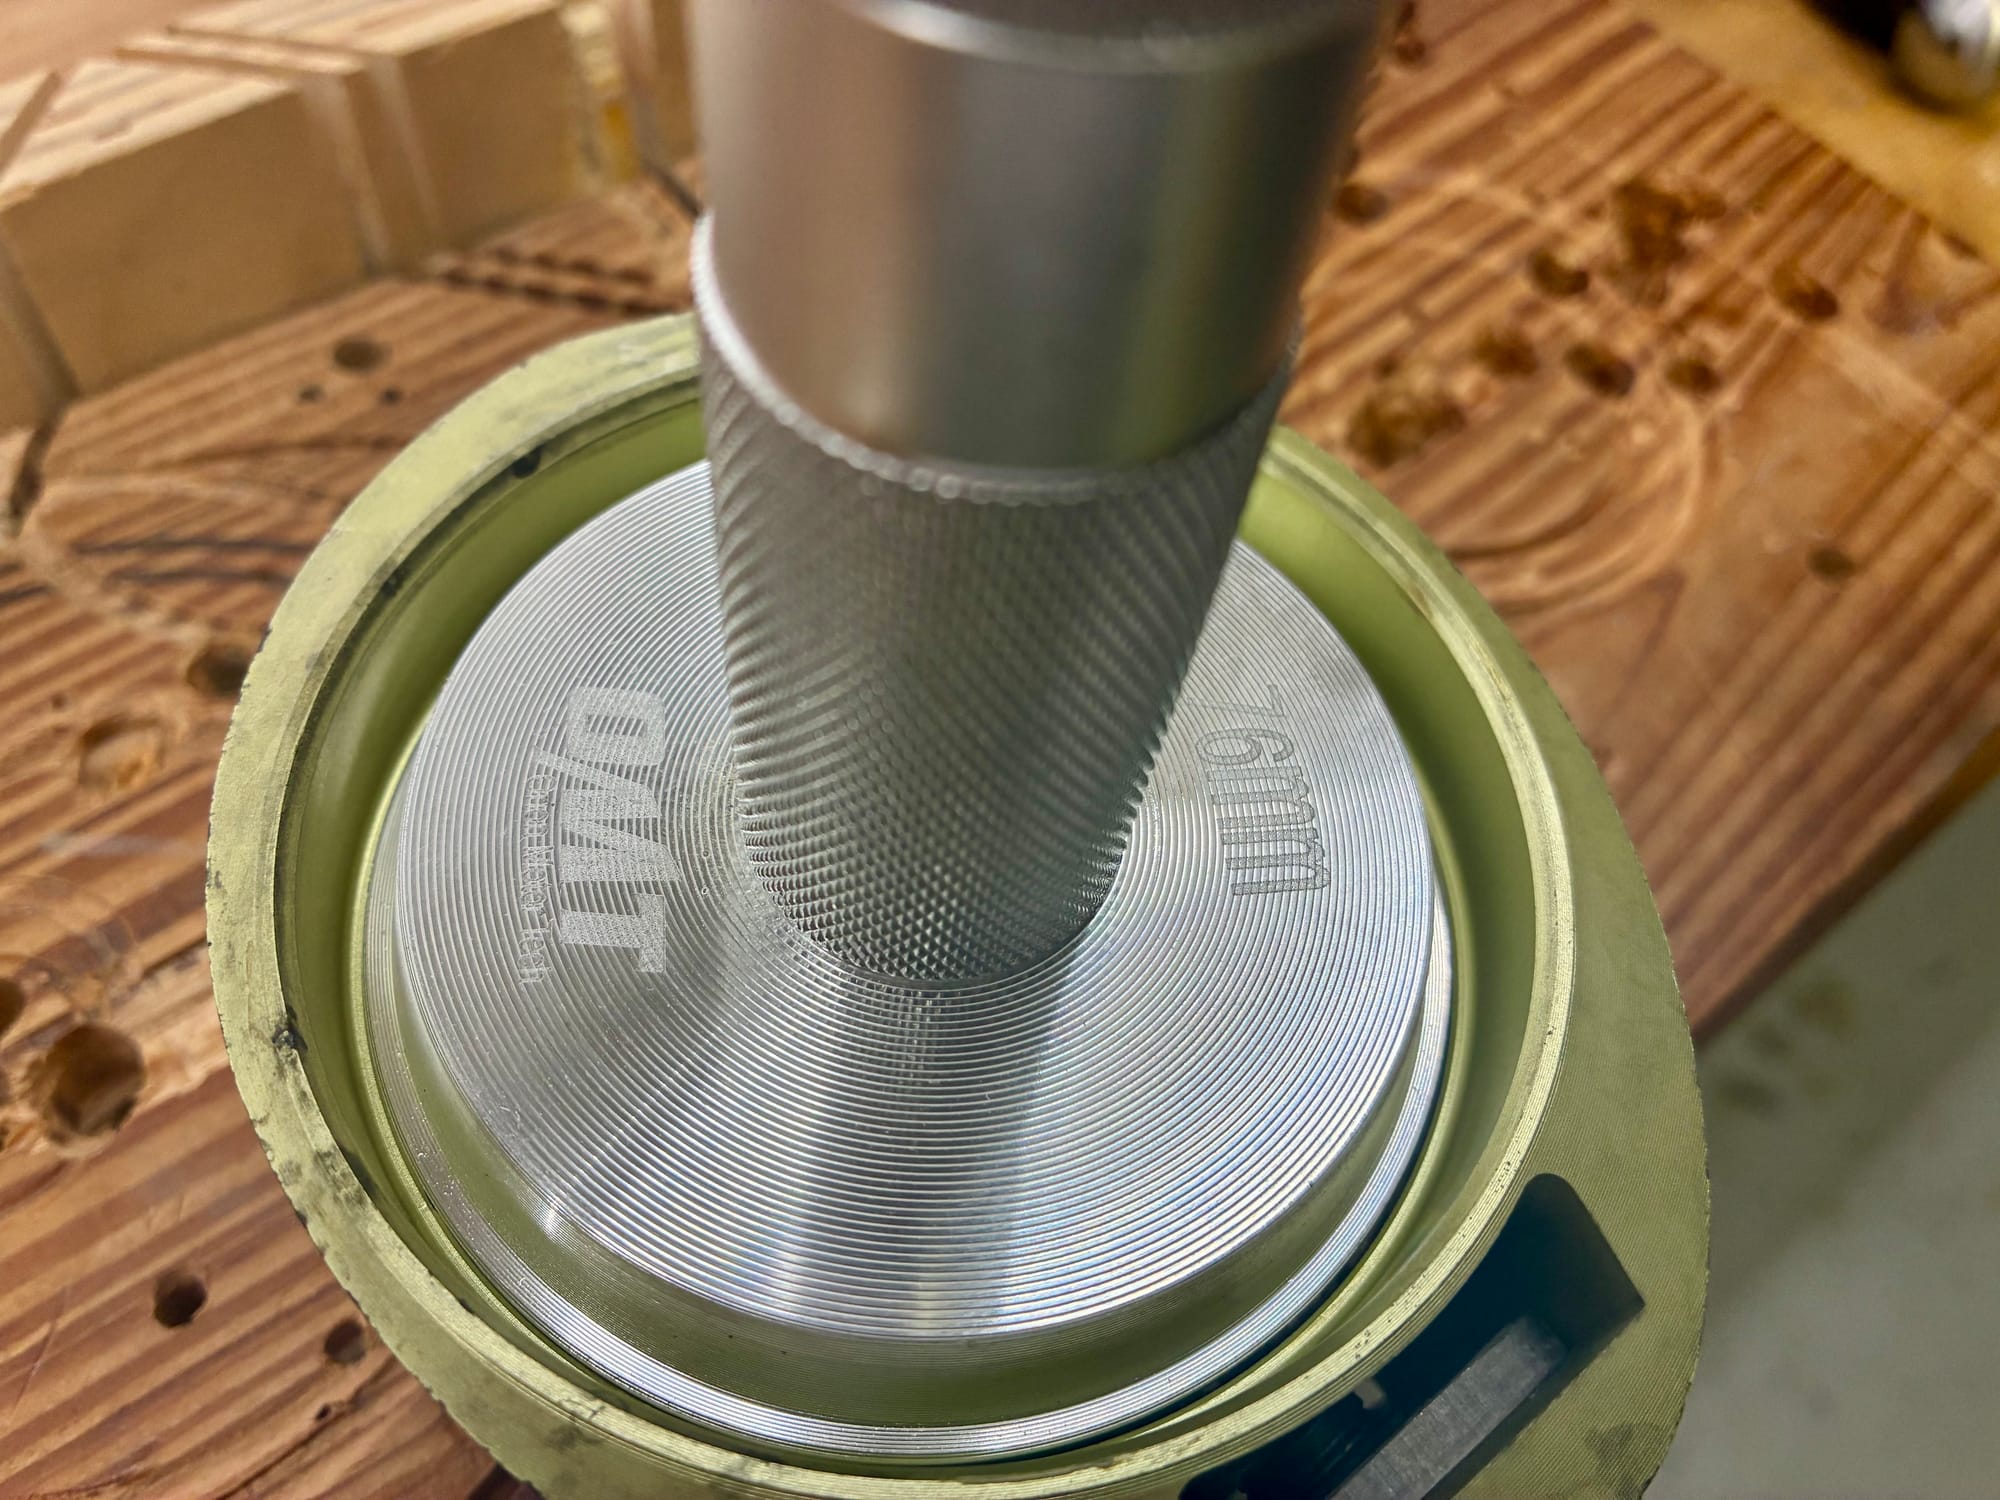
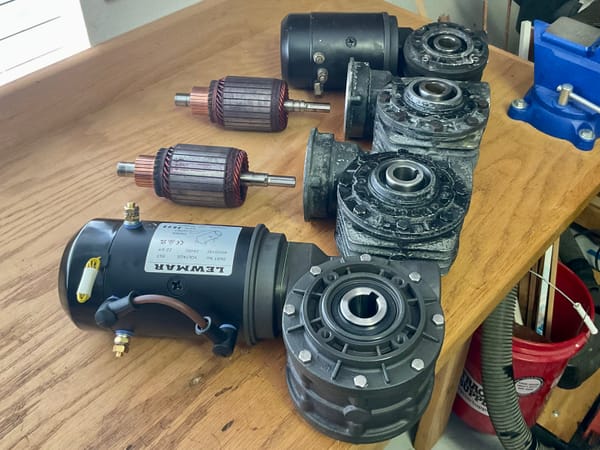
The biggest problem for me was disassembly. The seals were so rotten that only one could be removed by drilling and using a slide hammer; the other three had to be split using a cold chisel without damaging the aluminum.
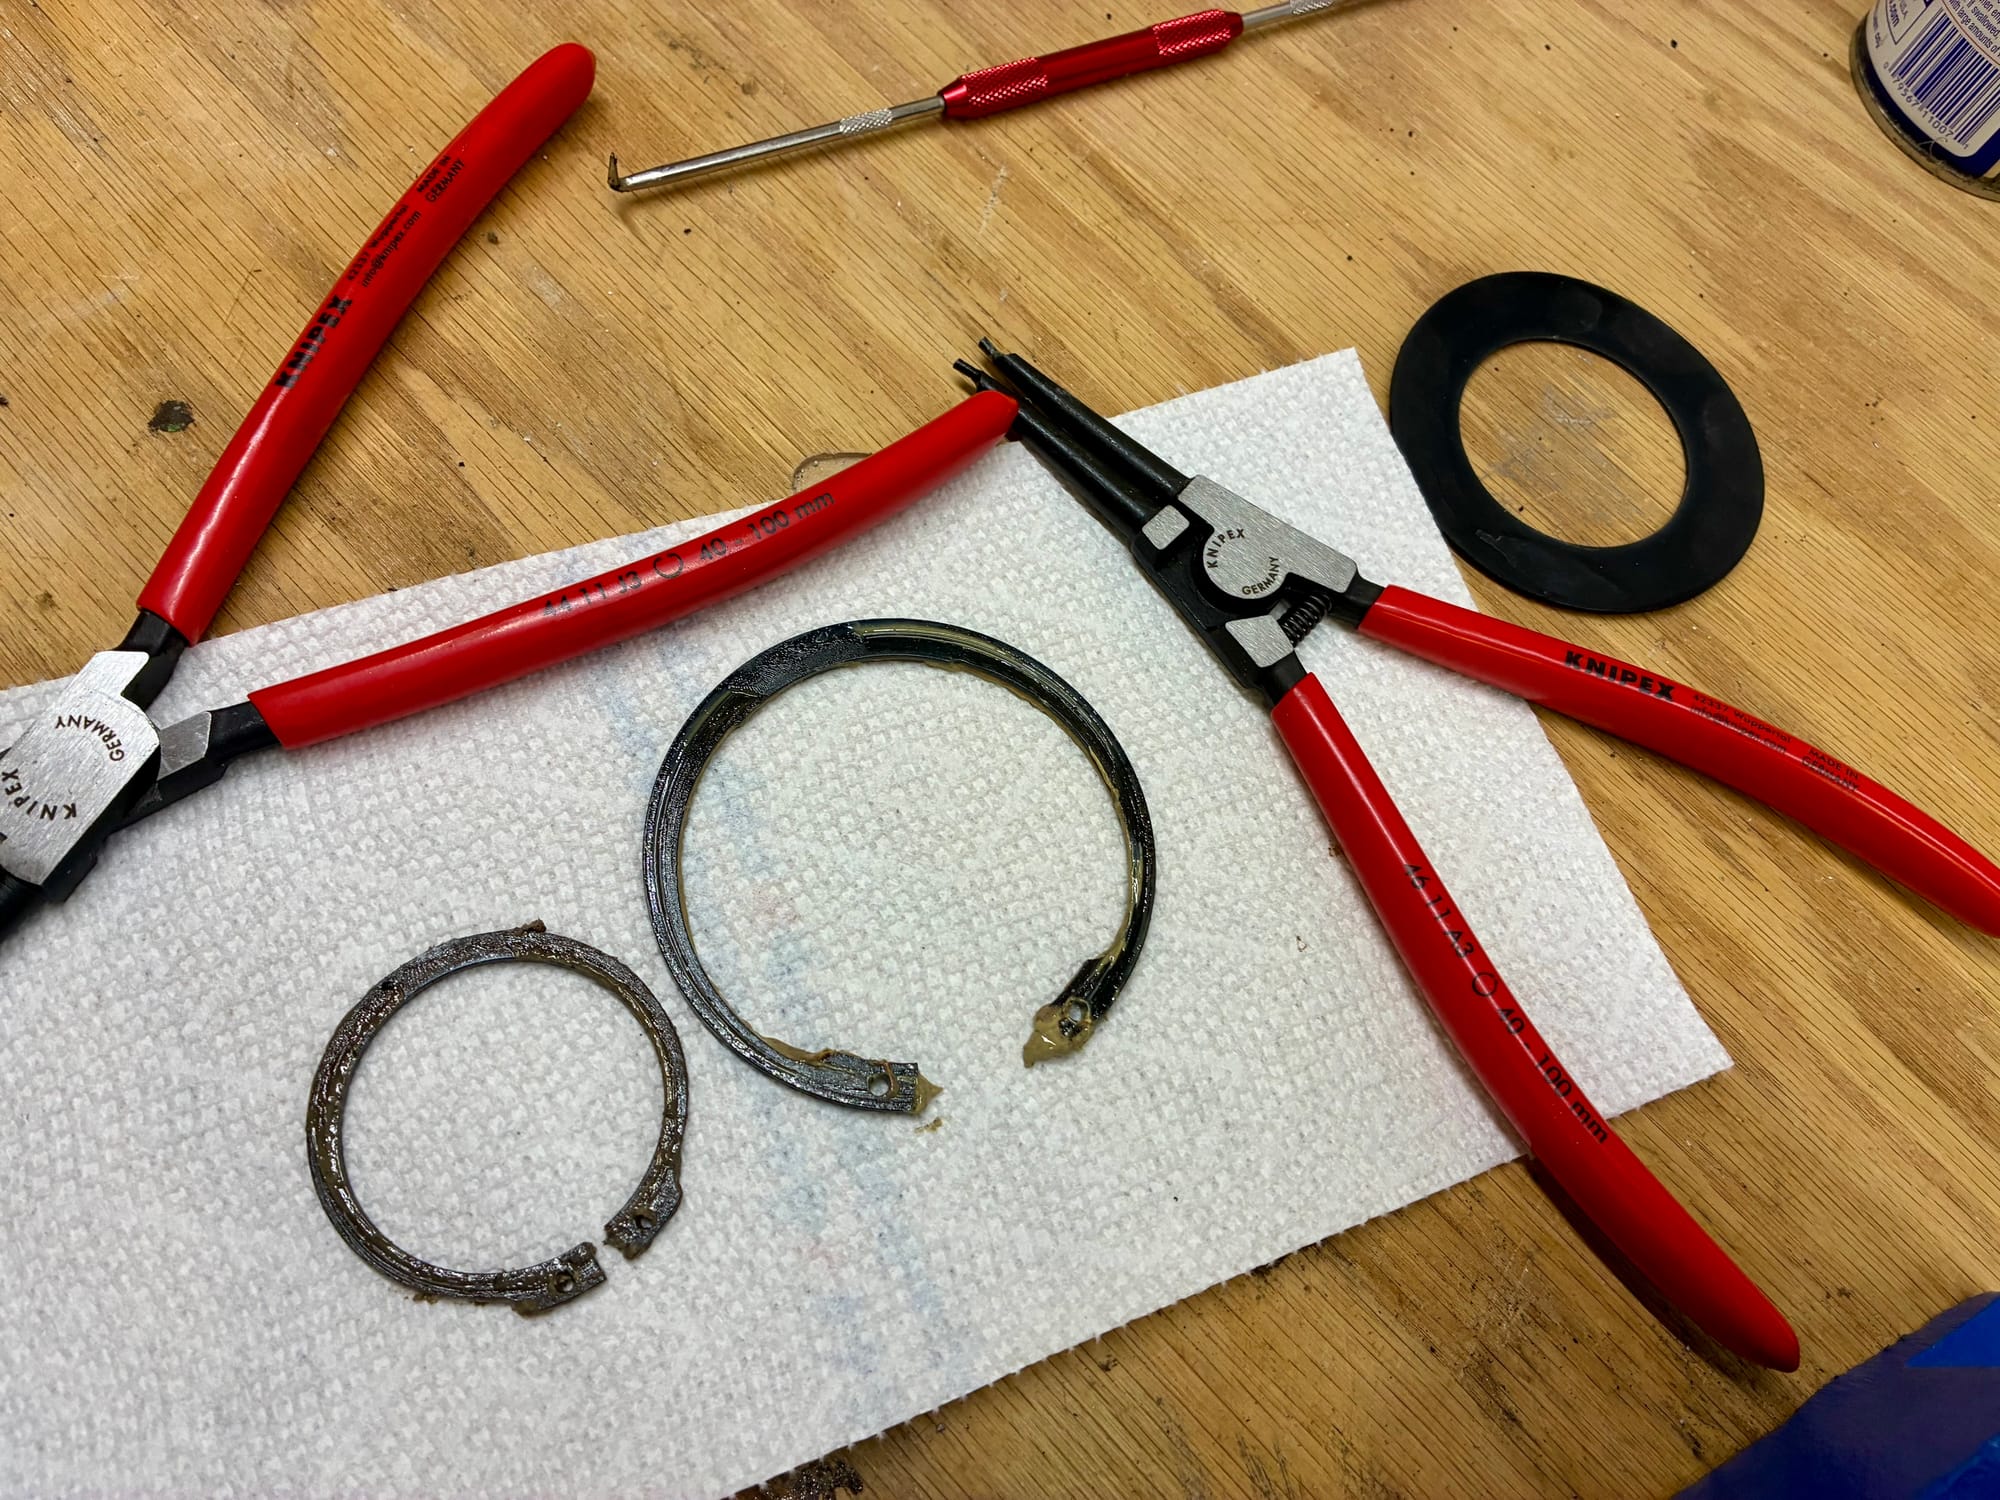
The Knipex 40-100mm circlip pliers are key to this job: without them it is likely that the aluminum gets damaged where the seals sit.
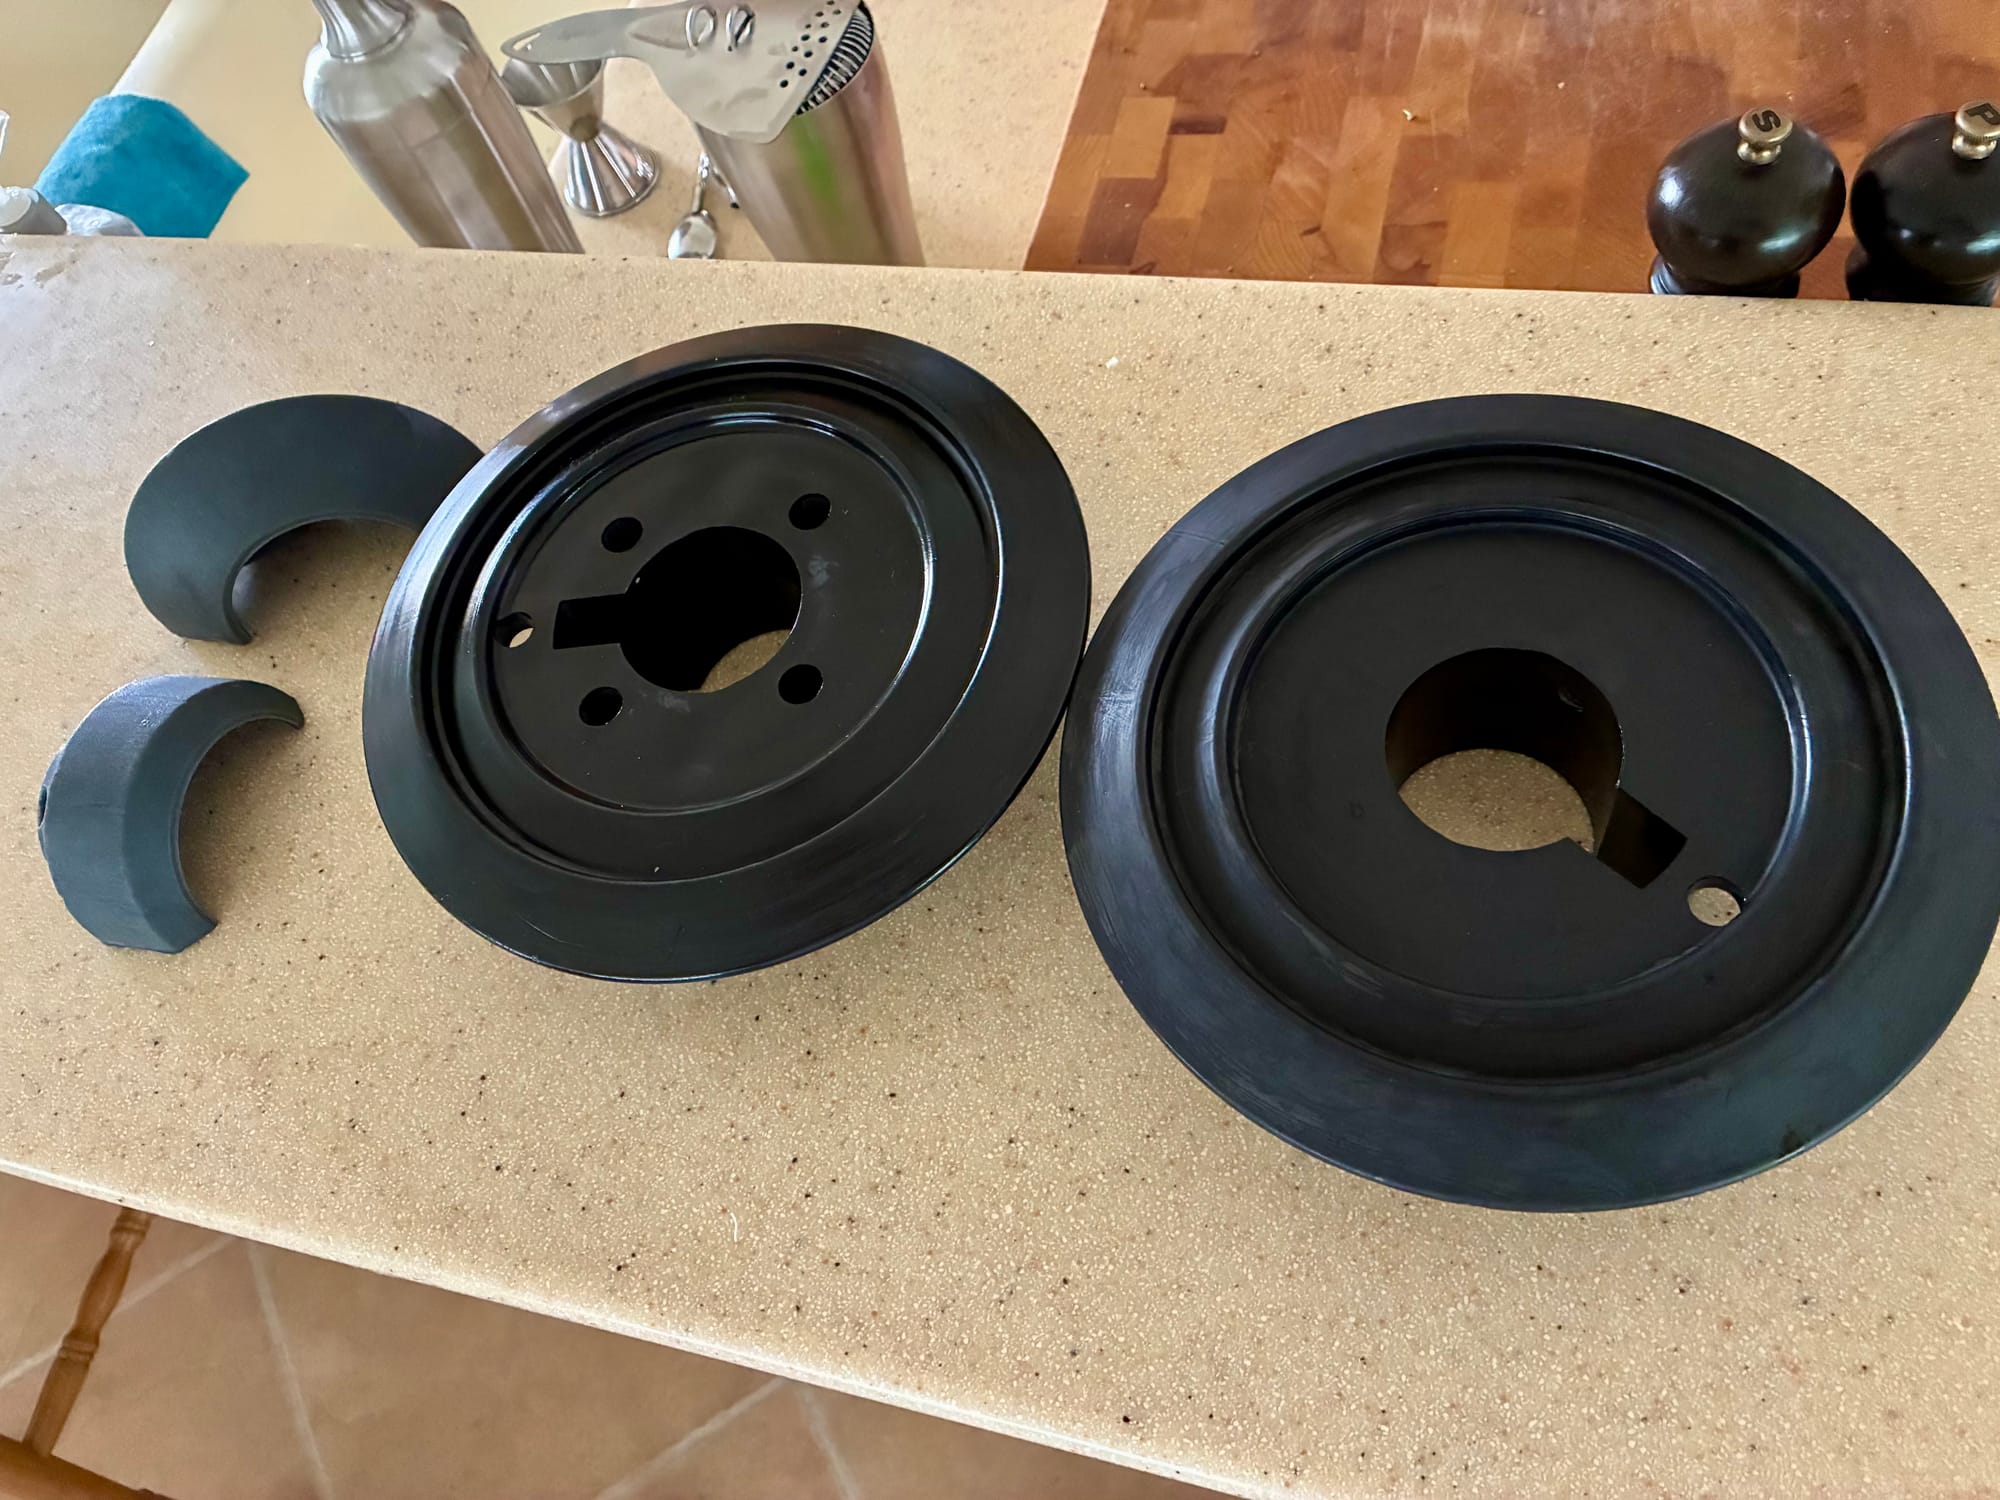
After cleaning, assembly was straightforward and quick. There is a lot of aluminum corrosion damage but it all cosmetic. I used Heavy Duty Green Grease (that’s the brand) and lots of Tef Gel during assembly. We used Cerakote ceramic coating for the plastic parts.
A close inspection of the clevis pin, short link plates and turnbuckle with Norseman fitting did show damage that was previously hidden:
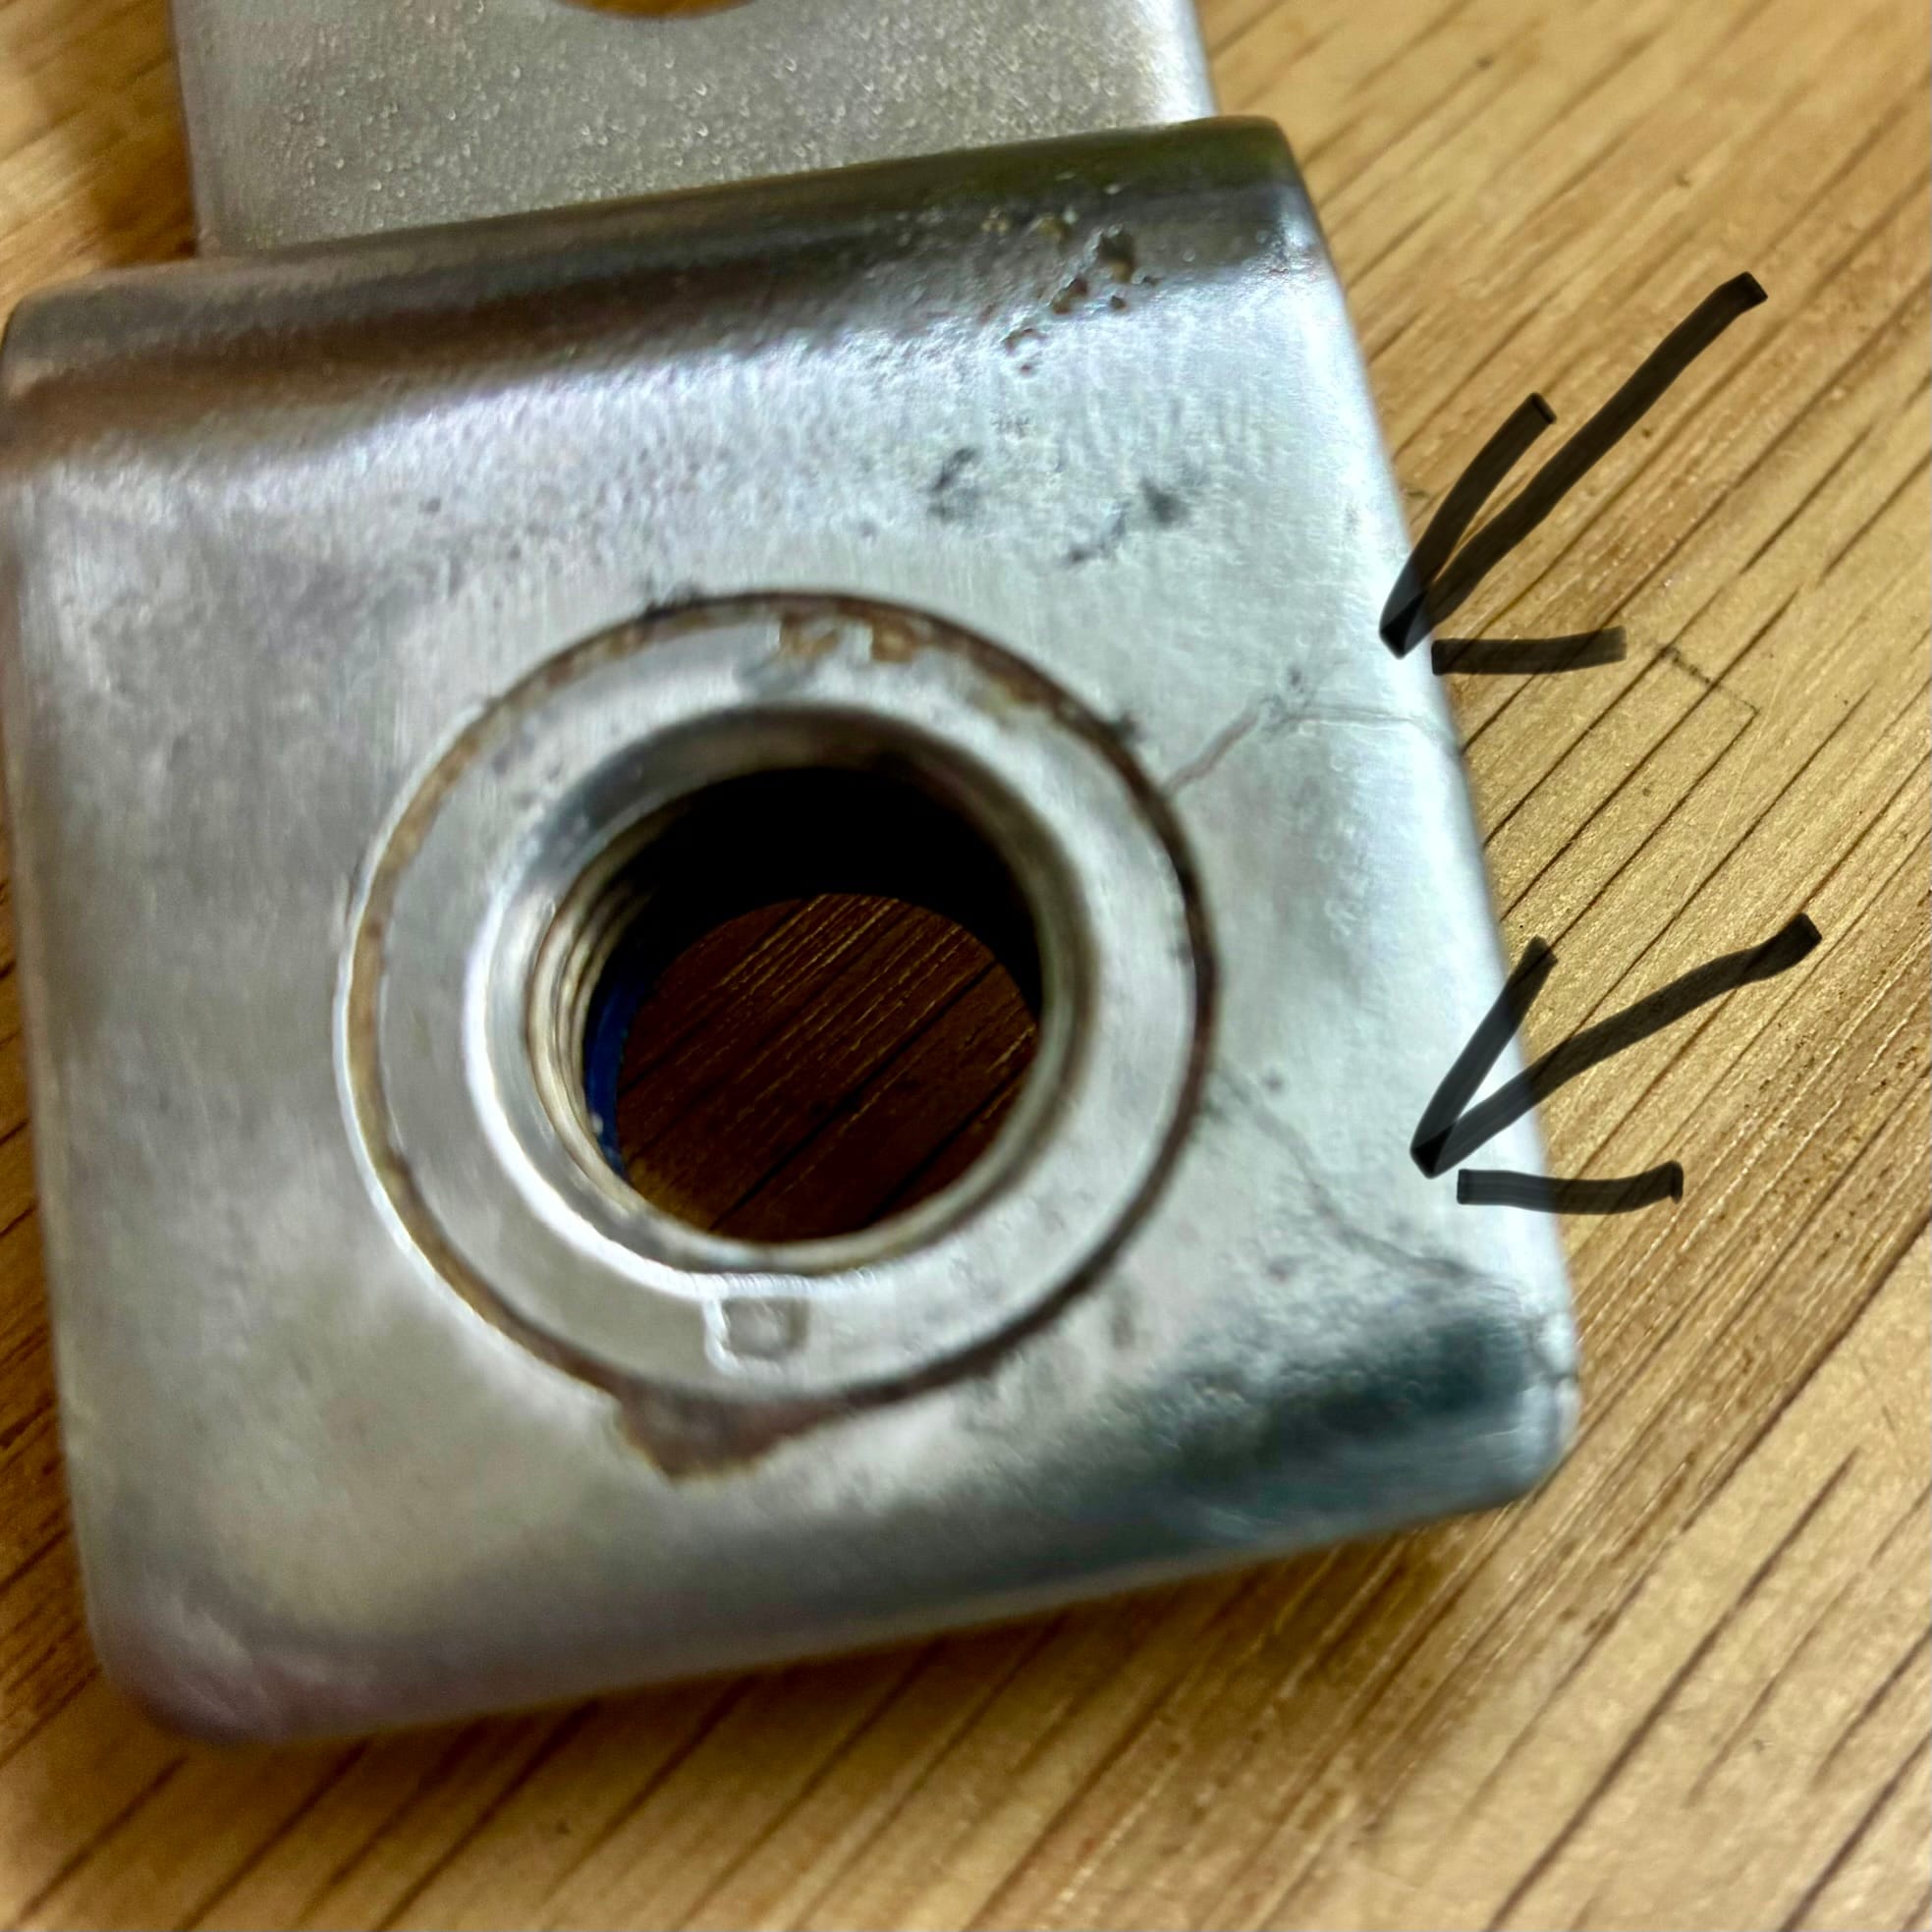
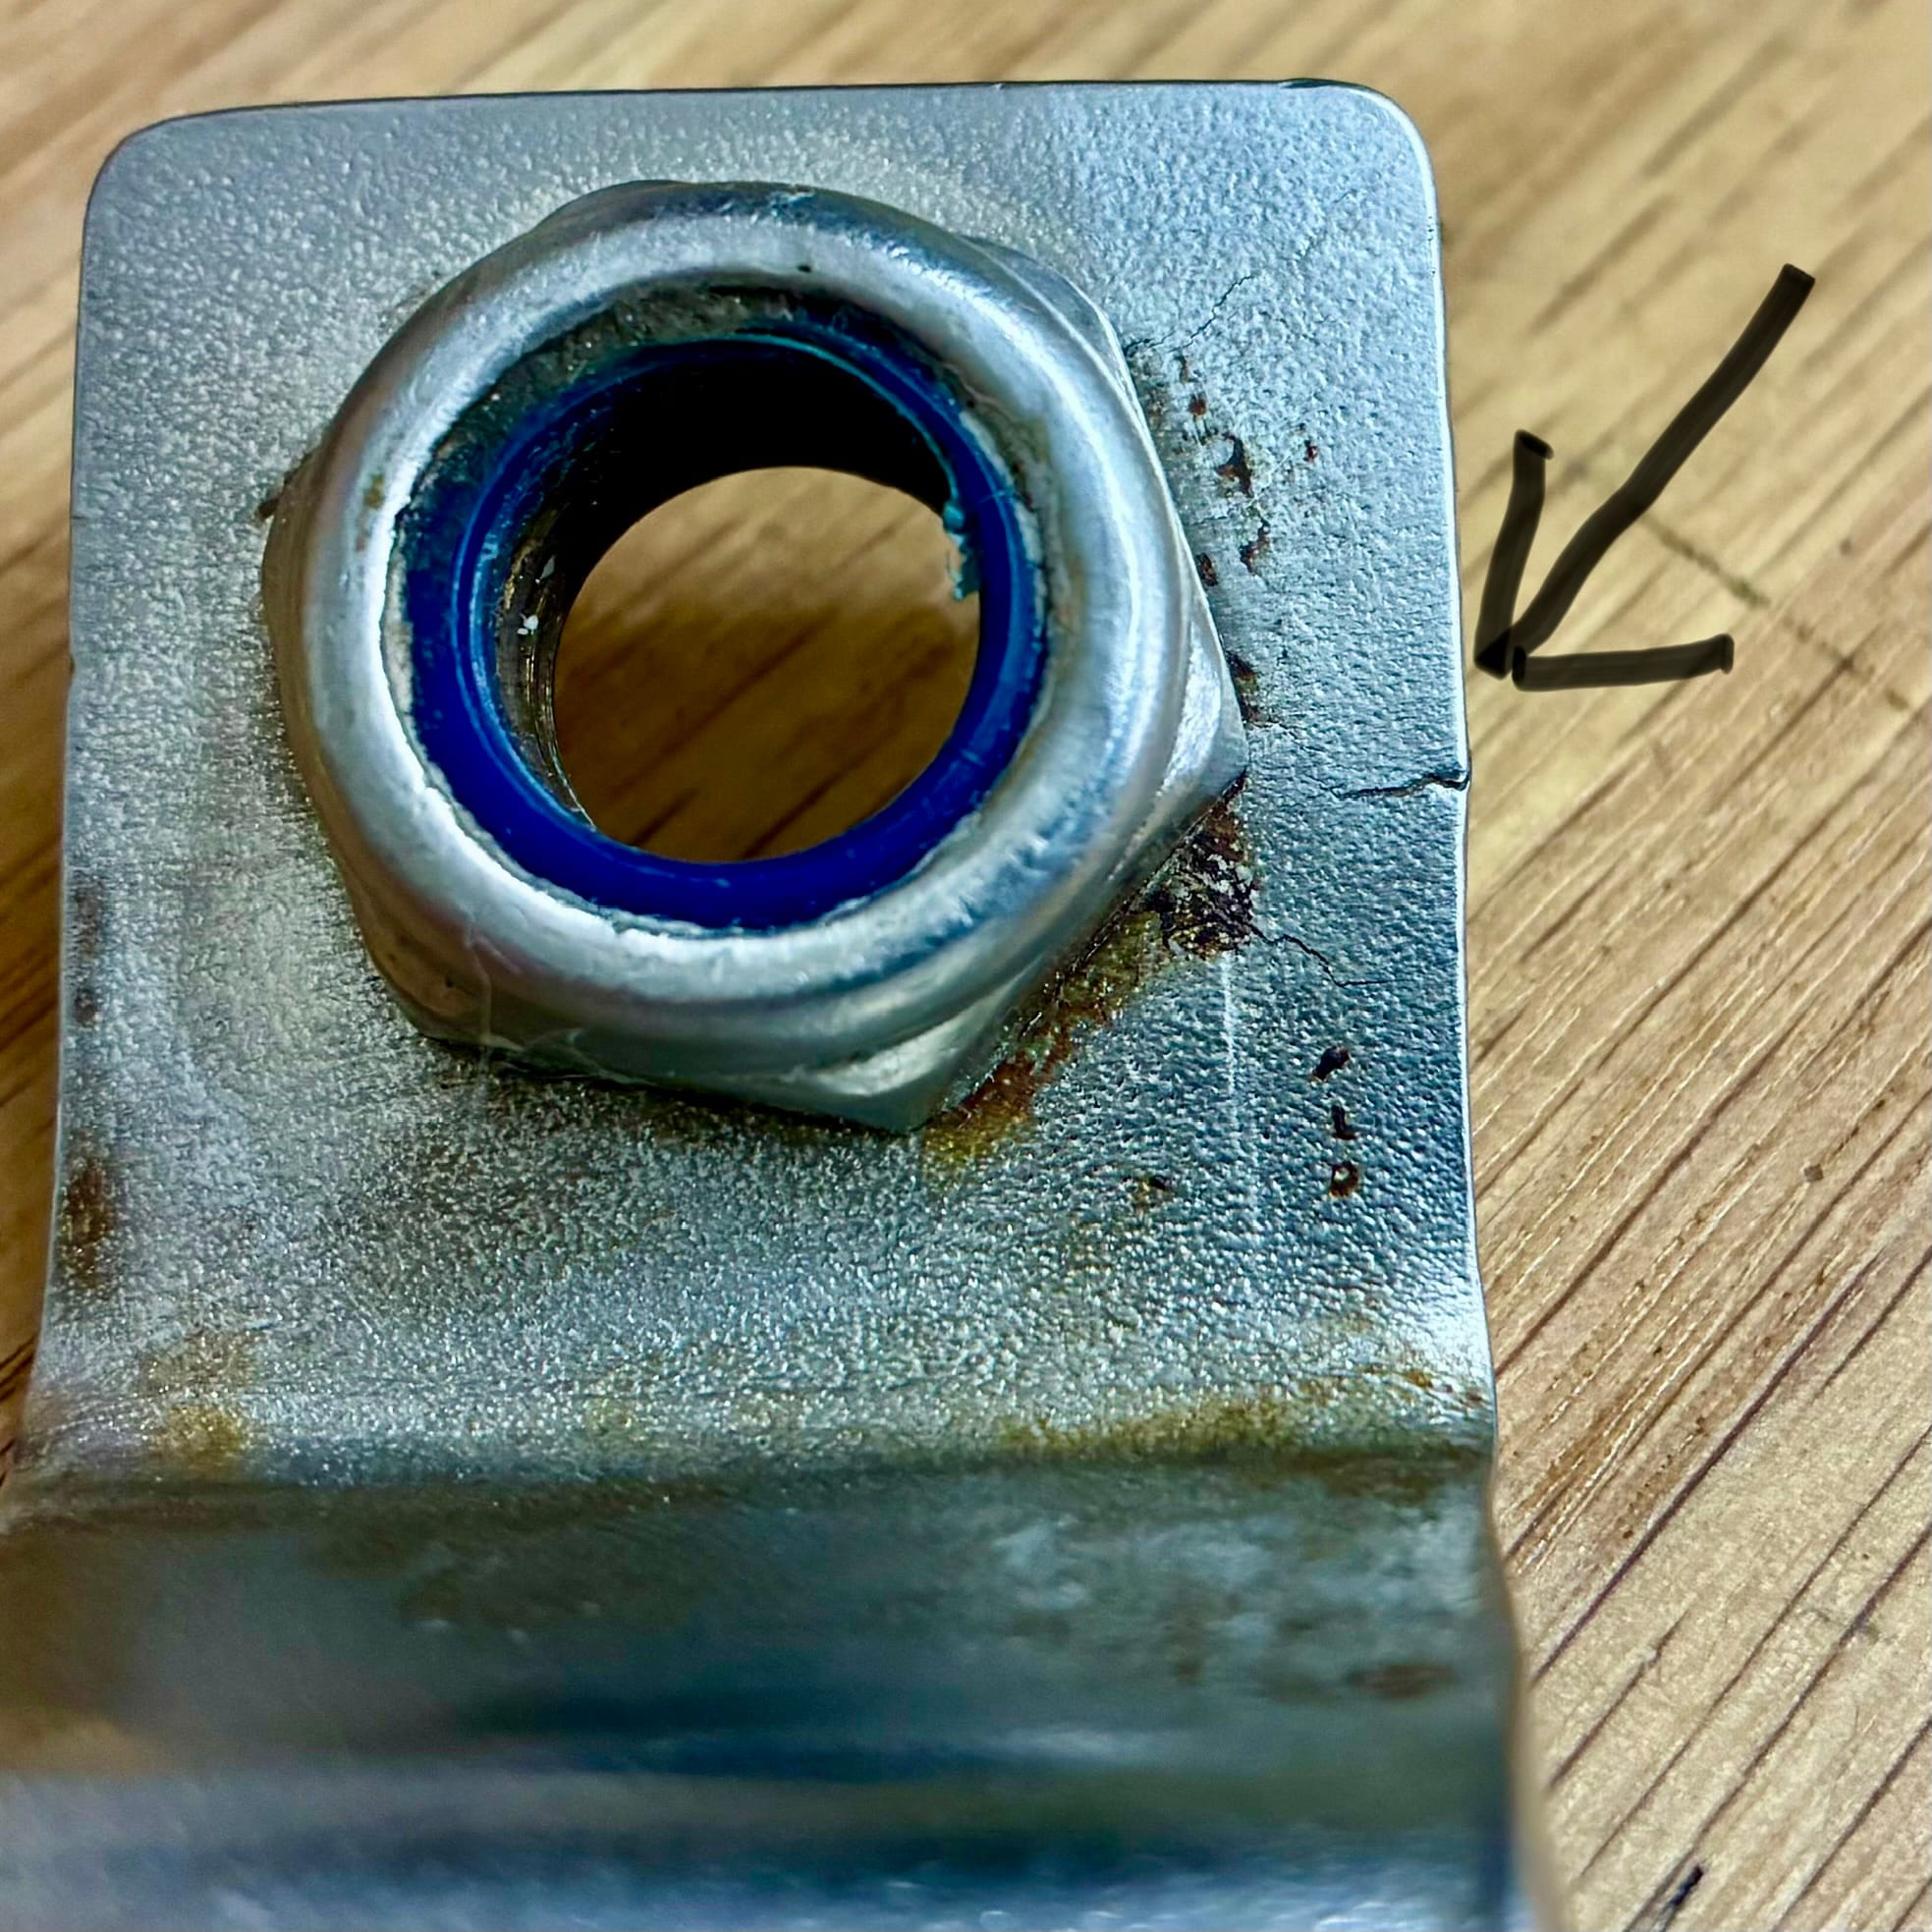
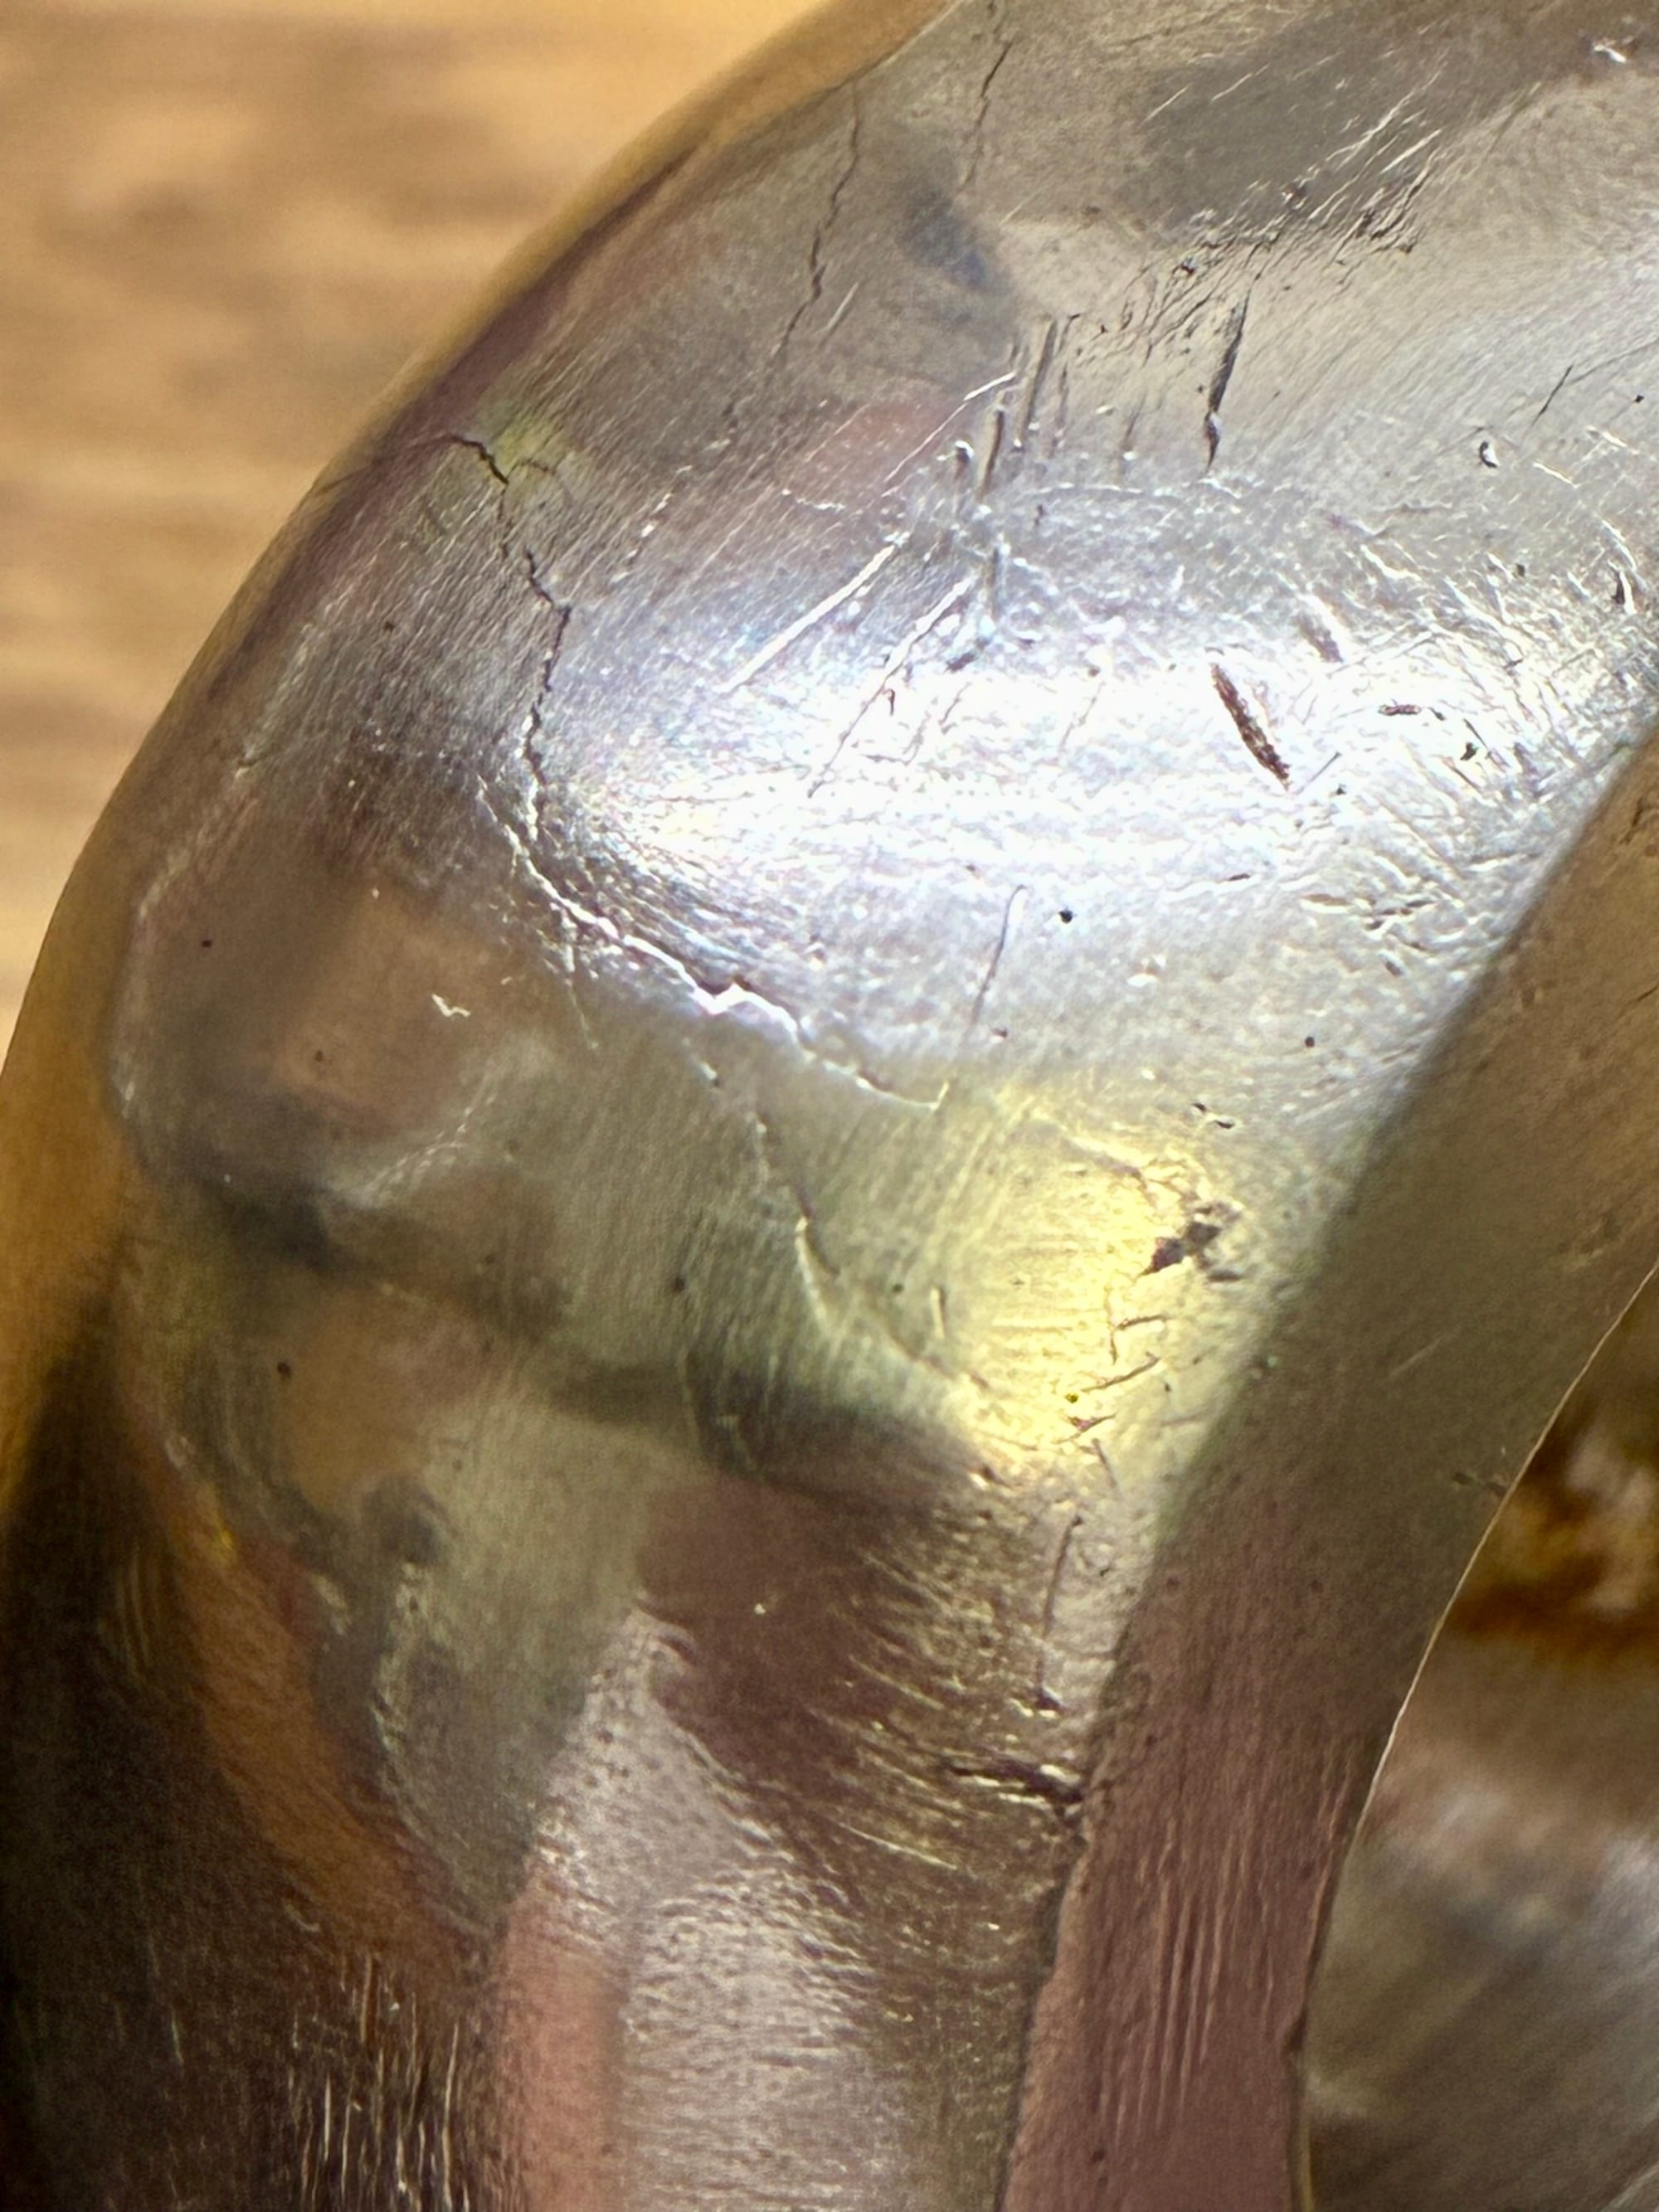
The cracks in the short link plates could lead to not being able to furl the jib, but the crack in the lower threaded eye of the turnbuckle could lead to losing the mast! Replacement link plates and a replacement eye cost $200 together, bringing total cost of the rebuild to $450. The clevis pin and Norseman fitting were in great condition and will be re-used. Of course we also replaced the 1x19 forestay itself and switch to a Stalok fitting instead of swage fitting for the top of the stay so that we can do all the work ourselves without needing a swage press.
There will be a part two of this about the foil extrusions and related parts as well as the new stay for which we’re still waiting for some parts.